Crafting poppy seed buns from scratch is a delightful experience that transforms basic ingredients into something extraordinary. You’ll love the unique texture and flavor they bring, perfect for sandwiches or sides. With a few key ingredients like flour, fresh yeast, and, of course, poppy seeds, you can create a soft, flavorful dough. Plus, you can customize fillings to suit your taste. Stick around to discover creative serving suggestions and variations that’ll elevate your baking game!
The Allure of Poppy Seed Buns
When you bite into a poppy seed bun, you’re not just enjoying a meal; you’re experiencing a delightful blend of texture and flavor that sets it apart from ordinary bread.
These homemade poppy seed buns are versatile, perfect for sandwiches, sliders, or as a side dish at any meal. The unique dough, enriched with poppy seeds, offers not only a pleasing crunch but also essential nutrients, dietary fiber, and healthy fats. Incorporating healthier ingredient swaps can enhance the nutritional profile of your buns even further.
You can easily make poppy seed buns from scratch, allowing you to customize your poppy seed filling recipe to suit your tastes. Engaging in this process sparks creativity in the kitchen, enabling you to elevate your dining experience with every delicious bite.
Ingredients for Success
Creating the perfect poppy seed buns starts with having the right ingredients on hand.
You’ll need all-purpose flour, sugar, salt, fresh yeast, butter, eggs, and lukewarm water. Each of these elements contributes to the dough’s structure and flavor.
Poppy seeds not only add a unique texture and visual appeal but also pack beneficial nutrients like dietary fiber and healthy fats. To achieve a soft, pliable dough, follow a balanced ratio of 3 1/2 cups of flour to 3/4 cup of water. The butter and eggs enrich the dough, resulting in a tender crumb once baked.
Remember, using fresh yeast is essential for a good rise and overall quality in your poppy seed buns recipe. Additionally, ensuring that all ingredients are gluten-free can significantly impact the overall texture and flavor of baked goods.
Enjoy the process!
Step-by-Step Dough Preparation
To prepare your dough for those delicious poppy seed buns, start by mixing the dry ingredients—flour, sugar, salt, and yeast—in a large bowl.
Verify everything’s evenly distributed before adding wet ingredients. Create a well in the center of the mixture, then pour in lukewarm water to activate the yeast.
Mix until combined, then knead the dough for about 8-10 minutes until it’s soft and smooth; this helps develop the gluten. Remember that proper kneading is essential for the development of gluten, which contributes to the structure of baked goods.
Knead the dough for 8-10 minutes to achieve a soft, smooth texture that enhances gluten development.
Once kneaded, let the dough rise in a warm spot, covered, for 1 to 2 hours, or until it doubles in size.
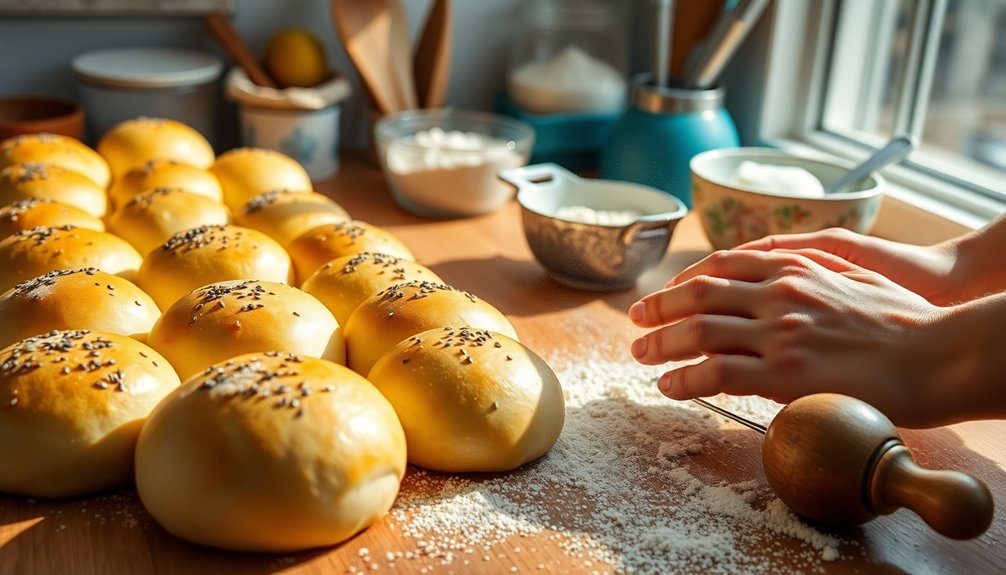
After the first rise, gently deflate the dough, shape it into rounds, and let it rise again before placing them on a baking sheet.
Baking the Perfect Buns
Baking the perfect poppy seed buns requires attention to detail and a little patience, as each step greatly impacts the final result.
Start by blooming the active dry yeast in warm water for about 10 minutes; this guarantees your buns rise beautifully. Knead the dough for at least 10 minutes until it’s smooth and elastic, developing that essential gluten.
Once kneaded, let the dough rise in a warm spot for 1 to 2 hours, covering it to keep it warm. After shaping your poppy seed rolls, let the dough rise again for about 30 minutes.
Finally, brush with an egg wash before you bake the buns in a preheated oven at 375°F to 410°F until they’re golden brown and sound hollow when tapped. Additionally, consider using natural sweeteners to enhance flavor while lowering sugar content.
Creative Serving Suggestions
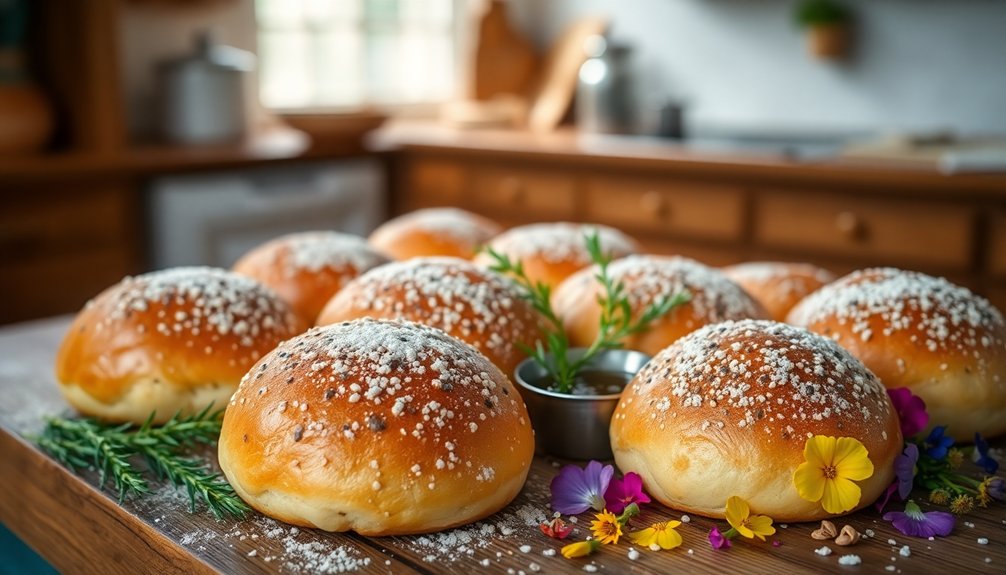
While poppy seed buns shine on their own, they offer endless possibilities for creative serving suggestions that elevate any meal.
You can serve these individual rolls warm, pulling them apart to reveal their flaky interior, which enhances their texture. Try toasting them for a delightful crunch, perfect for pairing with spreads like jam or homemade vegan butter.
For a unique brunch, use poppy seed buns to complement eggs and savory fillings, transforming your breakfast experience. They also make gourmet slider buns, accommodating grilled meats, cheeses, or vegetables.
Finally, serving poppy seed buns alongside soups or salads not only adds visual appeal with their sprinkled seeds but also complements flavors, enhancing your overall dining experience. You can also embrace the use of natural food colorings to create visually stunning spreads or dips that bring an extra layer of creativity to your meal.
Enjoy experimenting!
Tips for Storage and Freezing
To keep your poppy seed buns fresh, make sure you cool them completely before storing.
Use an airtight container or a Ziploc bag for short-term storage, and consider freezing raw buns for long-term enjoyment. Incorporating healthy fat swaps in your recipe can also enhance flavor and improve the nutritional profile of your buns. Knowing the right techniques for cooling and storing can help you savor your homemade treats longer.
Proper Cooling Techniques
Cooling your poppy seed buns properly is essential for maintaining their texture and flavor. Once your dough has baked to perfection, let the buns cool completely on a wire rack. This prevents moisture buildup, which can turn your delightful creations soggy.
If you’re planning to store them, keep the cooled buns at room temperature in a Ziploc bag or an airtight container for up to five days. For longer storage, freeze unbaked rolls on a baking sheet until firm, then transfer them to a Ziploc bag, ensuring they’re sealed tight to avoid freezer burn.
If you’ve baked too many, wrap the buns in plastic wrap or aluminum foil before placing them in an airtight container to preserve their taste and texture.
Airtight Container Storage
Storing your poppy seed buns in an airtight container is a key step to keeping them fresh and delicious. Once cooled completely, place your buns in an airtight container or Ziploc bag to prevent moisture buildup.
You can store them at room temperature for up to five days. If they start to lose their softness, simply reheat them in the microwave or oven.
If you prefer to freeze them, first arrange the raw buns on a baking sheet until firm. Then, transfer them to a Ziploc bag or airtight container for long-term storage.
Don’t forget to label the container with the freezing date, aiming to use them within three months for the best taste and texture.
Freezing Raw vs. Baked
After ensuring your poppy seed buns are safely stored, consider your options for freezing them.
You can freeze raw dough on a baking sheet until firm, then transfer it to airtight containers or Ziploc bags. This gives you the flexibility to bake fresh buns whenever you want.
For baked buns, allow them to cool completely before wrapping tightly in plastic wrap or aluminum foil. Place them in freezer-safe bags to maintain maximum freshness for up to three months.
When you’re ready to use raw dough, just thaw it overnight in the refrigerator, then bake as usual. Baked buns can be reheated in the oven or microwave for the best texture.
Enjoy your delightful poppy seed buns anytime!
Variations to Try
You can easily switch up your poppy seed buns by experimenting with sweet and savory fillings, from rich cream cheese to zesty herbs. Don’t forget to play around with unique shapes and sizes to make your buns visually appealing and fun to eat. These variations not only enhance flavor but also add a personal touch to your baking! Additionally, consider incorporating tropical flavors to create a unique spin on your classic buns.
Sweet and Savory Fillings
While poppy seed buns are delightful on their own, filling them with sweet or savory ingredients can transform them into a culinary masterpiece.
For sweet fillings, try a homemade poppy seed paste made from ground poppy seeds, sugar, and butter for a rich flavor. You can also use fruit preserves or jams, providing a sweet contrast to the nuttiness of the poppy seeds.
On the savory side, consider cheese and herb mixtures that enhance the buns’ flavors and pair beautifully with various meats. Nut-based fillings, such as ground walnuts or almonds mixed with spices, add a delightful crunch.
Don’t hesitate to experiment with seasonal variations like sweet potato or pumpkin puree to elevate your poppy seed bun experience!
Unique Shapes and Sizes
Enhancing your poppy seed buns with unique shapes and sizes can elevate their appeal and make your meals even more enjoyable.
Experiment with braiding, knotting, or spiraling the dough to create visual interest on your table. For a fun twist, try slider-sized buns, perfect for interactive meals where guests can fill them with a variety of toppings.
Individual poppy seed rolls are ideal for brunch, giving each guest their own portion without the fuss. You can also make mini-buns for appetizers or larger buns for hearty sandwiches, catering to different culinary needs.
Don’t forget to use cookie cutters to shape the dough into festive designs, turning your poppy seed buns into delightful centerpieces for celebrations.
Join the Baking Community
Joining the baking community can transform your culinary experience, allowing you to share tips and personal stories that enrich your baking journey.
You’ll find that many bakers love making poppy seed buns just as much as you do. When you share your dough recipe, you might be happy to hear feedback that helps you improve your skills.
Plus, the exchange of ingredient substitutions—like using egg white for a glossy finish—can inspire you to try unique variations. Thanks for sharing your creations; it encourages others to experiment too!
Engaging in community challenges or recipe swaps will push you to explore new techniques and flavors, expanding your baking repertoire and fostering a sense of camaraderie among fellow enthusiasts. Additionally, participating in holiday cookie gift ideas can inspire you to incorporate festive elements into your baking.
Conclusion
Making poppy seed buns from scratch might seem intimidating, but don’t worry—you’ve got this! The process is simpler than you think, and the rewards are truly worth it. Picture yourself pulling fresh, golden buns from the oven, filling your kitchen with an irresistible aroma. Plus, there’s nothing quite like the satisfaction of creating something delicious from scratch. So roll up your sleeves, embrace the joy of baking, and treat yourself to these delightful treats!