Looking to whip up some messy yet fun desserts with your kids? Try making No-Bake Chocolate Peanut Butter Bars, Colorful Rainbow Fruit Pops, or Easy Chocolate-Dipped Pretzels! Mini No-Bake Cheesecakes and Funfetti Cupcake Cones are perfect for little hands to help with. Get creative with Brownie Sundaes and Whipped Cream Fruit Cups, too. Don’t forget to challenge them with a Cookie Decorating Challenge! There’s so much more excitement waiting for you and your kids in the kitchen!
No-Bake Chocolate Peanut Butter Bars
No-Bake Chocolate Peanut Butter Bars are a delightful treat that’s super easy for kids to help make. With their rich chocolate layers and creamy peanut butter, these bars are sure to satisfy any sweet tooth. The best part? You won’t need an oven, thanks to their no-bake convenience. Gather your ingredients—crushed graham crackers, peanut butter, and chocolate chips—and let your kids take charge. They’ll love mixing the peanut butter and graham cracker crumbs together, then pressing the mixture into a pan. After that, you can melt the chocolate and pour it over the top. To make these bars even more indulgent, consider incorporating high-quality ingredients for a richer flavor experience. Using sweetened condensed milk can also help create a creamy texture in other desserts. Kids will enjoy the process of creating treats like these while also learning about the importance of measuring ingredients for successful baking. Once it’s set, slice it into bars, and enjoy a delicious treat that’s perfect for family fun. Kid-friendly recipes like this one make baking enjoyable for everyone!
Colorful Rainbow Fruit Pops
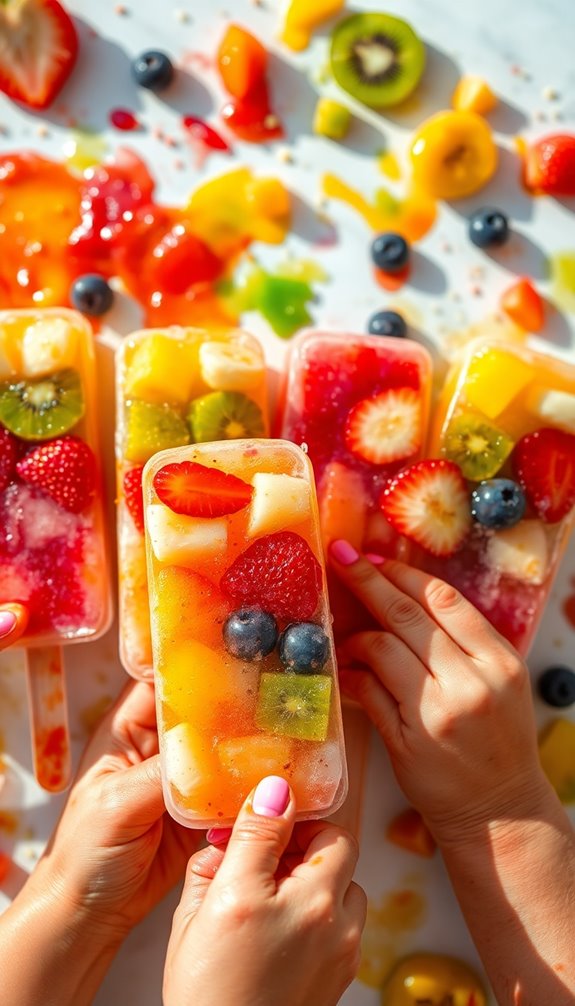
Gather your favorite fruits—think strawberries, oranges, kiwis, and blueberries—for a colorful rainbow fruit pops treat. Slice the fruits into small pieces and let your kids arrange them in popsicle molds. You can layer the colors for an eye-catching effect that’ll wow everyone. Once the molds are filled, pour in some coconut water or fruit juice to hold everything together. Pop them in the freezer for a few hours. When they’re ready, just run warm water over the outside of the molds to release the pops. Enjoy your healthy, vibrant rainbow fruit pops that you made together! These pops not only provide a fun activity but also incorporate nutritious ingredients that can help promote a balanced lifestyle, making them a great alternative to traditional desserts like watermelon cake. Additionally, using fresh fruits offers juicy filling that enhances the flavor and texture of your pops.
Easy Chocolate-Dipped Pretzels
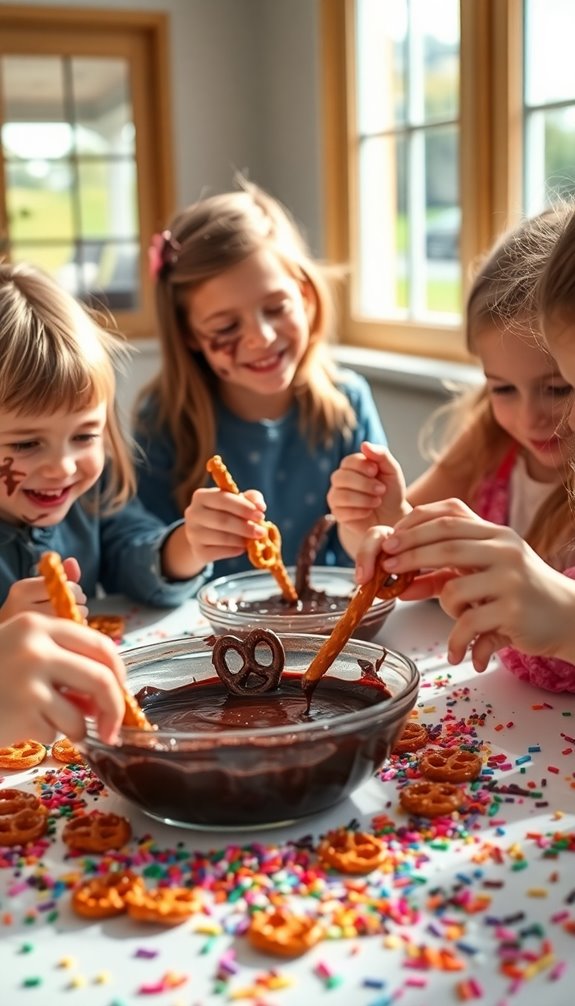
Making easy chocolate-dipped pretzels is a fun activity for you and your kids. With just a few simple ingredients, you can explore different dipping techniques and get creative with toppings. No-bake desserts are a fantastic option for families looking to whip up sweet treats together without the fuss of traditional baking. Plus, these treats can be as enjoyable as quick no-bake energy bites that are packed with nutrients. Let’s get started on this delicious treat that everyone will love! Scrumptious gluten-free chocolate chip cookies are another great option for a family baking session.
Simple Ingredients Required
To create delicious chocolate-dipped pretzels, you only need a few simple ingredients that you probably already have at home. First, grab some pretzel rods or twists—these are the perfect crunchy base.
Next, you’ll need chocolate chips; semi-sweet or milk chocolate work great, but you can also try kid-friendly alternatives like white chocolate or even colored melts for a fun twist.
If you don’t have chocolate chips, simple ingredient swaps like cocoa powder mixed with a bit of coconut oil can do the trick.
Finally, don’t forget to add sprinkles or crushed nuts for added fun! With these easy-to-find ingredients, you and your kids will have a blast making this tasty treat together. Chilling the dough before dipping the pretzels in chocolate can enhance the texture and make them even more enjoyable.
Fun Dipping Techniques
Once you’ve gathered your ingredients, it’s time to get creative with your dipping techniques! Start by melting your chocolate variations—dark, milk, or white chocolate work great. Dip your pretzels into the melted chocolate, letting any excess drip off.
For a fun twist, try different dipping sauces like peanut butter or caramel alongside your chocolate. Next, explore decorating techniques by drizzling contrasting colors over the dipped pretzels. You can also use creative sprinkles to add a pop of color.
Mix and match topping choices, like crushed nuts or coconut, for exciting flavor combinations. Your presentation matters too—arrange the pretzels on a platter for an eye-catching dessert display that’s sure to impress!
Creative Toppings Ideas
When it comes to topping your chocolate-dipped pretzels, the options are nearly endless! You and your kids can get super creative with a variety of toppings.
Here are some fun ideas to try:
- Crushed nuts – Add a crunchy layer with almonds, peanuts, or walnuts.
- Fruit topping ideas – Use dried fruits like cranberries or apricots for a chewy contrast.
- Sprinkle selection – Choose colorful sprinkles or themed ones for a festive touch.
- Coconut flakes – Toasted coconut adds a tropical twist to your pretzels.
Let your kids pick their favorite toppings, and watch as they create deliciously fun treats.
With just a few ingredients, you’ll have a sweet snack that’s perfect for sharing!
Mini No-Bake Cheesecakes
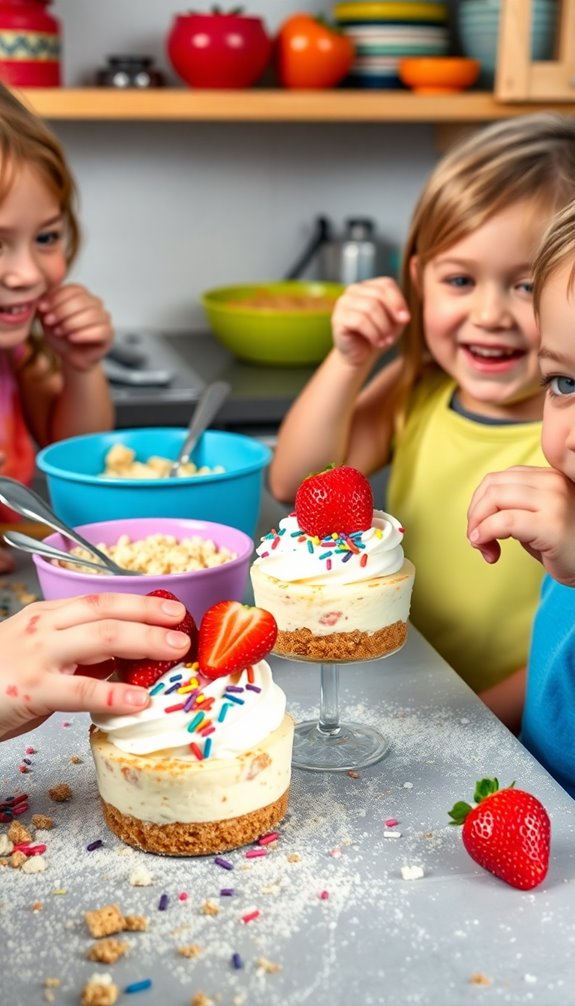
Although baking can be fun, mini no-bake cheesecakes offer a simple and enjoyable way for kids to get involved in the kitchen without the need for an oven.
Start by mixing cream cheese, sugar, and vanilla to create a creamy base. Let your kids choose their favorite mini cheesecake flavors, like strawberry, chocolate, or lemon, to make it even more exciting!
Once the mixture is ready, spoon it into small cups or jars for easy serving.
Next, let them get creative with cheesecake topping options. They can sprinkle crushed cookies, drizzle chocolate sauce, or add fresh fruit on top.
Enjoying these delightful treats together will surely make for a memorable and delicious bonding experience in the kitchen!
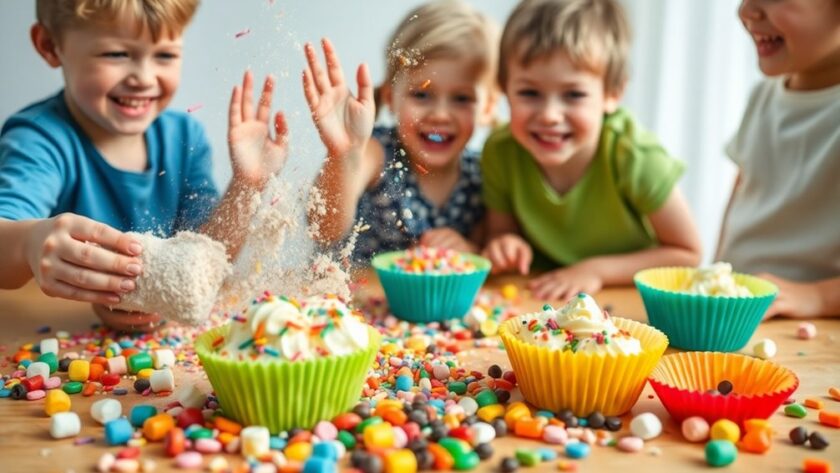
Funfetti Cupcake Cones
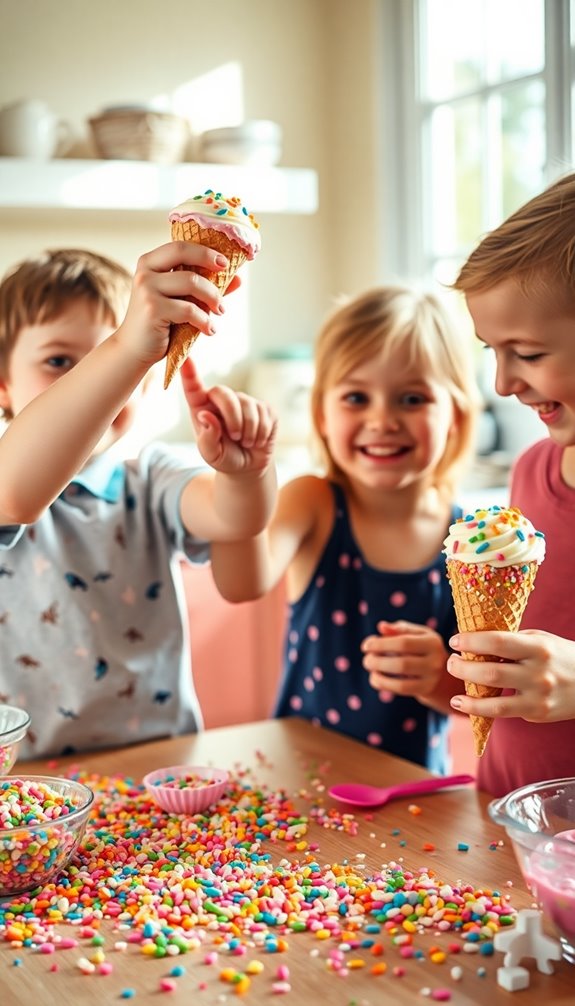
Get ready to whip up some Funfetti cupcake cones that are sure to bring smiles! First, you’ll want to gather your ingredients together, making it super easy for the kids to join in. Once you have everything, decorating these delightful treats becomes a fun activity everyone can enjoy!
Gather Your Ingredients Together
Before diving into the fun of making Funfetti Cupcake Cones, you’ll want to gather all your ingredients together. Good ingredient organization makes the process smoother and keeps everyone engaged.
Here’s what you’ll need:
- Cake mix (Funfetti is a must!)
- Eggs (check your recipe for the exact number)
- Vegetable oil (for that perfect moistness)
- Ice cream cones (the fun part!)
Don’t forget your kid-friendly tools! Grab mixing bowls, measuring cups, and a whisk.
These tools make the experience enjoyable and safe for little hands. Once you have everything ready, you’ll be all set to create a delicious, colorful treat together!
Easy Decorating Techniques
Decorating Funfetti Cupcake Cones can be a blast with just a few easy techniques! First, gather your decorating supplies like piping bags and various icing colors.
Use creative icing methods like swirl or zigzag patterns on top of each cone. Then, explore fun topping techniques by adding cookie shapes or playful designs.
Don’t forget to sprinkle on fun sprinkles for that extra pop! You can also mix and match topping combinations for a unique look.
For a sparkly touch, add edible glitter to make your cupcakes shine. Finally, finish with festive decorations like mini flags or colorful candies to make each cone truly special.
Let your imagination run wild, and enjoy the decorating fun together!
Storage Tips And Tricks
Once you’ve created your Funfetti Cupcake Cones, storing them properly is key to keeping them fresh and delicious. Here are some tips to make storage a breeze:
- Use proper container types: Choose clear, airtight containers for visibility and freshness.
- Maintain ideal temperature ranges: Store them in a cool, dry place, ideally between 65-70°F.
- Implement portion control tips: Place individual cones in reusable packaging options to avoid overindulging.
- Create a labeling system: Mark containers with the date to track freshness and shelf life extensions.
Utilizing kid-friendly storage and easy access solutions can make cleanup fun, while space-saving techniques help keep your kitchen organized.
Happy storing!
DIY Ice Cream Sundae Bar
Creating a DIY ice cream sundae bar is a fantastic way to let kids express their creativity while satisfying their sweet tooth.
Start by setting out a variety of ice cream flavors, like vanilla, chocolate, and strawberry. Let the kids scoop their favorites into bowls.
Next, lay out an array of toppings options—think sprinkles, crushed cookies, chocolate syrup, and fresh fruit. Encourage your kids to mix and match, crafting their perfect sundae. They can pile on the toppings or keep it simple; the choice is theirs!
Don’t forget to provide spoons and napkins for the inevitable mess. This hands-on activity not only makes for delicious treats but also creates precious family memories.
Enjoy the fun and laughter together!
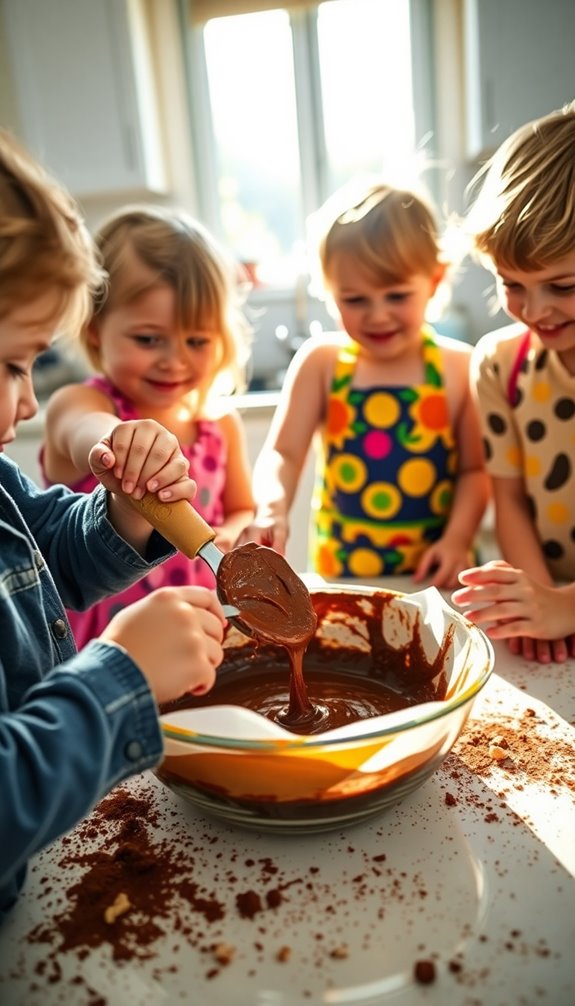
Cookie Dough Dip With Graham Crackers
After the fun of building their own sundaes, kids will love making a delicious cookie dough dip that pairs perfectly with graham crackers.
Kids will have a blast creating a tasty cookie dough dip to enjoy with graham crackers after their sundae fun!
This sweet treat lets them experiment with various cookie dough flavors while enjoying a hands-on experience. Here’s how to whip it up:
- Mix together softened cream cheese, powdered sugar, and vanilla.
- Stir in mini chocolate chips for that classic cookie dough taste.
- Add a dash of salt to enhance the sweetness.
- Serve with graham crackers and explore creative dipper options like pretzels, fruit slices, or even marshmallows.
This fun, messy activity is sure to be a hit, and kids will love both making and devouring this delightful dip!
Marshmallow and Fruit Kebabs
Transform snack time into a fun activity with marshmallow and fruit kebabs! Grab some skewers and let your creativity shine. Choose from various marshmallow varieties, like classic, strawberry, or chocolate-covered, to mix things up.
For your fruit selection, think about vibrant options like strawberries, bananas, and grapes that kids can easily handle.
Have your little ones help by threading the marshmallows and fruit onto the skewers. They’ll love creating colorful combinations and watching their delicious creations come together.
This hands-on dessert not only satisfies their sweet tooth but also encourages them to enjoy fruit. Plus, it’s a great way to bond while making a fun, tasty treat.
Enjoy your marshmallow and fruit kebabs together for a delightful snack!
Chocolate-Covered Banana Bites
If your kids enjoyed assembling marshmallow and fruit kebabs, they’ll love making chocolate-covered banana bites next!
These treats are easy to customize with different banana bite variations and fun chocolate coating techniques. Here’s how to make them:
- Slice Bananas: Cut bananas into bite-sized pieces.
- Choose Chocolate: Melt dark, milk, or white chocolate for dipping.
- Dip and Decorate: Dip each banana piece into the chocolate, then sprinkle with toppings like crushed nuts, sprinkles, or coconut.
- Chill: Place the coated bites on a parchment-lined tray and refrigerate until the chocolate hardens.
Let your kids get creative with their toppings!
They’ll have a blast making and, of course, enjoying these delicious banana bites.
Edible Cookie Dough Cups
While your kids might be enthusiastic to plunge into traditional cookie dough, these Edible Cookie Dough Cups offer a safe and delicious twist they can help make!
Start by mixing together flour, brown sugar, butter, and vanilla—make sure to use heat-treated flour for safety. Let your kids add their favorite mix-ins, like chocolate chips or sprinkles, to create fun edible cookie dough variations.
Mix flour, brown sugar, butter, and vanilla with heat-treated flour, then let kids customize with fun mix-ins like chocolate chips or sprinkles.
Scoop the dough into cupcake liners, and let them shape it into cups. For a delightful finish, drizzle melted chocolate on top and chill until firm.
Remember to share safety tips, like washing hands and keeping workspaces clean. These cups not only satisfy sweet cravings but also let kids enjoy a creative, hands-on experience!
Simple Rice Krispie Treats
Making Simple Rice Krispie Treats is a blast, and it all starts with gathering just a few easy ingredients.
Once you’ve got everything, you can get creative with fun shaping techniques and toppings. Your kids will love putting their own spin on this classic treat!
Easy Ingredient Gathering
Gathering ingredients for simple Rice Krispie treats can be a fun adventure with your kids. It’s a great way to practice ingredient organization while using kid-friendly tools. Here’s how to make it easy:
- Rice Krispies – Measure out 6 cups; let the kids take turns pouring.
- Marshmallows – Grab a bag, and let your little ones help count out the cups.
- Butter – Use a kid-friendly measuring cup; they’ll love scooping it out.
- Optional Mix-ins – Get creative! Chocolate chips or sprinkles can add fun.
Encourage your kids to help with the gathering and measuring. This not only makes cooking exciting but also teaches them valuable skills in the kitchen.
Enjoy the mess!
Fun Shaping Techniques
After you’ve gathered all your ingredients, it’s time to get creative with your Rice Krispie treats! Use playful molds to shape your mixture into fun designs, like stars or hearts, for themed treats.
You can also create dessert sculptures by forming the treats into colorful forms, resembling fruits or animals. If you’re feeling adventurous, try making shaped cookies by pressing the mixture into cookie cutters—perfect for any celebration!
Let your imagination run wild as you build edible art that everyone will love. With a few simple techniques, you can transform your Rice Krispie treats into eye-catching, fun snacks that kids will be excited to help make and eat.
Enjoy experimenting with different shapes and colorful designs!
Creative Topping Ideas
Transforming simple Rice Krispie treats into delightful creations is all about the toppings you choose.
Get your kids involved and release their creativity with these fun ideas:
- Creative Fruit Toppings: Use sliced strawberries, bananas, or blueberries for a fresh twist.
- Playful Chocolate Drizzles: Melt chocolate and drizzle it over the treats for a sweet finish.
- Sprinkles Galore: Add a rainbow of sprinkles for a festive look.
- Nutty Crunch: Sprinkle chopped nuts or granola for an extra crunch.
Let your kids mix and match these toppings to create their perfect Rice Krispie treats.
It’s not just tasty; it’s a fun way for them to express their creativity!
Enjoy the mess and the delicious results!
Fruity Yogurt Parfaits
Creating fruity yogurt parfaits is a fun and simple way for kids to get involved in the kitchen. Start by gathering your favorite yogurt, fruits, and some crunchy toppings like granola.
Let your kids choose their fruity toppings—strawberries, blueberries, or bananas work great! In a clear glass or bowl, begin yogurt layering. Spoon a layer of yogurt at the bottom, followed by a layer of fruits.
Repeat the process until the glass is full, allowing kids to get creative with their combinations. Finish off with a sprinkle of granola or nuts for added texture.
Not only do these parfaits look beautiful, but they’re also a delicious and healthy treat that kids will be proud to say they made themselves!
Decorating Your Own Sugar Cookies
Getting ready to decorate your own sugar cookies is a fun way to release your creativity!
You’ll need some essential supplies, like icing and sprinkles, and there are plenty of techniques to try.
Let’s explore how to make your cookies look as delicious as they taste!
Essential Cookie Decorating Supplies
When it comes to decorating your own sugar cookies, having the right supplies can make all the difference.
You’ll want to gather some cookie decorating essentials to guarantee a fun and creative experience.
Here’s a list of must-haves:
- Piping bags – Perfect for applying icing with precision.
- Food coloring – Add vibrant colors to your icing for a festive look.
- Sprinkles variety – Stock up on different shapes and colors to enhance your designs.
- Edible glitter – A little sparkle can make your cookies stand out!
With these supplies, you and your kids can release your creativity and enjoy decorating delicious treats together.
Creative Icing Techniques
Five fun icing techniques can elevate your sugar cookie decorating game and make the process even more enjoyable for kids. Start with piping techniques to create whimsical designs, then experiment with icing colors using color blending for vibrant effects.
Try marbling techniques for unique shapes that catch the eye. Layering styles can add depth, while drizzle patterns create fun textures.
Use stenciling ideas for themed decorations or cookie stencils to craft character designs easily. Edible markers and icing transfers are great for adding details, and don’t forget about airbrushing effects for a professional touch.
Finally, sprinkle on some edible glitter for a magical finish and consider flavor infusions to surprise your taste buds!
Fun Toppings and Sprinkles
Decorating sugar cookies becomes even more exciting with a variety of fun toppings and sprinkles that kids can choose themselves.
Let your creativity shine as you explore different sprinkle varieties and topping combinations! Here are some ideas to get you started:
- Colorful Sprinkles: Use rainbow or themed sprinkles to add a pop of color.
- Chocolate Chips: Mix in mini chocolate chips for a sweet crunch.
- Nuts: Chopped nuts can add a delightful texture.
- Fruit Pieces: Diced dried fruits or gummy candies bring a chewy surprise.
Encourage your kids to mix and match these toppings.
They’ll love creating unique cookie masterpieces while enjoying a fun, messy experience in the kitchen!
Chocolate Chip Cookie Pizza
Chocolate chip cookie pizza is a delightful twist on a classic treat that kids will love to help make. Start by mixing up a simple cookie dough, letting your kids stir in their favorite chocolate variations—think milk chocolate, dark chocolate, or even white chocolate chips!
Once the dough’s ready, spread it out on a pizza pan and bake until golden.
Spread the cookie dough onto a pizza pan and bake until it turns a beautiful golden brown.
Now comes the fun part: toppings! Let your kids go wild with their creativity. They can add colorful sprinkles, sliced fruits, or even mini marshmallows to create a delicious dessert pizza.
Once it cools, slice it up and enjoy together. This hands-on activity not only satisfies their sweet tooth but also gives them a sense of pride in creating their own dessert masterpiece!
Frozen Yogurt Bark With Toppings
After enjoying that delicious chocolate chip cookie pizza, it’s time for a rejuvenating treat that’s just as fun to make: frozen yogurt bark with toppings.
You’ll love how easy it’s to mix different yogurt flavorings and create colorful layers. Here’s how to make it:
- Choose a yogurt flavor – Go for kid-friendly flavors like strawberry or vanilla.
- Add healthy toppings – Think fruity combinations like berries or bananas.
- Mix in crunchy add-ins – Try granola or nuts for texture contrast.
- Freeze in creative shapes – Spread the mixture on a baking sheet and use cookie cutters after it’s frozen for fun shapes!
Enjoy the fun freezing process and share your delicious creation with family and friends!
Jello Cup Desserts
Jello cup desserts are a blast for kids to create with you!
You can mix fun flavor combinations, experiment with colorful layering techniques, and add creative toppings.
Let your imagination run wild as you whip up these vibrant treats together!
Fun Flavor Combinations
Colorful and wobbly, Jello cups are a delightful canvas for kids to explore fun flavor combinations. You can create unique flavor pairings that turn ordinary desserts into unexpected delights!
Here are some ideas to get you started:
- Strawberry-Banana: Classic yet irresistible!
- Pineapple-Coconut: A tropical vacation in a cup.
- Blueberry-Lemon: A zesty twist that’s invigorating.
- Cherry-Vanilla: A sweet combo that’s hard to resist.
Let your kids mix and match these flavors, encouraging them to experiment and discover their favorites.
They’ll love the creativity involved in crafting their own Jello cup masterpieces, and you might just end up with some surprising new dessert combinations!
Enjoy the mess and the fun!
Colorful Layering Techniques
When you’re ready to take your Jello cups to the next level, layering different colors can create a stunning visual treat that’s as fun to make as it’s to eat.
Start by preparing your Jello in various vibrant colors, ensuring each layer is slightly cooled before pouring. This helps prevent them from mixing together.
Use clear plastic cups, and pour a small amount of your first color, letting it set in the fridge for about 30 minutes.
Repeat this process with the next colors, allowing each layer to firm up before adding the next.
Experiment with different layering techniques, like creating stripes or swirls, to make each cup unique.
Your kids will love showing off their colorful creations!
Creative Topping Ideas
While your Jello cups are setting, think about how to elevate them with fun and creative toppings. Mixing different topping combinations can add unique textures and flavors that’ll make your dessert even more exciting.
Here are some ideas to try out:
- Whipped Cream & Sprinkles: A classic combo that adds fluffy sweetness and crunch.
- Fruit & Granola: Fresh berries or banana slices with a sprinkle of granola for a healthy twist.
- Chocolate Chips & Peanut Butter: Melted peanut butter drizzled over chocolate chips creates a rich, creamy finish.
- Mini Marshmallows & Crushed Cookies: Soft marshmallows paired with crunchy cookie bits offer a delightful contrast.
Get creative and let your kids mix and match these toppings for a truly personalized treat!
DIY Chocolate-Covered Strawberries
Creating DIY chocolate-covered strawberries is a fun and delicious activity that lets kids get hands-on in the kitchen.
Start by washing the strawberries thoroughly to guarantee they’re clean and ready for dipping. While you’re doing that, melt the chocolate using a microwave or a double boiler, making sure to stir until it’s smooth and creamy.
Wash strawberries thoroughly for a clean start, then melt chocolate until smooth and creamy for dipping.
Once the chocolate is melted, dip each strawberry into the warm chocolate, allowing any excess to drip off. You can then add toppings like sprinkles or crushed nuts for extra flair.
Place the dipped strawberries on parchment paper to cool and harden. This tasty treat not only satisfies your sweet tooth but also provides a memorable bonding experience in the kitchen!
Enjoy your creations!
S’mores in a Jar
S’mores in a jar offer a delightful, no-fuss way to enjoy this classic campfire treat at home.
You and your kids will love getting hands-on with the jar assembly! Here’s how to do it:
- Graham Crackers: Start with crushed graham crackers as the base.
- Chocolate: Layer on your favorite chocolate pieces. Milk chocolate or dark chocolate works great!
- Marshmallows: Add a generous layer of mini marshmallows for that gooey goodness.
- Repeat: Continue layering the s’mores ingredients until you reach the top of the jar.
Once assembled, you can microwave individual servings for a warm, melty treat.
Enjoy the fun of making and eating these delicious s’mores in a jar together!
Mini Fruit Tarts
Mini fruit tarts are a fun and simple dessert you can whip up together with your kids.
You’ll love making easy tart shells and experimenting with various fruit toppings.
Let’s explore how to create these delightful treats that are perfect for little hands!
Easy Tart Shells Recipe
Making easy tart shells for mini fruit tarts is a fun and engaging way for kids to get involved in the kitchen.
Plus, they can help choose delicious tart shell fillings! Here are some baking tips to create perfect mini tart shells:
- Use cold butter: It keeps the dough flaky and light.
- Chill the dough: Refrigerate for at least 30 minutes before rolling out.
- Press gently: When fitting the dough into the tart pans, press gently to avoid tearing.
- Prick the base: Use a fork to poke holes in the dough to prevent bubbling while baking.
With these steps, you’ll have delightful tart shells ready for your favorite toppings.
Enjoy the messy but fun process!
Fun Fruit Topping Ideas
While assembling your mini fruit tarts, let your creativity shine by picking fun and colorful toppings that kids will love.
Start with a base of sweetened cream cheese or whipped cream for a delicious layer. Encourage your kids to mix and match fruit topping combinations like strawberries, blueberries, kiwi, and mandarin oranges for a vibrant look.
For a creative fruit presentation, arrange the fruits in patterns or shapes; they’ll enjoy making it a mini masterpiece! Add a sprinkle of shredded coconut or a drizzle of honey for extra flair.
Don’t forget to get them involved in the decorating process; it’s a great way to bond and make dessert time even more special! Enjoy the mess and the fun!
Pudding Cup Layered Desserts
Pudding cup layered desserts are a delightful way for kids to get hands-on in the kitchen. They’ll love experimenting with different pudding variations and creating delicious layered flavors.
Here’s how to make it fun and easy:
- Choose your puddings: Select a variety like chocolate, vanilla, and butterscotch.
- Pick your layers: Include crushed cookies, fruits, or whipped cream for added texture.
- Get layering: Start with a pudding layer, then alternate with your chosen toppings.
- Chill and serve: Let the cups chill in the fridge before enjoying!
Not only will your kids have a blast, but they’ll also develop their creativity and cooking skills while making these tasty treats!
Colorful Cupcake Decorating Station
A colorful cupcake decorating station is the perfect way to ignite your kids’ creativity in the kitchen. Set up a table with freshly baked cupcakes and an array of colorful frosting. Let your little ones choose their favorite colors—think vibrant pinks, blues, and greens.
Provide piping bags or simple plastic knives for spreading the frosting.
Next, lay out a variety of fun cupcake toppings like sprinkles, mini chocolate chips, and edible glitter. Encourage your kids to mix and match, creating their unique cupcake masterpieces.
Don’t forget to snap photos of their creations before they indulge! This hands-on activity not only fosters creativity but also builds lasting memories.
Get ready for a deliciously fun time together!
Brownie Sundaes With Various Toppings
If you’re looking for a fun and interactive dessert, brownie sundaes with various toppings are a fantastic choice.
You can let the kids pick their favorite brownie varieties and create their own delicious masterpieces. Here’s how to make it extra fun with different topping combinations:
- Ice Cream: Choose from vanilla, chocolate, or mint chocolate chip.
- Sauces: Offer hot fudge, caramel, or strawberry sauce.
- Crunchy Toppings: Include crushed nuts, sprinkles, or cookie crumbles.
- Fruits: Add fresh strawberries, bananas, or cherries for a fruity twist.
Let the kids assemble their sundaes, mixing and matching toppings to their heart’s content.
Let kids unleash their creativity by assembling sundaes, blending toppings to create their own delightful masterpieces.
It’s a delightful way to explore creativity while enjoying a delicious treat!
Whipped Cream Fruit Cups
Bright and colorful, whipped cream fruit cups are a delightful treat that kids can easily help create. Start by gathering a variety of fresh fruits like strawberries, blueberries, bananas, and kiwi. Let your kids pick their favorite fruit combinations to mix things up!
Next, whip up some delicious whipped cream in different flavors—vanilla, chocolate, or even strawberry for extra fun. Encourage your little chefs to layer the fruit and whipped cream in clear cups, making it a visual delight.
For an extra touch, sprinkle some crushed cookies or nuts on top. Not only is this treat fun to make, but it’s also a great way to enjoy healthy fruits while indulging in creamy sweetness. Enjoy the mess and the delicious results!
Peanut Butter and Jelly Sushi Rolls
Peanut butter and jelly sushi rolls are a fun twist on a classic favorite that kids will love to make. They’re simple, delicious, and perfect for little hands.
Here’s how you can whip them up together:
- Gather your ingredients: You’ll need bread, peanut butter, jelly, and a rolling pin.
- Flatten the bread: Use the rolling pin to flatten each slice of bread.
- Spread the fillings: Evenly spread peanut butter on one side and jelly on the other.
- Roll it up: Roll the bread tightly like sushi, then slice it into bite-sized pieces.
Enjoy these playful sushi rolls as a snack or dessert.
It’s a great way for kids to get involved in the kitchen while having a blast!
Cookie Decorating Challenge?
How can you turn a simple cookie into a masterpiece? Join the cookie decorating challenge!
Gather your favorite cookies and set up a decorating station with various toppings. Use cookie decorating techniques like flooding, piping, and marbling to create stunning designs.
Let your kids release their creativity with colorful icing. Encourage them to experiment with creative icing ideas, like using different colors for layers or adding sprinkles and edible glitter for that extra sparkle.
Unleash your kids’ creativity with vibrant icing, encouraging playful experimentation with colors, sprinkles, and edible glitter for dazzling cookie designs!
Set a timer and see who can create the most imaginative cookie within the time limit. Not only is it a fun activity, but you’ll also end up with delicious treats to enjoy together.
Get ready for some sweet, messy fun!
Conclusion
In the kitchen, laughter dances like sugar in the air, and memories swirl around like frosting on a cake. These 25 delightful desserts aren’t just treats; they’re the sweet moments you’ll cherish forever. Let your kids’ creativity run wild, mixing joy with a splash of messiness. Whether it’s colorful fruit pops or chocolate-dipped pretzels, each bite tells a story of fun and togetherness. So roll up your sleeves, and let the delicious adventures begin!