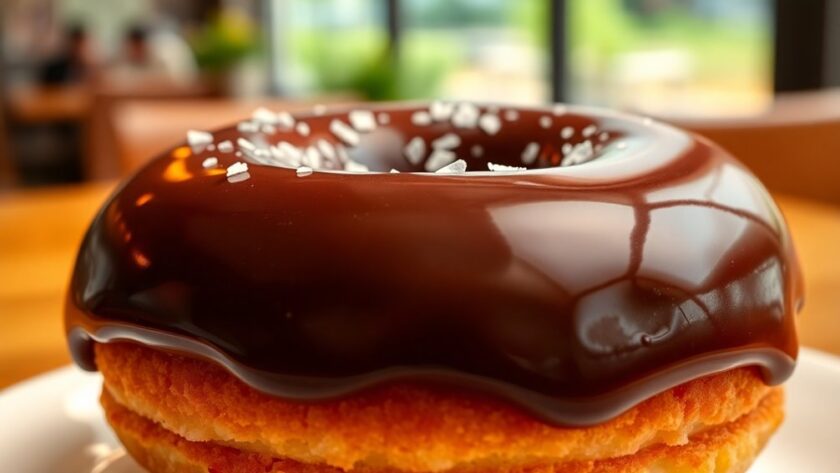
To make the perfect chocolate donut glaze, start with high-quality chocolate and powdered sugar for a rich flavor. Melt the chocolate carefully, avoiding overheating, then stir in milk to achieve a smooth consistency. Dip cooled donuts to prevent melting, and let excess drip off. Experiment with flavor enhancements like vanilla or espresso for a unique twist. Store your glazed donuts in an airtight container for freshness. Discover more tips and tricks to elevate your glazing game!
Choosing the Right Ingredients for Your Glaze
When you’re picking ingredients for your chocolate donut glaze, what should you focus on? Start with high-quality chocolate; it’s essential for a rich flavor profile. If you can’t find chocolate, consider cocoa powder as an effective ingredient substitution. Additionally, using Grand Marnier can add a delightful citrus note to your glaze.
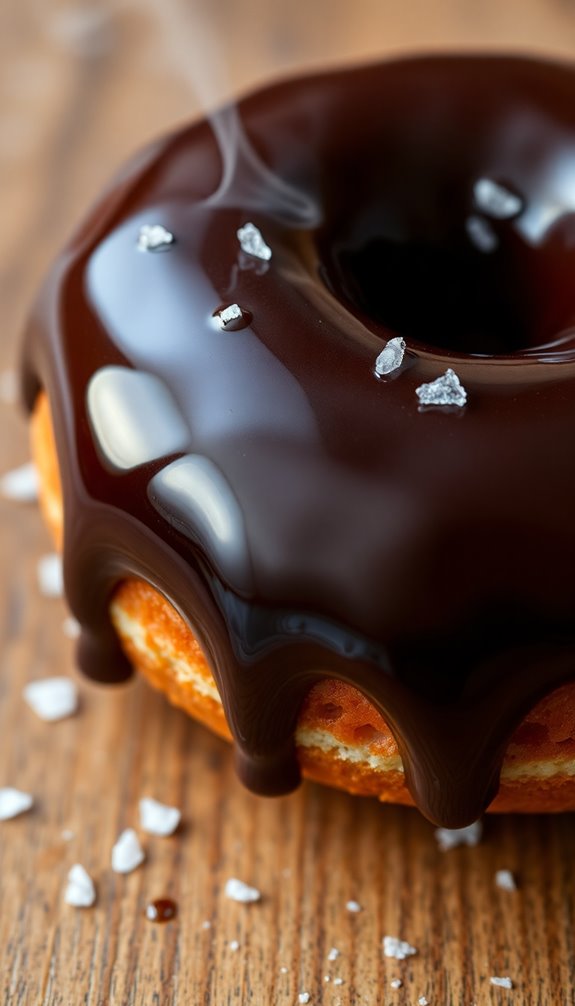
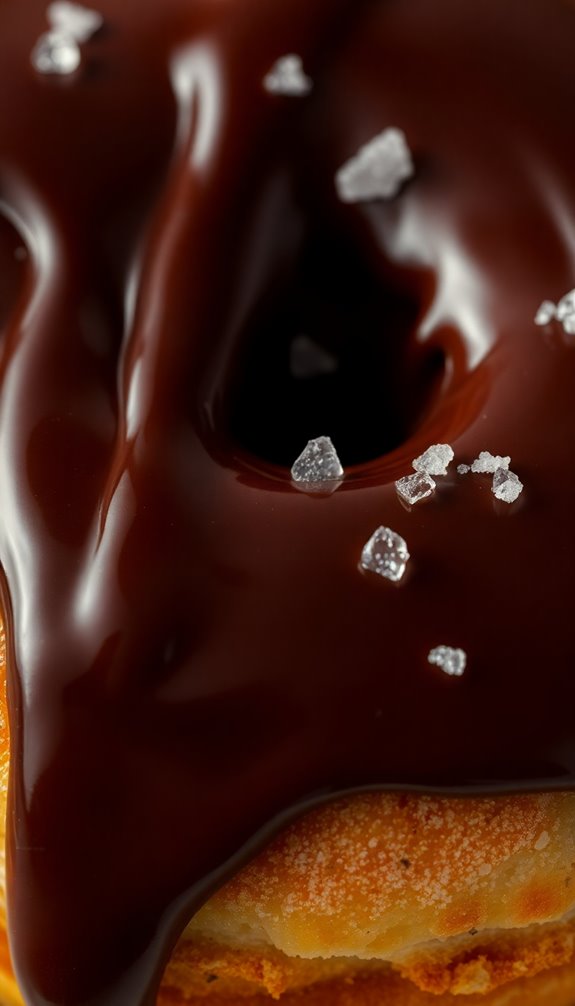
Next, opt for heavy cream or milk to achieve the right consistency—both will contribute to a smooth finish. For sweetness, powdered sugar is your best bet, but you can use alternatives like maple syrup for a unique twist. Don’t forget to add a pinch of salt; it enhances the chocolate’s depth. Experiment with flavor profiles by incorporating vanilla or espresso for added complexity. Additionally, using natural sweeteners can create a healthier glaze without sacrificing flavor. Incorporating butter can also improve the glaze’s texture and richness.
For a smooth glaze, choose heavy cream or milk, and sweeten with powdered sugar or maple syrup for a delightful twist.
With the right ingredients, your glaze will elevate your donuts to a whole new level.
The Importance of Temperature in Glazing
When glazing your donuts, temperature plays an essential role. You need to stay within the ideal range to achieve that perfect sheen, as overheating can ruin the glaze’s texture. Additionally, maintaining accurate measurements ensures that your glaze has the right consistency and flavor. It’s crucial to consider the role of brown sugar in your glaze, as it can enhance both sweetness and texture. Furthermore, using cream cheese icing can add a unique twist to your donut glaze. Plus, don’t forget about cooling time; it’s key for letting your glaze set just right.
Ideal Glazing Temperature Range
Achieving the perfect chocolate donut glaze isn’t just about the ingredients; it’s also crucial to take into account the temperature. The ideal glaze temperature typically ranges between 90°F and 110°F.
Within this range, you’ll find that chocolate viscosity is just right for coating your donuts smoothly. If the glaze is too hot, it may become overly runny, making it difficult to adhere properly. Conversely, if it’s too cool, it’ll thicken and won’t spread evenly. A well-prepared glaze can elevate your dessert, similar to how a white chocolate pound cake creates a rich flavor profile.
Monitoring your glaze temperature while whisking or melting ingredients guarantees you achieve that glossy finish you crave. Accurate flour measurement is also essential in baking to prevent dry or gooey textures. So, keep a thermometer handy, and don’t rush the process; the right temperature makes all the difference in creating a delicious, eye-catching glaze.
Effects of Overheating Glaze
Overheating your chocolate glaze can lead to significant issues, compromising both texture and flavor. When the temperature rises too high, the glaze texture becomes grainy and unappealing, losing that silky smooth finish you desire.
You might also notice a burnt taste, overshadowing the rich chocolate flavor. Overheating effects can cause the sugar in your glaze to caramelize improperly, creating a sticky or overly thick consistency that’s hard to work with.
This not only makes application difficult but also diminishes the overall quality of your donuts. To achieve that perfect glaze, keep a close eye on the temperature, ensuring it stays within the ideal range. The perfect rise time for baked goods can also enhance their overall texture and flavor, making them more enjoyable.
Your taste buds—and your donuts—will thank you for it!
Cooling Time Considerations
While you might be enthusiastic to glaze your donuts right after baking, patience is key. Allowing your donuts to cool properly will enhance the glaze’s appearance and taste.
Here are a few tips to take into account:
- Use Cooling Racks: Place your donuts on cooling racks to promote airflow, ensuring even cooling.
- Monitor Ambient Temperature: Ideally, let your donuts cool at room temperature. High humidity can affect the glaze’s drying time.
- Adjust Glaze Thickness: A thicker glaze may require more drying time, so keep in mind your desired finish when applying it. Additionally, using seasonal ingredients can elevate the flavor profile of your glaze, making it even more delightful.
How to Achieve the Perfect Consistency
To create the perfect chocolate donut glaze, you need to find that ideal balance between thickness and pourability. Start by mixing your ingredients, keeping an eye on the glaze thickness. You want it thick enough to cling to the donuts but thin enough to spread easily.
Consistency testing is key here—dip a spoon into the glaze and let it drizzle back in. If it flows smoothly but leaves a light coating, you’re on the right track.
If it’s too runny, add a bit more powdered sugar; if it’s too thick, a splash of milk or water can help. Remember, achieving the perfect consistency makes all the difference in that glossy finish you crave!
Step-by-Step Guide to Making Chocolate Glaze
Creating a chocolate glaze for your donuts is easier than you might think, especially when you follow a simple step-by-step process.
Creating a chocolate glaze for your donuts is simpler than you imagine, especially with a straightforward step-by-step approach.
Understanding chocolate’s origins and the rich history of donuts can enhance your baking experience. Here’s how to whip up that perfect glaze:
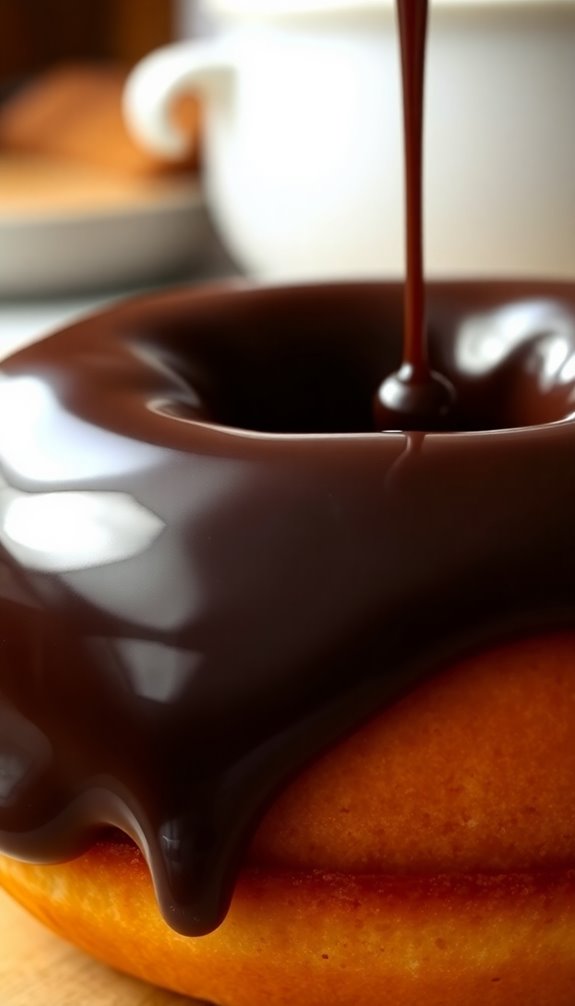
- Melt the Chocolate: In a microwave or double boiler, melt your chocolate until smooth.
- Add Ingredients: Stir in powdered sugar and milk until you reach a glossy consistency. Adjust for thickness as needed.
- Glaze Your Donuts: Dip your cooled donuts into the glaze, letting any excess drip off.
With this easy method, you’ll create a delicious chocolate glaze that pays homage to both chocolate’s roots and the beloved donut’s history.
Enjoy your baking!
Flavor Enhancements: Adding Vanilla or Espresso
Enhancing the flavor of your chocolate glaze can elevate your donuts to a whole new level, and adding vanilla or espresso is a simple way to achieve that.
A vanilla infusion brightens the rich chocolate, adding a warm, aromatic note that balances sweetness. You can use pure vanilla extract or even vanilla bean paste for an extra touch of sophistication.
On the other hand, an espresso enhancement deepens the flavor profile, bringing out the chocolate’s nuances.
Just a teaspoon of espresso powder mixed in can give your glaze a subtle coffee kick that pairs beautifully with chocolate.
Experimenting with these flavor enhancements won’t only delight your taste buds but also impress anyone lucky enough to enjoy your delicious donuts!
Common Mistakes to Avoid When Glazing
Adding flavor enhancements like vanilla or espresso can make your chocolate glaze exceptional, but common mistakes during the glazing process can undermine those efforts.
Enhance your chocolate glaze with flavors like vanilla or espresso, but avoid common glazing mistakes to achieve the best results.
Here are three common pitfalls to avoid:
- Incorrect Ingredient Ratios: Using too much liquid can affect glaze thickness and disrupt flavor balance. Stick to the recommended ratios for the best results.
- Ignoring Temperature Effects: If your donuts are too warm, the glaze may melt away. Let them cool first to maintain visual appeal.
- Inconsistent Glazing Techniques: Apply the glaze evenly for texture variations that enhance presentation. Uneven glazing can lead to a messy look.
Tips for Achieving a Shiny Finish
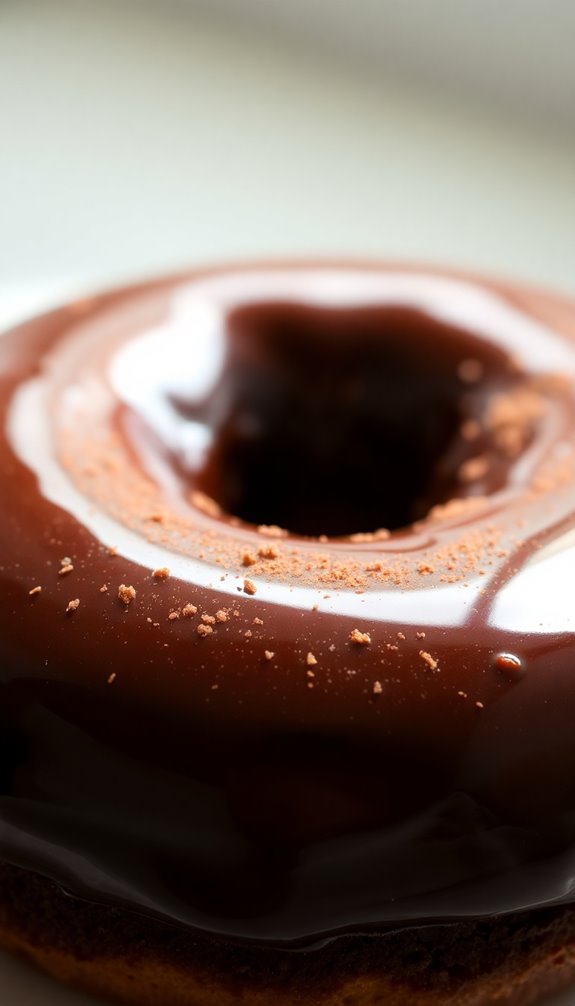
To achieve that irresistible shiny finish on your chocolate donut glaze, start with high-quality chocolate ingredients.
Keep an eye on your temperature control to guarantee everything melts perfectly.
Finally, make certain your glaze has a smooth consistency for that flawless look.
Use Quality Chocolate Ingredients
When you choose high-quality chocolate ingredients, you set the foundation for a glossy, irresistible glaze. Opting for gourmet options like organic cocoa or premium chocolate brands makes all the difference.
Here are three tips to elevate your chocolate glaze:
- Select Quality Chocolate: Use either dark chocolate for a rich flavor profile or milk chocolate for a sweeter touch.
- Consider Sustainable Sourcing: Look for chocolate brands committed to ethical practices, ensuring your glaze is both delicious and responsible.
- Experiment with Flavor Profiles: Mix different chocolates to create unique combinations, enhancing the overall taste of your donuts.
Maintain Proper Temperature Control
Achieving a shiny finish on your chocolate donut glaze hinges on maintaining proper temperature control throughout the process. When you melt your chocolate, keep the temperature steady; avoid sudden temperature fluctuations that can cause the glaze to become dull or grainy.
Ideally, aim for a melting point between 120°F and 130°F. Once melted, hold the glaze at this temperature to guarantee glaze stability, allowing the chocolate to maintain its shine. If it cools too much, you risk thickening, making it difficult to achieve that glossy look.
Achieve Smooth Consistency
Maintaining the right temperature is just the first step toward a perfect chocolate donut glaze. To achieve that smooth glaze texture you crave, follow these consistency tips:
- Mix Thoroughly: Stir your glaze until all ingredients are well combined and there are no lumps. This guarantees an even texture.
- Add Liquid Gradually: If your glaze is too thick, add liquid (like milk or water) a tablespoon at a time. This helps you control the thickness without overshooting.
- Strain for Perfection: If you notice any lumps after mixing, strain the glaze through a fine mesh sieve. This step assures a velvety finish.
How to Decorate Your Glazed Donuts
Decorating your glazed donuts can transform them from simple treats into eye-catching delights. Start by experimenting with various glaze techniques—drizzling chocolate or adding colored icing can create stunning effects.
Once your glaze is set, think about donut toppings. Sprinkles, chopped nuts, or coconut flakes can add texture and flavor. You can also use fresh fruit or even edible flowers for a more sophisticated look.
If you’re feeling adventurous, try filling your donuts with cream or custard before glazing. Remember, presentation matters! Arrange your decorated donuts on a beautiful platter to make them pop.
With a little creativity, your glazed donuts won’t only taste amazing but also impress anyone who lays eyes on them. Enjoy the decorating process!
Storage Tips for Glazed Donuts
When it comes to storing your glazed donuts, choosing the right container makes all the difference.
You can keep them fresh at room temperature or even freeze them for longer storage.
Let’s explore the best methods to guarantee those treats stay delicious!
Best Storage Containers
- Durable Plastics: Lightweight choices that resist cracking and are perfect for everyday use.
- Stackable Designs: These save space in your pantry and make it easy to organize your treats.
- Eco-Friendly Options: Made from sustainable materials, these containers are both good for the environment and easy to clean.
Room Temperature Storage
To keep your glazed donuts fresh at room temperature, it’s essential to store them properly right after they cool. First, place the donuts in an airtight container to prevent them from drying out.
If you don’t have one, a resealable plastic bag will work too—just make sure to squeeze out as much air as possible. Avoid stacking the donuts directly on top of each other to maintain their glaze and texture.
Ideally, you should consume them within two to three days for the best taste and freshness. If you notice any signs of moisture or sogginess, it’s time to rethink your storage method.
With proper care, your glazed donuts can stay delightful at room temperature!
Freezing Glazed Donuts
If you want to enjoy your glazed donuts long after they’re made, freezing them is a great option. Proper donut preservation guarantees that your treats stay delicious, even after some time.
Here’s how to freeze your glazed donuts effectively:
- Cool Completely: Allow your donuts to cool down fully before freezing. This prevents ice crystals from forming.
- Use Proper Wrapping: Wrap each donut tightly in plastic wrap, then place them in an airtight container. This helps maintain their freshness and texture.
- Label and Date: Mark your container with the freezing date. Glazed donuts can last up to three months in the freezer, thanks to your careful glazing techniques!
Now you can savor those sweet treats whenever you crave them!
Variations: Exploring Different Glaze Recipes
While a classic chocolate donut glaze can be irresistible on its own, experimenting with different variations can elevate your treats to a whole new level.
Try adding unique flavorings like espresso or peppermint for a twist that surprises your taste buds. Don’t forget about creative toppings; crushed nuts, sprinkles, or even bacon bits can add texture and flair.
Seasonal variations are also fun—think pumpkin spice for fall or a zesty lemon glaze in the summer.
Additionally, cultural influences can inspire your glaze; a matcha or chai-infused glaze brings a delightful twist to traditional recipes.
Troubleshooting Your Glaze: What to Do When It Goes Wrong?
What do you do when your chocolate glaze turns out too thick or too runny? Don’t worry; troubleshooting your glaze can be straightforward. Here are some techniques to fix common issues:
- Adjust Ingredient Ratios: If it’s too thick, add a bit of warm milk or cream to improve glaze consistency. If it’s too runny, sprinkle in more powdered sugar to thicken it up.
- Control Temperature: Confirm your chocolate is melted at the right temperature. Too hot can lead to separation, while too cool may cause clumping.
- Choose Quality Chocolate: Opt for high-quality chocolate for better flavor balance and visual appeal. The right chocolate can make a significant difference in your glaze’s texture and taste.
With these tips, you’ll achieve the perfect glaze!
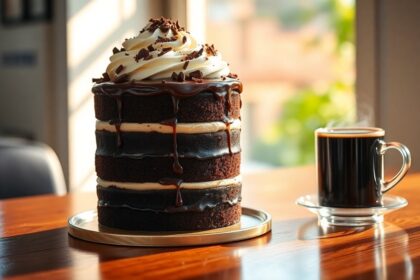
Pairing Your Chocolate Donuts With Beverages
Ever wondered what drinks pair best with your chocolate donuts?
Start with classic coffee pairings—espresso or a rich cold brew elevate the chocolate flavor. If you prefer milk alternatives, try almond or oat milk for a creamy touch.
Tea selections like chai or mint can offer a rejuvenating contrast. For a festive twist, seasonal beverages like pumpkin spice lattes work wonders too.
Don’t forget flavored syrups to enhance your coffee experience!
Sparkling drinks can cleanse your palate, while dessert wines add a luxurious touch.
For a fun brunch, craft beers like stouts complement the donuts perfectly.
Breakfast smoothies can balance the sweetness, and hot chocolates are a cozy choice.
Enjoy experimenting with these delightful pairings!
Conclusion
Now that you know how to make the perfect chocolate donut glaze, why not give it a try? With the right ingredients and a few simple steps, you can elevate your donuts to a whole new level. Remember to experiment with flavors and don’t be afraid to troubleshoot when things don’t go as planned. Once you’ve mastered the glaze, you’ll be ready to impress friends and family with your delicious creations. Happy glazing!