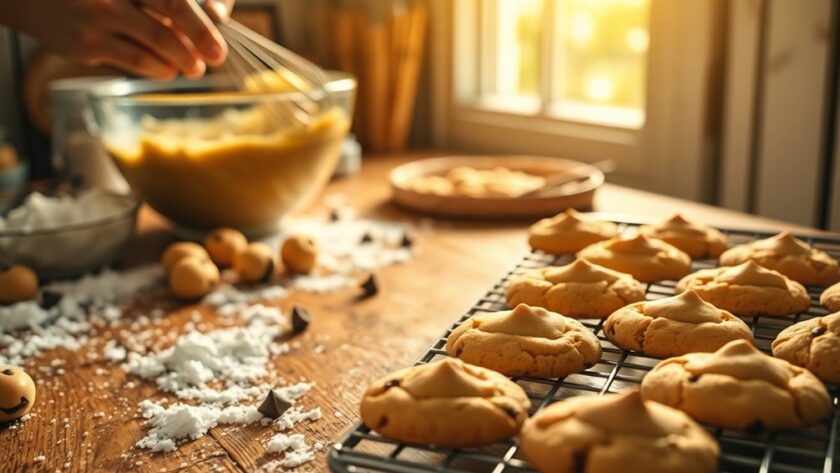
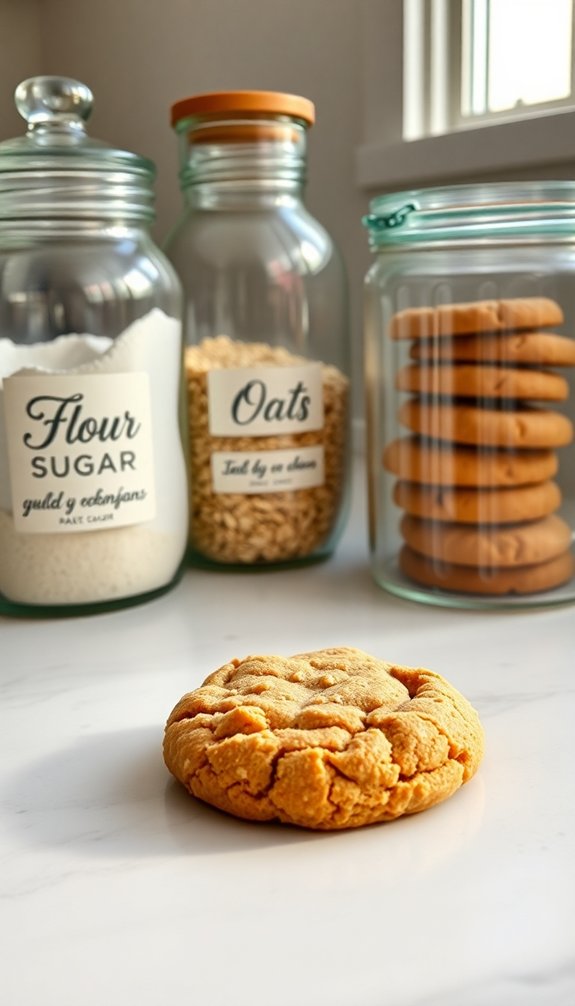
To bake delicious chipless cookies, start by preheating your oven to 400°F. Cream together melted unsalted butter and dark brown sugar for a rich, buttery base. Mix in all-purpose flour, baking soda, and a pinch of kosher salt. Chill the dough for 20 minutes, then scoop and bake for 11-13 minutes. For extra flavor, sprinkle with flaky sea salt before baking. These cookies are chewy with crisp edges, and there’s more to discover about variations and storage options!
What Makes Chipless Cookies Unique
When it comes to cookies, chipless varieties stand out for their rich, buttery flavor and unique texture. By using dark brown sugar, you enhance that caramel-like taste, making every bite a delightful experience.
These cookies boast a chewy texture with crisp edges, thanks to the careful balance of wet and dry ingredients, particularly unsalted butter, which allows for better control of saltiness. Baking at an elevated temperature of 400°F guarantees a golden brown color and a perfectly gooey center. Additionally, substituting half a cup of avocado for butter can improve the nutrient profile without sacrificing taste. Incorporating gluten-free flour options can also contribute to a diverse range of flavors and textures.
Plus, a chilling process of 20 minutes in the freezer helps maintain their cute round shape. Topping them with flaky salt before baking adds an extra flavor dimension that perfectly complements their sweet, buttery essence. Additionally, you can experiment with different gluten-free flour blends to achieve a unique texture and flavor profile in your chipless cookies.
Essential Ingredients for Chipless Cookies
The foundation of chipless cookies lies in their fundamental ingredients, each playing a crucial role in achieving that perfect balance of flavor and texture.
Start with dark brown sugar for a rich flavor and caramel-like sweetness. Use unsalted butter to control salt content while enhancing the buttery goodness. All-purpose flour, like Gold Medal unbleached, guarantees the right chewy texture. Additionally, using protein cookies can be a nutritious alternative for those looking to maintain a balanced diet. These cookies can also incorporate gluten-free ingredients to cater to those with gluten sensitivities.
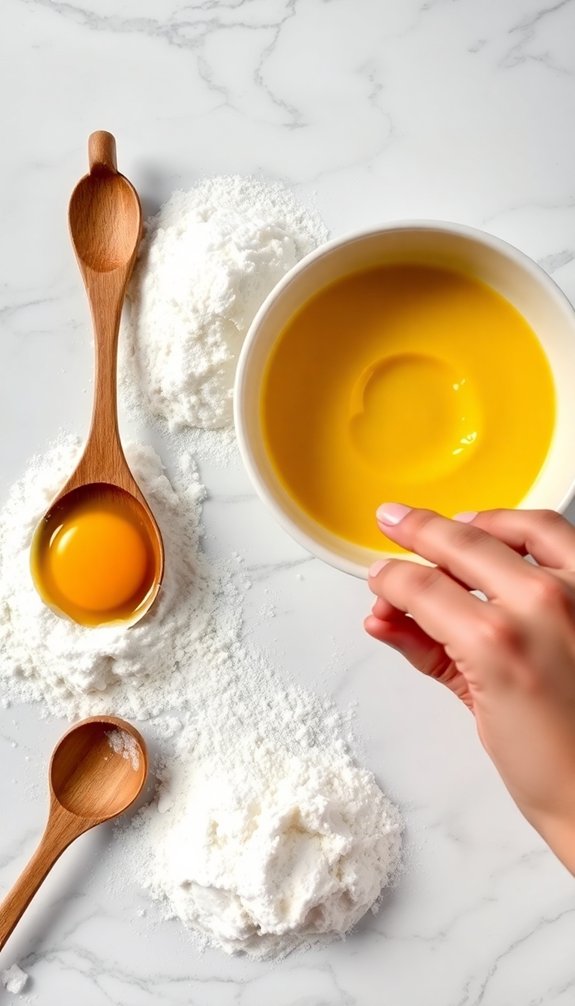
Incorporate one whole egg and an extra yolk at room temperature to add moisture and richness. A splash of pure vanilla extract elevates the aromatic sweetness. Don’t forget baking soda and a pinch of kosher salt to round out the flavors. Additionally, using gluten-free flour can make these cookies suitable for those with dietary restrictions.
Together, these ingredients create cookies that are delightfully chewy and packed with depth. Enjoy your baking!
Step-by-Step Baking Instructions
To bake perfect chipless cookies, you’ll want to master a few essential techniques and prep your ingredients wisely.
Start by preheating your oven and lining your baking sheets, as these steps set the stage for success. Incorporating the right fat into your cookie dough can significantly enhance the flavor and texture of your cookies. A pinch of almond extract can also elevate the overall taste, adding a delightful nutty undertone that complements the other ingredients. Additionally, using gluten-free flour can ensure your cookies are suitable for those with dietary restrictions while maintaining a delicious flavor.
With the right preparation and a bit of care, you’ll create cookies that are both delicious and visually appealing.
Essential Baking Techniques
Baking cookies requires careful attention to detail, as each step plays a crucial role in achieving that perfect balance of chewy and crispy textures.
Follow these essential baking techniques to create your chipless cookies:
- Preheat the oven to 400°F (200°C) for a golden brown finish and ideal crispiness during baking.
- Cream melted unsalted butter and sugars for 1-2 minutes until you reach a paste-like consistency, then add eggs and vanilla for richness.
- Fold in the dry ingredients—flour, baking soda, cornstarch, and salt—just until combined to maintain the cookie’s structure.
Bake your cookies for 11-13 minutes, leaving them slightly underbaked in the center.
Let them set for 5 minutes before transferring to a wire rack. Enjoy your delicious creation!
Ingredient Preparation Tips
Achieving the perfect chipless cookies starts with proper ingredient preparation. Make sure your unsalted butter, eggs, and vanilla extract are at room temperature for ideal texture.
Measure out your dry ingredients like flour, dark brown sugar, granulated sugar, baking soda, cornstarch, and salt before mixing. Melt the butter and whisk it with the sugars for 1-2 minutes until it forms a paste-like consistency.
Next, gradually fold in the flour mixture until just combined to preserve that soft center. Now, roll the dough into uniform balls; you can coat them in granulated sugar if you’d like extra sweetness.
Finally, place them on baking sheets and bake at the recommended temperature for the perfect cookie!
Tips for Perfecting Your Chipless Cookies
When crafting chipless cookies, a few key tips can make all the difference in achieving the perfect batch. Follow these steps for a delicious outcome:
- Use dark brown sugar for a deeper, caramel-like flavor that enhances the cookie’s taste.
- Preheat your oven to 400°F (200°C) to guarantee a slightly crisp exterior and a beautifully golden brown finish.
- Chill the dough for about 20 minutes before baking. This helps maintain their round shape and prevents excessive spreading. Incorporating healthier ingredients like almond flour can also enhance the texture and nutritional profile of your cookies. Additionally, using sugar substitutes can help lower the overall sugar content without sacrificing flavor.
While baking, monitor the baking time closely. Aim for 11-13 minutes, allowing the cookies to be slightly underbaked in the center for that ideal chewy texture. Additionally, consider substituting traditional sugars with natural sweeteners to further enhance the health profile of your cookies.
Finish with flaky sea salt to elevate the flavor profile, creating a delightful contrast with the sweetness.
Storage and Freezing Options
When you want to enjoy fresh cookies anytime, freezing cookie dough balls is a game changer. Just shape the dough, freeze the balls, and store them for later use. You can also keep baked cookies in an airtight container to maintain their deliciousness for days or even months. This method is similar to how traditional desserts like Norwegian Kransekake can be prepared in advance for special occasions. Additionally, proper storage techniques ensure that your cookies remain fresh and flavorful. The beauty of freezing options allows you to savor treats like Julekage at your convenience, making holiday gatherings even more enjoyable.
Freezing Cookie Dough Balls
Freezing cookie dough balls is a simple way to guarantee you always have fresh cookies on hand. Here’s how to do it:
- Scoop your cookie dough into 2-tablespoon portions and place them on a baking sheet in a single layer, ensuring they don’t touch.
- Once frozen solid, transfer the cookie dough balls to an airtight container or freezer bag for up to 2 weeks for ideal freshness.
- When you’re ready to bake, let the dough sit at room temperature while preheating the oven, adding an extra minute to the baking time if needed.
If you prefer to refrigerate, the dough can last 2-3 days, but remember it may require additional baking time if chilled.
Enjoy your cookie recipes!
Storing Baked Cookies
To keep your baked chipless cookies fresh and delicious, store them in an airtight container at room temperature for up to 5 days. This method maintains their ideal softness and chewy texture.
If you want to enjoy your cookies later, you can freeze them in an airtight container for up to 3 months without sacrificing freshness.
When freezing cookie dough, scoop it into 2 Tbsp. balls, freeze in a single layer, then transfer to a freezer bag for up to 2 weeks.
To bake frozen dough, simply preheat the oven and add an extra minute to the baking time, or thaw it in the refrigerator for 2-3 days before baking.
Proper storage guarantees you enjoy your cookies at their best!
Variations and Substitutions
While you might’ve a favorite chipless cookie recipe, experimenting with variations and substitutions can lead to exciting new flavors and textures. Here are some ideas to get you started:
- Sugar Swap: Substitute dark brown sugar with light brown sugar for a milder taste; just know the caramel flavor will be less intense.
- Flour Options: Use gluten-free flour as a direct replacement for all-purpose flour to accommodate dietary needs without sacrificing texture.
- Nutty Add-ins: Enhance your cookies with chopped walnuts or pecans for extra crunch.
For a richer flavor profile, try browning the unsalted butter before mixing or opt for margarine if you’re out of butter, but be aware it may alter the texture slightly.
Enjoy your baking adventure!
Conclusion
Now that you’ve mastered the art of chipless cookies, imagine pulling a warm batch from the oven, their golden edges beckoning you closer. As the sweet aroma fills your kitchen, you can’t help but wonder how they’ll taste. Will the hint of vanilla surprise you? Will the buttery goodness melt in your mouth? Each bite promises a delightful experience, leaving you craving more. So, go ahead, take that first bite—you won’t regret it!