
Last updated: · By Claire Dawson
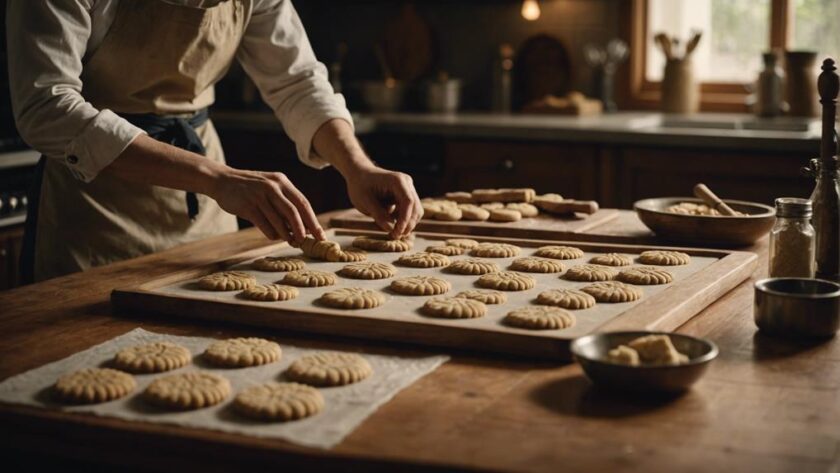
Traditional baking with wood cookie molds means pressing stiff dough into a carved wooden board so the raised design transfers to the cookie before it bakes. A wood cookie mold is a carved wooden board, sometimes called a cookie stamp or print mold, that leaves a pattern in the dough. To get clean, detailed results, flour the mold, press the dough firmly into every recess, trim the edges, and bake at about 350°F (175°C) until the cookies are set and lightly golden. This guide walks you through each step, from choosing a mold to caring for the wood afterward.
Key Takeaways
- A wood cookie mold presses a raised design into dough, and dusting the carving with flour before pressing is the main step that prevents sticking.
- University of Florida IFAS Extension guidance says most cookies should be baked at a minimum of 350°F (175°C) and recommends an oven thermometer to confirm calibration.
- The National Institute of Standards and Technology notes that each oven has temperature differences, so you should learn your own oven’s true temperature.
- Traditional springerle molds were often carved from hard pear wood, while earlier molds were likely made of stone or clay.
- Wood molds hold up best when you avoid soaking them, dry them fully, and store them in a cool, dry place.
What Is a Wood Cookie Mold and Where Did It Come From?
A wood cookie mold is a carved board that imprints a pattern onto dough, and it is most closely tied to German-speaking and Central European holiday baking. Springerle, a stiff anise-flavored cookie, is the best-known example. Early springerle molds were likely made from stone or clay, while some of the most prized carved designs were made from hard pear wood, according to Atlas Obscura’s overview of springerle.
Some molds were carved on both sides so a family could include more of its favorite images. A museum artifact entry from the University of Missouri’s Deutschheim Historic Site project also notes that springerle cookies were flavored with anise oil for the holidays. That history explains why many traditional recipes focus on seasonal themes and symbols.
How Do You Choose the Right Wood Cookie Mold?
Choose a mold based on the level of detail you want, the size of your baking sheet, and the theme you plan to bake. Deeply carved molds show more detail but require firmer dough and more careful pressing. Shallow, simpler designs are easier for beginners.
Use this checklist before you buy or use a mold:
- Carving depth: Deeper carving captures finer lines but can be harder to release cleanly.
- Size: Confirm the mold fits your baking sheet with room for air to circulate around the cookies.
- Theme: Pick designs that suit your event, such as holiday motifs, floral patterns, or animals.
- Wood condition: Look for smooth, sealed carving with no cracks, splits, or loose pieces.
- Both sides: Double-sided molds let you bake two designs, but they can be harder to clean between batches.
If you are new to molded cookies, start with a basic sugar cookie or shortbread-style dough and a simple mold. Once you understand how your dough behaves, you can move to a stiffer traditional recipe. For more background on the difference between dough styles, read how shortbread and sugar cookie doughs differ in texture and fat content. For a classic reference on cookie techniques, the guide to must-read cookie baking books is a good place to start building your shelf.
How Do You Prepare Dough for a Wood Cookie Mold?
Use a dough that is stiff enough to hold a sharp impression and cold enough to keep its shape. Soft dough spreads and blurs the design, while dough that is too dry cracks as you press. Many traditional springerle recipes are rested for several hours or overnight, which firms the dough and helps the surface set.
If you are making a simpler sugar cookie dough for molding, chill it until it is firm but still pliable. A sugar cookie recipe built for cut-out shapes is a useful starting point because it is designed to hold clean edges. Work with one portion of dough at a time and keep the rest refrigerated.
What Are the Most Common Problems and How Do You Fix Them?
Most molding problems come down to dough temperature, flour on the mold, or oven temperature. Use the table below to diagnose what went wrong.
| Problem | Likely cause | Fix |
|---|---|---|
| Dough sticks to the mold | Mold not dusted, or dough too warm | Brush flour into the carving and chill the dough before pressing |
| Blurry or shallow design | Dough too soft or pressed too lightly | Chill the dough and press firmly into every recess |
| Cookies spread and lose detail | Dough too warm or too much leavening | Refrigerate shaped cookies briefly and check your leavening amount |
| Uneven browning | Oven temperature off or hot spots | Verify with an oven thermometer and rotate the pan halfway through baking |
How Do You Press and Trim the Dough?
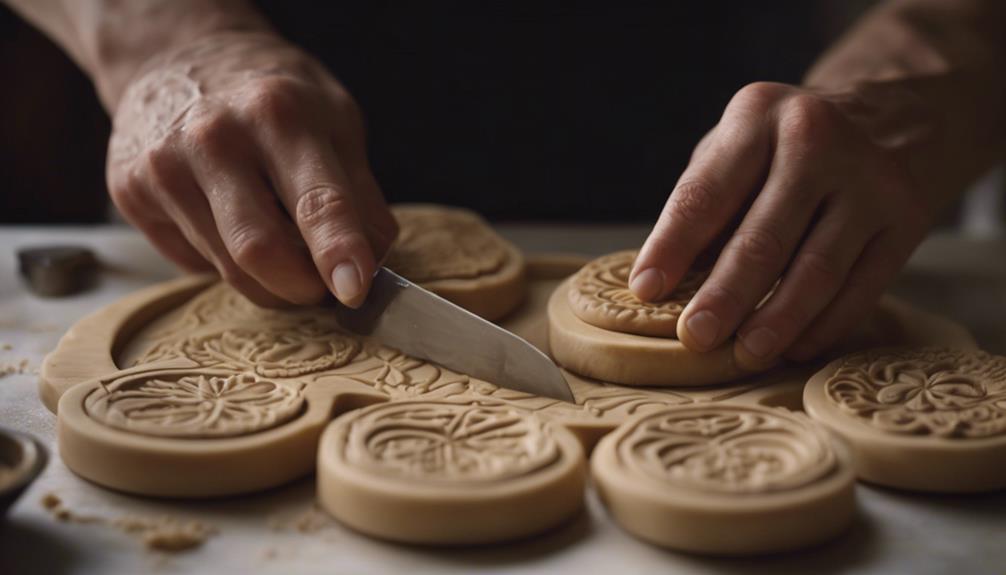
Dust the mold with flour, press the dough firmly into the carving, and trim the excess so the cookie has clean edges. Press with even pressure rather than hitting the mold, because uneven force can distort the pattern. Flour helps the cookie release, but too much flour can dull fine lines.
Follow these steps for each cookie:
- Brush a light, even layer of flour into the carved surface, then tap off any excess with a dry brush.
- Roll a portion of dough into a ball or slab slightly larger than the carving.
- Press the dough firmly and evenly into every recess, starting at the center and working outward.
- Trim the excess dough around the edges with a thin metal spatula or knife, using a straight, steady motion.
- Roll a rolling pin lightly over the back of the dough, or flatten it gently, so the cookie is an even thickness.
- Release the cookie onto a parchment-lined sheet by lifting one edge first, and leave a small gap between cookies.
Work quickly enough that the dough stays cool. If it softens, return the cut cookies to the refrigerator for about 10 to 15 minutes before baking. This helps the design hold through the oven.
How Hot Should the Oven Be for Molded Cookies?
Bake most molded cookies at about 350°F (175°C), and check doneness by color and set edges rather than only by the clock. The University of Florida IFAS Extension says most cookies, cakes, and pastries should be baked at a minimum of 350°F (175°C), according to its baking food safety guidance. Bake times vary with dough thickness and mold depth, so expect a range and check your first batch.
Why Does Oven Temperature Matter So Much?
Oven temperature affects how far the design sets before the cookie browns. The National Institute of Standards and Technology advises that because each oven has temperature differences, bakers should understand their oven temperature as a basic best practice, as explained in its Metric Kitchen guide to culinary temperature. An inexpensive oven thermometer is the simplest way to check yours.
Place the baking sheet in the center of the oven for the most even heat. For help choosing the right position, see guidance on which oven rack to use for cookies.
How Do You Decorate Wood Mold Cookies?
Let the cookies cool completely on a rack before you decorate them, so icing does not melt or slide. Most molded cookies look best with a light touch, such as a thin royal icing outline, a dusting of color, or a gentle wash that highlights the raised pattern.

How Do You Use Royal Icing on Molded Cookies?
Pipe royal icing with a small round or fine tip to outline the design, then fill larger areas with thinner icing. Keep your icing consistency consistent within each color so the finish looks even. Allow the icing to dry undisturbed until it is firm to the touch before stacking or packaging the cookies.
What Edible Decorations Work Best?
Sprinkles, colored sugars, edible pearls, and edible luster dust add texture without hiding the carved detail. Press decorations onto wet icing while it is still soft, then brush off any loose pieces after it dries. Stencils and powdered sugar or cocoa can create elegant contrast on the surface.
How Do You Care for Wood Cookie Molds?
Clean wood molds by brushing out flour and dough, wiping lightly, and drying them fully. Avoid soaking the wood or running it through a dishwasher, because water can warp or crack the carving over time. Store the mold in a cool, dry place away from heat and humidity.
- Brush clean: Remove dough and flour with a dry or lightly damp soft brush after each batch.
- Dry fully: Air-dry the mold before storing it so no moisture is trapped in the carving.
- Store flat or upright: Keep the mold in a cool, dry spot where it will not bend or get knocked.
- Season if recommended: Some bakers occasionally rub a food-grade mineral oil into the wood to help prevent sticking, but check the manufacturer’s instructions first.
- Avoid extremes: Keep molds away from direct heat, steam, and damp cabinets.
Frequently Asked Questions
Can I Use Any Cookie Dough in a Wood Cookie Mold?
Not every dough works well. Doughs that are stiff, low in spread, and cold hold detailed designs best. Soft, high-butter doughs tend to spread and lose the pattern, so choose a recipe designed for molding or cut-out shapes.
Why Do My Cookies Stick to the Mold?
Sticking usually happens when the mold is not dusted with flour or when the dough is too warm and soft. Brush flour into every recess before each press and chill the dough if it becomes sticky. A quick refrigeration of the shaped dough can also help it release cleanly.
What Temperature Should I Bake Molded Cookies At?
Bake most molded cookies at about 350°F (175°C), which matches the minimum baking temperature recommended by University of Florida IFAS Extension for most cookies. Check doneness by color and set edges, and confirm your oven with a thermometer, since oven temperatures can vary from the dial reading.
Do I Need to Wash a Wood Cookie Mold?
You usually only need to brush the mold clean and let it dry. Soaking or scrubbing hard can damage fine carving and leave moisture in the wood. Wipe away any stuck dough gently with a soft brush.
How Do I Keep Molded Cookies From Losing Detail?
Chill the dough before and after pressing, press firmly, and avoid overbaking. Keeping the dough cold and the baking temperature steady gives the design the best chance to hold. Handle the cooled cookies gently so the raised details do not break.
Conclusion
Traditional baking with wood cookie molds rewards careful dough, firm pressing, and a reliable oven. Dust the mold, press and trim cleanly, bake at about 350°F, and let the cookies cool before decorating. With basic care, your carved molds can produce detailed cookies for many seasons.


