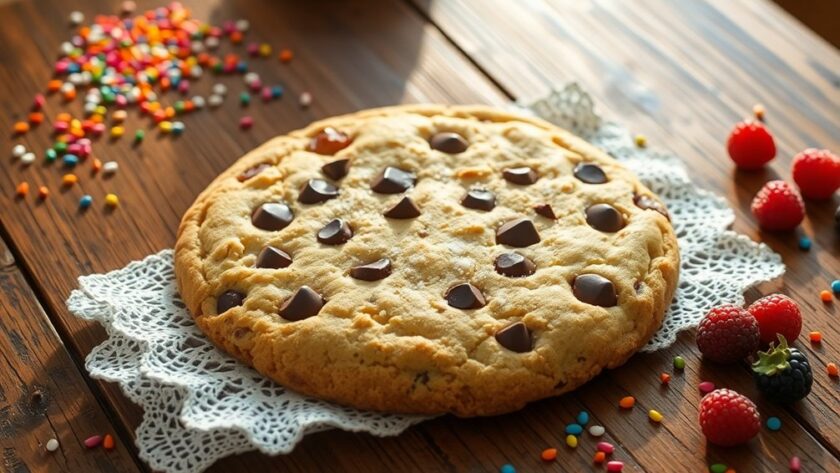
Looking for a quick and easy dessert? This sheet cookie recipe is your solution! You'll melt butter and mix it with sugars for a rich flavor and ultra-chewy texture. Using a half sheet pan lets you bake more cookies at once, and you can customize with your favorite chocolate chips or nuts. Plus, it accommodates gluten-free diets! Stick around to discover expert tips, variations, and storage ideas to keep your cookies fresh.
Why This Recipe Works
When you choose this sheet cookie recipe, you'll appreciate how it streamlines the baking process. You won't need to scoop or batch, allowing for quick preparation, perfect for busy days or gatherings.
Using a standard half sheet pan guarantees even baking, giving your sheet pan cookies a consistent, ultra-chewy texture throughout. The combination of melted butter, granulated sugar, and brown sugar enhances both the flavor and moisture, creating a deliciously satisfying treat. The addition of gluten-free flour ensures that everyone can enjoy these cookies, making them suitable for various dietary needs. Moreover, incorporating protein cookies into your diet can help meet daily protein requirements efficiently.
Plus, the recipe's simplicity means you only need one bowl for mixing, minimizing cleanup. You'll love the flexibility it offers, allowing for multiple flavor variations in a single batch while maintaining that desirable chewy consistency. Additionally, you can experiment with spices to enhance the flavor profile of your cookies.
This straightforward approach makes baking enjoyable and efficient.
Essential Equipment
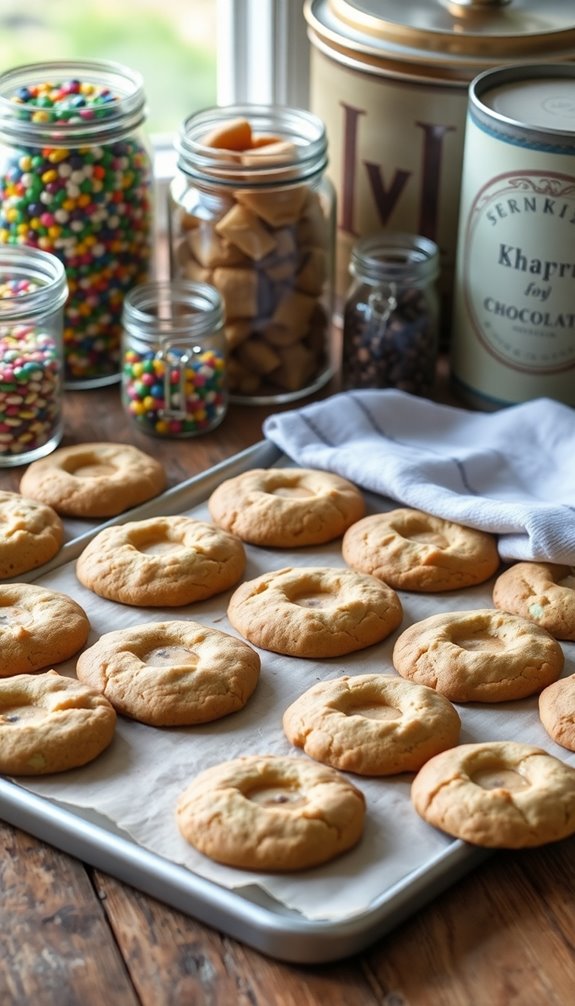
To achieve the perfect sheet cookies, having the right equipment is vital. A standard half sheet pan, measuring 18×13 inches, guarantees uniform baking and an ideal cookie texture. Additionally, using a traditional baking method can enhance the overall flavor of your cookies.
You'll want a large, microwave-safe bowl for melting the butter, making ingredient mixing a breeze. A rubber spatula is essential for gently folding the dry ingredients into the wet mixture, helping you achieve that soft and chewy texture. Incorporating almond extract can elevate the flavor profile of your cookies, adding a delightful nutty undertone.
For easier cleanup and to prevent sticking, line your sheet pan with parchment paper or use nonstick spray.
After baking, transfer your cookies to a wire rack for cooling, allowing air circulation to prevent sogginess. Additionally, using a 1-to-1 gluten-free flour blend can enhance the texture and taste of your cookies, ensuring they are both delicious and accommodating for gluten-sensitive individuals.
With this equipment, you'll create delicious sheet cookies with minimal fuss!
Ingredient Notes
With the right equipment in hand, it's time to focus on the ingredients that will make your sheet cookies shine. For a delicious and quick dessert, you'll need:
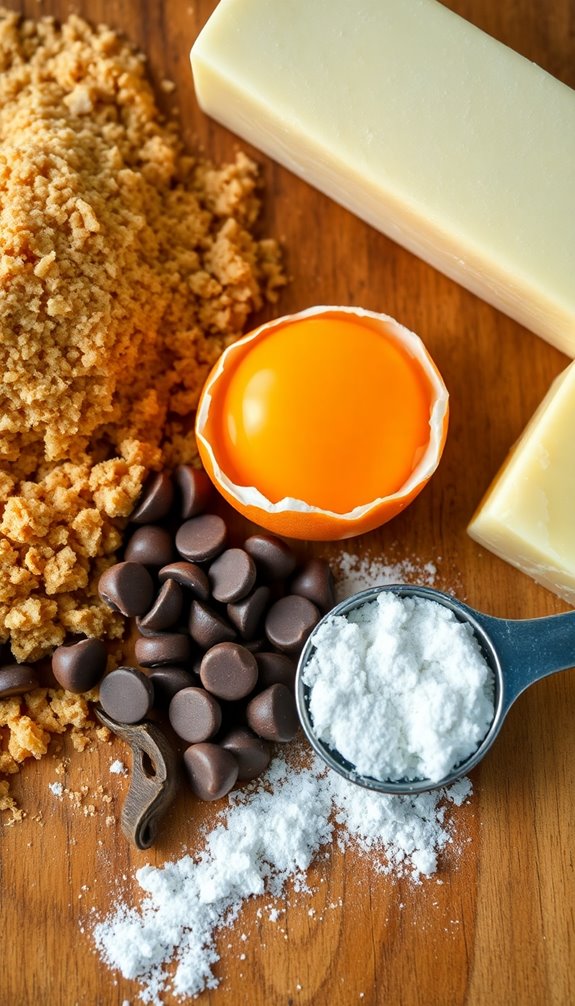
- All-purpose flour: Measure accurately; fluff and level for the best results.
- Unsalted butter: Melt and cool it slightly to control salt and avoid melting the chocolate chips.
- Granulated and brown sugar: This combo adds sweetness and moisture, with light brown sugar as a good substitute.
- Cornstarch: Use it for a softer, chewier texture, or skip it if you don't have any. Incorporating gluten-free flour blends can also ensure that your dessert is suitable for those with dietary restrictions. Additionally, consider using sugar substitutes to make your cookies diabetic-friendly.
Don't forget to include chocolate chips, keeping your total mix-ins under 2 cups to maintain the proper dough consistency. Additionally, using almond flour can enhance the nutritional profile of your cookies, making them a healthier option.
Enjoy your baking!
Step-by-Step Instructions
Let's get into the step-by-step instructions for making your delicious sheet cookies.
You'll need some essential baking equipment and the right technique for mixing wet and dry ingredients. Using easy vegan substitutions can help you maintain the flavor while making your cookies plant-based. Additionally, consider using almond flour for a gluten-free option that also provides a delightful nutty flavor and moist texture.
Plus, I'll share tips on achieving that perfect baking time for chewy, mouthwatering cookies. Consider using healthy fat swaps to improve the nutritional profile of your cookies without compromising on taste.
Essential Baking Equipment Needed
Having the right baking equipment is essential for making perfect sheet cookies.
You'll want to gather a few key items to guarantee even baking and easy cleanup. Here's what you need:
- Standard half sheet pan (18×13 inches) for consistent thickness
- Large microwave-safe bowl for melting butter
- Rubber spatula for folding ingredients without overmixing
- Parchment paper to prevent sticking and simplify cleanup
Don't forget to spray the pan with nonstick spray!
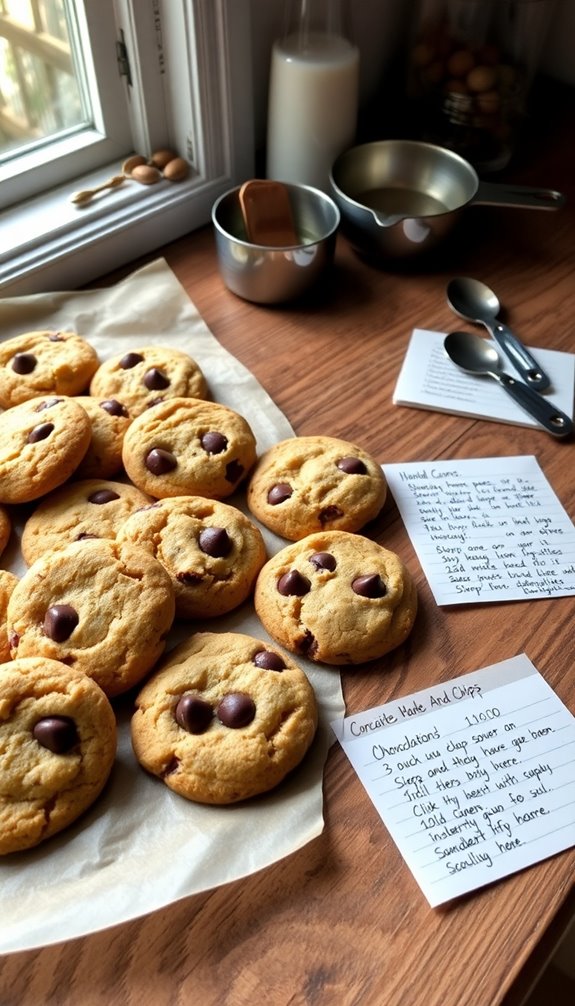
After baking, place your cookies on a wire rack to cool completely. This step helps maintain that delightful chewy texture you crave.
With these essential tools, you'll be set for delicious, hassle-free sheet cookies!
Mixing Wet and Dry Ingredients
Now that you've gathered your baking equipment, it's time to mix the wet and dry ingredients for your sheet cookies.
Start by melting unsalted butter in a large microwave-safe bowl, then let it cool for about 10 minutes. Next, mix together the cooled butter, granulated sugar, and brown sugar until smooth. Incorporate the eggs and vanilla extract, stirring until the mixture lightens in color.
In a separate bowl, whisk together all-purpose flour, baking soda, and any other dry ingredients. Gradually fold this dry mixture into your wet ingredients until no visible flour streaks remain.
Finally, gently fold in chocolate chips, ensuring they're evenly distributed throughout the cookie dough batter without overmixing. Enjoy your baking!
Perfect Baking Time Tips
To achieve perfectly baked sheet cookies, start by preheating your oven to the right temperature—325°F or 350°F, depending on your recipe.
Use a standard half sheet pan for an even layer that guarantees ideal texture. Here are some key tips:
- Bake time is vital; aim for 22-25 minutes.
- Check for doneness a few minutes early; the edges should be golden brown while the center looks slightly undercooked.
- Rotate the pan halfway through baking for even heat distribution.
- Allow to cool on the pan to firm up.
For extra flair, press additional chocolate chips or toppings into the dough before baking to enhance presentation and flavor.
Enjoy your delicious, perfectly baked cookies!
Expert Tips for Success
To guarantee your sheet cookies turn out perfectly, accurate ingredient measurements are a must. Keep an eye on the baking time, checking for that ideal chewy texture. Additionally, using simple vegan ingredients can help ensure a delightful flavor without compromising dietary needs. Finally, don't skip the cooling step; letting them cool in the pan will enhance their overall structure and flavor. Additionally, consider experimenting with popular adaptations to create unique variations that appeal to different tastes and dietary needs. Incorporating low-sugar alternatives can further enhance the health benefits of your cookies while still satisfying your sweet tooth.
Accurate Ingredient Measurements
Accurate ingredient measurements are essential for perfecting your sheet cookies, as even slight variations can lead to disappointing results.
To guarantee success, consider these expert tips:
- Use a kitchen scale for precise measurements instead of relying on volume.
- When measuring flour, fluff it up first, then spoon it into your measuring cup and level it off.
- For brown sugar, pack it firmly into the measuring cup to enhance sweetness and moisture levels.
- Keep track of your ingredient ratios, guaranteeing mix-ins like chocolate chips don't exceed 2 cups to maintain proper dough spreading.
Monitor Baking Time
While baking sheet cookies, keeping a close eye on the time is essential for achieving that perfect texture.
Start checking for doneness a few minutes before the recommended baking time of 22-25 minutes. Look for edges that are golden brown while the centers appear slightly under-baked, as they'll firm up during cooling.
If cookies puff up too much, gently tap the pan on the counter to settle them. To test for doneness, use a toothpick; it should come out with a few moist crumbs for ideal softness.
Don't forget to rotate the pan halfway through baking for even heat distribution, ensuring your cookies bake perfectly every time.
Monitor your cookies closely to avoid any mishaps!
Proper Cooling Techniques
Cooling your sheet cookies properly is essential for achieving that perfect bite. Follow these expert cooling techniques to guarantee your cookies have the ideal texture and structure:
- Allow cookies to cool directly on the sheet pan to firm up.
- Avoid stacking or covering warm cookies to prevent trapping steam.
- If cookies look puffy, gently tap the pan to help them settle.
- Transfer to a wire rack once set to promote airflow and prevent moist bottoms.
Make certain to wait until the cookies are completely cool before cutting into portions. This prevents them from becoming crumbly and maintains their delicious structure.
Master these cooling methods, and you'll enjoy cookies that are just right every time!
Variations to Try
If you're looking to shake things up in your baking routine, consider trying out some exciting variations on the classic sheet cookie recipe.
For a chewy treat, add a mix of dried fruits and nuts to create Fruit and Nut Cookie Bars.
If you prefer a hearty option, incorporate oats and mix-ins like raisins for Oatmeal Cookie Bars.
For a rich twist, swirl creamy peanut butter into the dough with chocolate chips for Peanut Butter Chocolate Swirl Bars.
Alternatively, substitute regular chocolate chips with white chocolate chips and chopped macadamia nuts for White Chocolate Macadamia Nut Bars.
Finally, combine various nuts, seeds, and dried fruits for energizing Trail Mix Bars.
Each variation brings a unique flavor to your cookie pan!
Storage and Shelf Life
After enjoying your delicious sheet cookie variations, knowing how to store them properly can help you savor their goodness for longer. For ideal storage:
- Keep leftover cookies in an airtight container at room temperature for up to 5 days to maintain freshness.
- For longer shelf life, freeze baked cookies in a freezer-safe bag or airtight container for up to 3 months.
- Make sure to tightly seal frozen cookies to prevent freezer burn and maintain texture.
- To thaw, simply leave them at room temperature for a few hours or microwave them for a few seconds.
Avoid placing cookies in direct sunlight or near heat sources, as these can negatively affect their taste and texture.
Enjoy your treats longer with these simple tips!
Conclusion
You might think baking cookies takes too much time, but this sheet cookie recipe proves otherwise. With just a few simple steps, you'll have delicious, homemade treats in no time. Imagine pulling a warm, gooey sheet of cookies from the oven, filling your kitchen with irresistible aromas. Whether for a quick dessert or a last-minute treat for guests, these cookies are sure to impress. So go ahead, give it a try—you won't regret it!