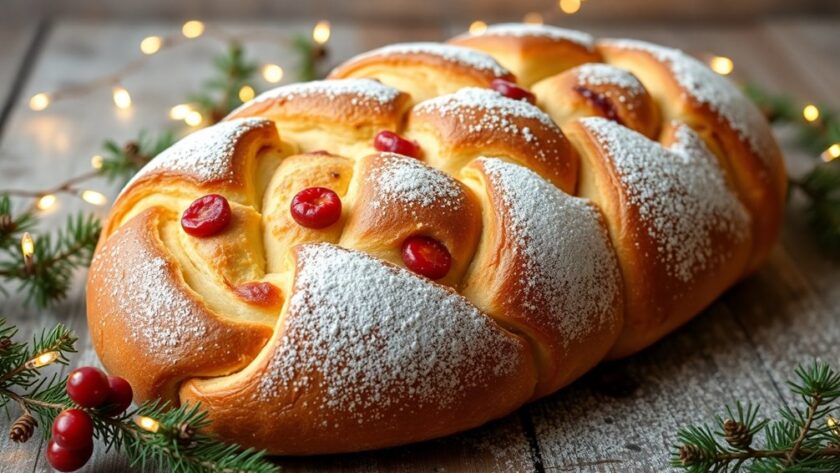
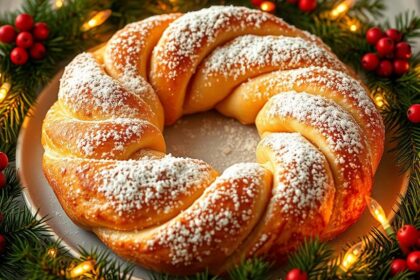
Norwegian Christmas bread, or Julekake, is a delightful blend of sweet and spiced flavors that embodies the holiday spirit. Made with all-purpose flour, milk, and butter, it's often filled with golden raisins and candied fruits. Cardamom adds a warm touch, making each bite festive. Julekake has roots dating back to the 17th century and is a symbol of warmth and togetherness in Norwegian culture. It's typically enjoyed fresh or toasted with butter. As you explore the various traditions surrounding this beloved bread, you'll uncover even more ways to celebrate the holiday season.
What Is Julekake?
Julekake, often referred to as julebrød, is a delightful Norwegian Christmas bread that combines sweetness and rich flavors. This traditional Norwegian Christmas bread is a yeasted treat, perfectly spiced with cardamom and studded with golden raisins and candied fruits.
You'll love its light texture, which comes from using all-purpose white flour, while the richness from milk and butter gives it a decadent taste that's hard to resist. The bread is often enriched with warming spices, such as cardamom, cinnamon, and nutmeg, enhancing the overall flavor profile. The use of mixed candied fruit adds a festive touch to each slice, making it even more special during the holiday season.
Traditionally, julekake has roots dating back to the 17th century when it started as a rye bread with dried fruits. Over the years, it has transformed into the sweeter version that's recognized and cherished today, often enjoyed during festive gatherings and holiday meals.
Julekake is more than just bread; it's considered kaffemat, a delightful accompaniment to coffee. The aroma of Christmas spices fills the home during baking, creating a festive atmosphere that enhances the holiday spirit.
Before baking, it's finished with an egg wash, creating a shiny crust that makes it visually appealing. The dough is allowed to rise in a warm spot, which is essential for achieving its light and fluffy texture, showcasing the importance of rising in the baking process.
When you slice into a loaf of julekake, you're not just experiencing a delicious holiday treat—you're indulging in a culinary tradition that warms the heart and brings people together during the joyous Christmas season.
Historical Significance of Julekake
The historical significance of Julekake goes beyond its delicious taste; it embodies the spirit of Norwegian holiday traditions. This beloved sweet bread, whose name translates to "Yule cake," has roots dating back to the 17th century when it began as a rye bread with dried fruits. Over the years, it evolved into the rich, yeasted treat you enjoy during Christmas celebrations. The evolution of holiday breads like Julekake reflects the historical use of preserved ingredients that were essential in winter months.
Julekake is more than just a festive delicacy; it symbolizes warmth and hospitality among family and friends during the holiday season. Traditionally made for gatherings, this sweet bread showcases the importance of sharing and togetherness, which are central to Scandinavian culture. The cultural heritage of holiday breads in Europe also shares similarities, reflecting the interconnectedness of festive traditions.
The inclusion of spices like cardamom and the use of dried fruits highlight the cultural significance of such flavors in holiday festivities. Each region in Norway has its variations of Julekake, reflecting local ingredients and customs, which adds to its rich cultural heritage. Additionally, the practice of incorporating dried fruits and nuts into the bread enriches its flavor profile and texture, making it a cherished holiday treat.
Essential Ingredients for Julekake
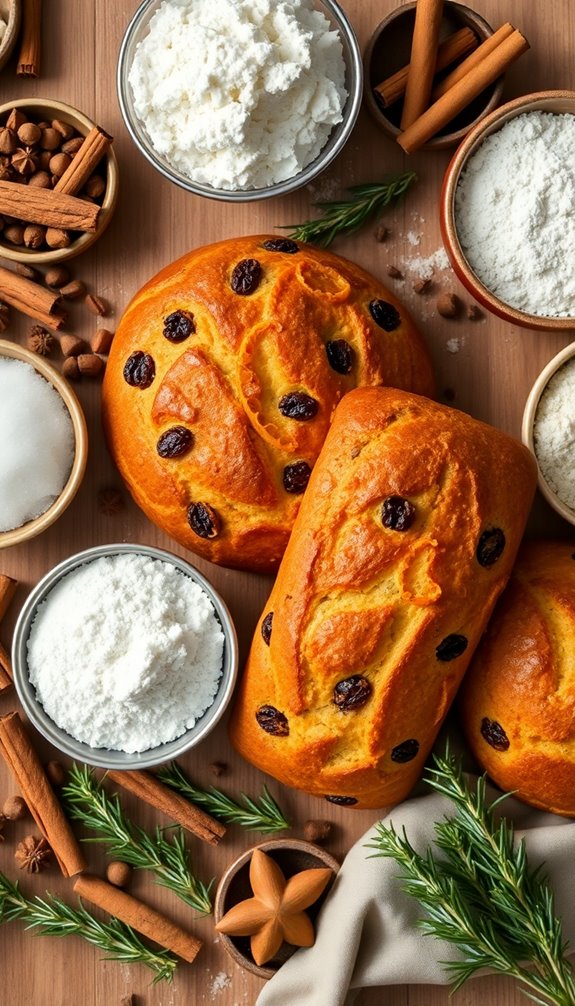
When making Julekake, you'll want to focus on key flavor components like ground cardamom and mixed candied fruits to create that festive taste. Almond extract infused options can bring a nutty undertone to the mix, enhancing the overall flavor profile. Additionally, you can incorporate candied fruits as a nod to the traditional Italian Cassata Cake, which showcases diverse cultural influences. You might also explore common variations, as different regions in Norway have unique twists on this classic bread. Additionally, it's important to reflect on the nutritional aspects of your ingredients to enjoy this holiday treat with a bit more awareness. Incorporating unique flavor combinations can elevate your Julekake and make it a standout centerpiece for your holiday gatherings.
Key Flavor Components
Traditionally, Julekake boasts a blend of essential ingredients that create its signature flavor profile. At the heart of this cherished treat is ground cardamom, which infuses the bread with a warm and aromatic spice, making each bite feel festive and inviting.
You'll also find all-purpose white flour, which gives Julekake its lighter texture compared to denser rye breads. Raisins add a delightful burst of sweetness, complementing the cardamom perfectly.
Plus, you can't forget about the candied citrus peels, such as orange and lemon, which enhance the overall flavor complexity of the bread. The recipe typically calls for about 2 cups of mixed candied fruit, bringing a rich variety of tastes and textures that elevate the experience.
To guarantee Julekake is as indulgent as it's flavorful, milk and butter are included, contributing to its richness and moistness.
Together, these key flavor components come together to create a sweet and spiced treat that's perfect for celebrating the holiday season. With each slice, you'll experience the warmth and joy that Julekake brings to your festive gatherings.
Common Variations
Julekake offers a delightful canvas for creativity, allowing bakers to experiment with various ingredients while maintaining its festive essence.
While the traditional recipe features a base of all-purpose white flour, you can opt for whole wheat flour if you're looking for a nutrient boost. The key spice, cardamom, brings that distinctive warming flavor, making your Julekake truly special.
To elevate your bread, consider adding some of these common variations:
- Raisins and candied citrus peels: Orange and lemon peels enhance sweetness and texture.
- Dried fruits: Cherries, pineapple, or dates can introduce unique flavors that suit your taste.
- Nuts: Almonds or other nuts add a delightful crunch and depth to the overall flavor.
- Spices: Beyond cardamom, experimenting with cinnamon or nutmeg can create an exciting twist.
With these variations, you can personalize your Julekake while celebrating the spirit of the season.
Nutritional Considerations
Baking Julekake not only brings festive cheer but also involves a thoughtful selection of ingredients that contribute to its nutritional profile. The use of all-purpose flour gives this bread a lighter texture, making it more enjoyable while still providing a substantial amount of carbohydrates.
Each serving of Julekake contains about 468 calories, with 78.1g of carbohydrates, which can fuel you during those busy holiday gatherings.
The addition of dried fruits like raisins and candied peels not only sweetens the bread but also boosts its fiber content, making it a more wholesome choice.
Nutritionally, you'll find beneficial vitamins and minerals in Julekake, including approximately 422.2 IU of vitamin A and 60.6 mg of calcium per serving. These nutrients can contribute to your overall well-being, especially during the festive season when indulgence is common.
While Julekake is a rich treat, it offers a balance of flavors and nutrition, bringing joy without completely derailing your dietary goals.
Preparing the Dough
To prepare the dough for your Norwegian Christmas bread, you'll start by measuring out your ingredients carefully to get the right ratios.
Kneading the dough is essential, so make certain to develop it until it's smooth and elastic without adding too much extra flour. Properly measured dry ingredients are vital for achieving the right texture and rise in baked goods, ensuring your bread turns out light and fluffy, perfect for the festive season. Incorporating gluten-free flour options can also allow those with dietary restrictions to enjoy a similar festive treat. Additionally, using almond flour can enhance the flavor and nutritional profile of your dough.
Ingredient Measurements and Ratios
When preparing the dough for Norwegian Christmas bread, precise ingredient measurements and ratios are essential for achieving the perfect texture and flavor.
Start with 8 cups of all-purpose flour, which gives the bread its lightness. If you want a healthier twist, feel free to substitute half of it with whole wheat flour.
Next, activate 2 packages of rapid rise yeast in 1/2 cup of warm water, then mix it into your dough. For richness, use 2 cups of warm milk and 4 ounces of melted butter or margarine to enhance the flavor and moisture content.
Don't forget to add 1/2 cup of granulated sugar and 2 teaspoons of salt; these balance the sweetness and elevate the overall taste. Finally, include 1/2 teaspoon of ground cardamom into the dry ingredients for that signature spiced flavor.
Here's a quick summary of the key ingredients:
- 8 cups of all-purpose flour (or half whole wheat)
- 2 packages of rapid rise yeast
- 2 cups of warm milk
- 1/2 cup of granulated sugar
Following these measurements will set you up for baking success!
Kneading Techniques for Dough
After gathering your ingredients and measuring them accurately, the next step involves kneading the dough to develop its gluten structure. Kneading techniques are essential for achieving the perfect soft dough in your Julekake.
Start by mixing your flour with the yeast mixture until combined. If the dough is sticky, use a bench scraper to manage it and prevent it from sticking to the work surface.
Knead the dough by hand or with a stand mixer fitted with a dough hook. If you're using a mixer, knead on medium speed for about 5 to 7 minutes. Aim for a slightly tacky texture, and avoid adding excessive flour, as this can make your bread dense and tough.
To check if your dough is ready for the first rise, perform the "windowpane test" by stretching a small piece. If it stretches without tearing, you've done it right!
Continue kneading for 6 to 10 minutes until your dough is smooth and elastic. This process is essential for ensuring your Norwegian Christmas bread has the desired elasticity and structure, making it a delightful treat for the festive season.
Kneading Techniques Explained
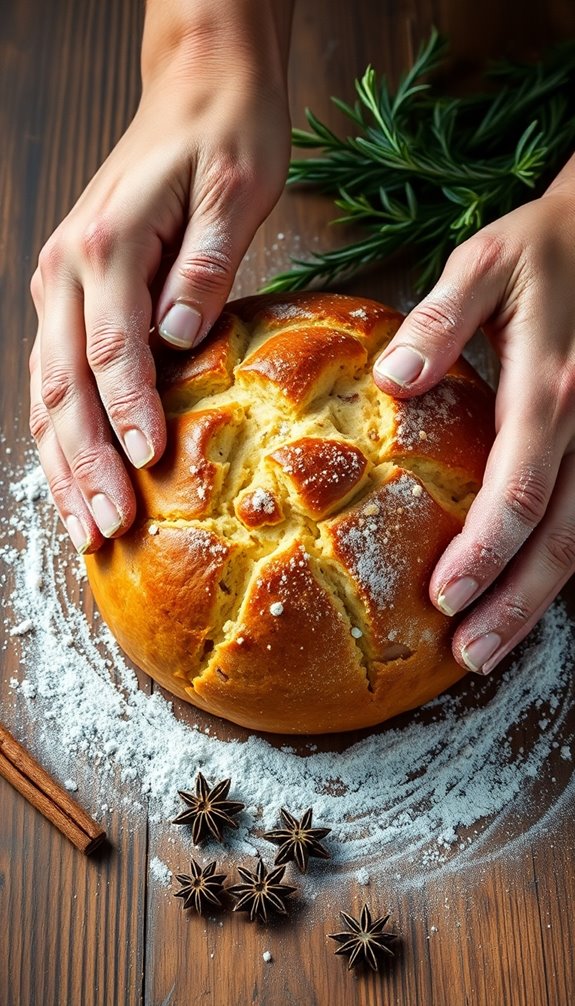
Kneading your dough properly is essential for achieving the perfect Julekake, and it typically takes about 6 to 10 minutes. This process develops the gluten structure, giving your dough the desired elasticity and texture.
To effectively knead, follow these techniques:
- Fold the dough over itself and press down with the heel of your hand.
- Rotate it a quarter turn after each fold for even mixing and aeration.
- Use a bench scraper to handle sticky dough, minimizing the need for extra flour.
- Confirm the dough is in a warm environment to promote yeast activity. The right temperature encourages optimal yeast performance, which is crucial for a good rise. Additionally, using a combination of butter and shortening can enhance the flavor and texture of your bread.
You'll know your dough is ready for the first rise when it's no longer sticky and springs back gently when pressed. This indicates that proper gluten development has occurred through kneading.
Remember, the goal is to create a smooth, elastic dough that can rise beautifully. Kneading isn't just about mixing ingredients; it's about giving your Julekake the structure it needs for that perfect holiday treat. Additionally, incorporating nutrient-rich flour alternatives can enhance the flavor and health benefits of your bread.
Shaping Your Julekake
Once your dough has risen beautifully, it's time to shape your Julekake into a delightful form. Start by dividing the risen dough into two equal portions. Gently flatten each piece to remove excess air before you begin shaping.
If you prefer a round loaf, gather the edges of the dough toward the center and pinch them together. Flip it seam-side down to create a smooth surface.
On the other hand, if you're opting for a braided form, divide the dough into three equal pieces. Roll each piece into a long strand and then braid them together, pinching the ends to secure. This not only adds visual appeal but also enhances the texture of your Julekake.
Once you've shaped your dough, let it rise in a warm place until it has doubled in size, which typically takes about 30 minutes. This step is essential for achieving that perfect, airy interior.
Before baking, don't forget to brush the top of your shaped Julekake with an egg wash to guarantee a shiny, golden crust. Enjoy the anticipation of your delicious creation!
Rising Times and Tips
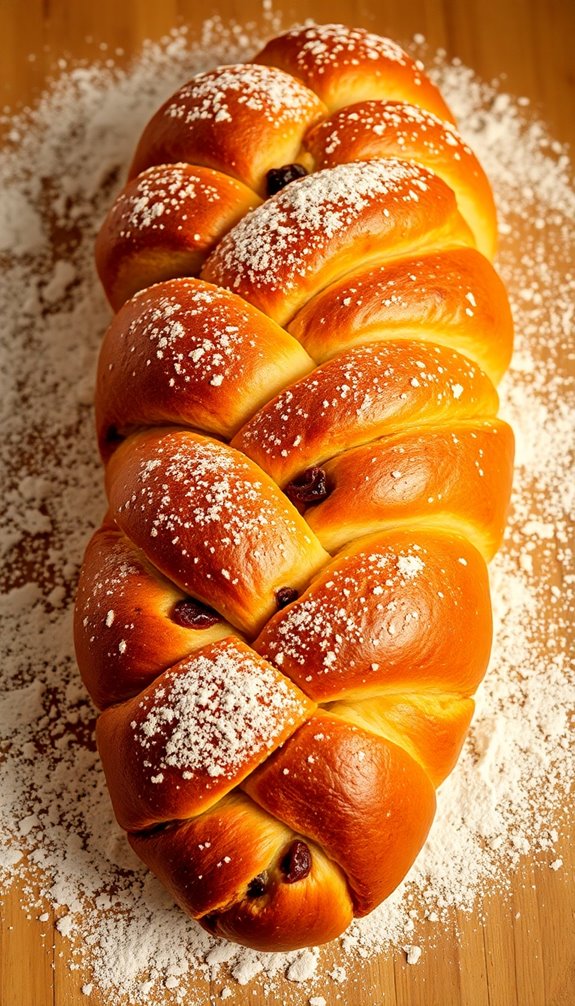
Getting the rising times right is key to making your Julekake a success.
You'll want to make sure your dough stays warm and draft-free to promote ideal fermentation.
Keep an eye on the size of your dough; if it hasn't doubled or risen enough, give it a bit more time.
Importance of Proper Rising
When you're making Julekake, proper rising is crucial for achieving that light and airy texture everyone loves. The dough requires an initial rising time of 45 minutes, during which it should double in size. This process allows the yeast to produce carbon dioxide, which is essential for that fluffy result.
After shaping your dough, give it a second rise of 30 minutes to guarantee it reaches its full potential.
To help you with rising, keep these tips in mind:
- Warm Environment: Place the dough in a draft-free space at around 80°F (27°C).
- Knead Well: Knead your dough for about 10 minutes to develop gluten, which supports the structure during rising and baking.
- Monitor Size: Keep an eye on your dough; if it hasn't risen adequately, it may need more warmth or time.
- Be Patient: Don't rush the rising process; good things take time, especially when it comes to yeast.
Optimal Dough Temperature
Achieving the perfect rise for your Julekake hinges on maintaining the ideal dough temperature. The best dough temperature for rising is between 75°F to 80°F (24°C to 27°C). This range guarantees proper yeast activity and fermentation, which is essential for a fluffy, delicious bread.
For the initial rise, aim for about 45 minutes, and after shaping, let it rise again for approximately 30 minutes. During this time, your dough should double in size.
To create the finest environment, keep the dough in a warm, draft-free area, and cover it with a damp cloth to retain moisture.
If your dough doesn't rise adequately, it could be too cold, stunting yeast activity. Conversely, excessive heat can kill the yeast, leading to no rise at all.
To avoid these pitfalls, use an instant-read thermometer to check the dough's temperature; it should feel warm but not hot to the touch.
Signs of Proper Fermentation
How can you tell if your dough has properly fermented? Look for these signs to verify your dough rises beautifully and develops that delightful texture. Proper fermentation is key to a successful Norwegian Christmas bread.
- Your dough should double in size during the first rise, which typically takes about 45 minutes in a warm environment.
- After shaping, the second rise lasts around 30 minutes, and the dough should feel puffy and light.
- During yeast proofing, check for bubbles in the yeast mixture after about 5-10 minutes; this indicates the yeast is active and ready for use.
- Don't forget to knead the dough for about 10 minutes to develop the gluten structure, essential for achieving the desired rise in your final bread.
To confirm your bread is done, use an instant-read thermometer; it should reach around 200°F. This indicates successful fermentation and baking.
Baking Instructions
To bake Norwegian Christmas Bread, start by dissolving active dry yeast in 1/2 cup of warm water and let it bloom.
While that's happening, heat 2 cups of milk and 4 ounces of butter until melted, then cool it down to a warm temperature so you won't kill the yeast when you combine everything.
In a large bowl, mix together 4 cups of all-purpose flour, 1/2 cup of granulated sugar, 2 teaspoons of salt, and 1/2 teaspoon of ground cardamom.
Once the yeast is ready, add it along with the milk mixture to your dry ingredients to form a batter.
Knead the dough for about 6 to 8 minutes until it's smooth and elastic.
After kneading, place the dough in a warm spot and let it rise until it doubles in size, which should take around 45 minutes.
Once risen, shape the dough into loaves and let them rise again for about 30 minutes.
Finally, preheat your oven to 350°F (180°C) and bake the loaves for 30 to 35 minutes.
Enjoy the aroma that fills your kitchen as your Norwegian Christmas Bread bakes!
Achieving the Perfect Crust
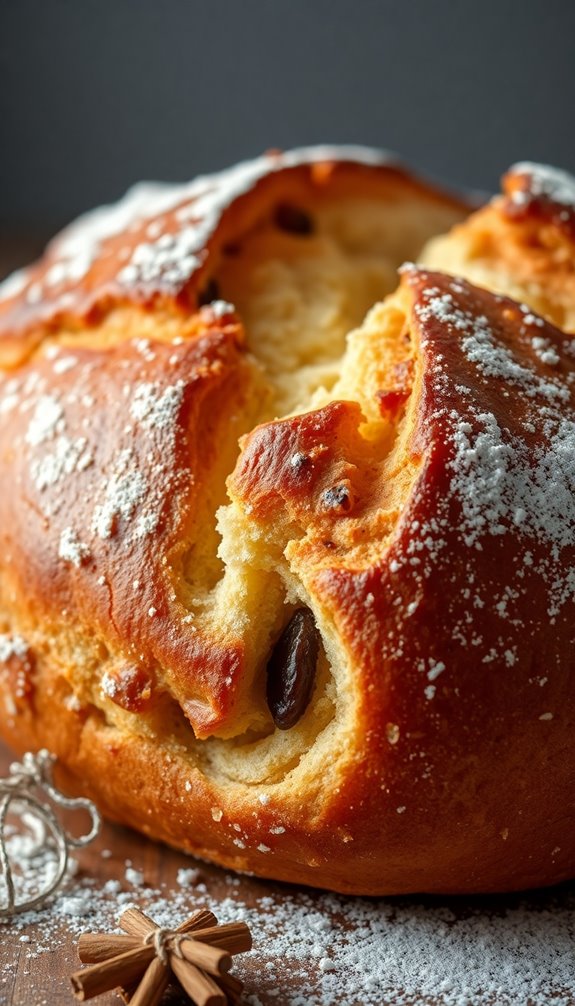
To achieve the perfect crust on your Julekake, start with an egg wash right before baking for that glossy finish.
Keep your oven preheated to 350°F to guarantee even baking and a nice rise.
Finally, let the bread cool on a wire rack to maintain that delightful crispness.
Egg Wash Application Techniques
Achieving a beautiful, golden crust on your Julekake starts with mastering the art of egg wash application. An egg wash, made from a beaten egg mixed with a tablespoon of water or milk, is key to that shiny finish.
Here's how to apply it effectively:
- Use a pastry brush: This guarantees even coverage, preventing the crust from becoming too dark or too pale.
- Be gentle: Apply the egg wash lightly to avoid deflating the dough, keeping its airy structure intact.
- Timing is essential: Apply the egg wash just before the bread goes into the oven for the best results.
- Add texture and flavor: Sprinkle coarse sugar or seeds on top of the egg wash before baking for an extra touch.
Baking Temperature Importance
A well-executed egg wash sets the stage for the next important step in baking Julekake: controlling the baking temperature.
You'll want to preheat your oven to 350°F (175°C) to guarantee an even cook. This temperature allows the bread to rise properly while preventing the crust from burning. A preheated oven is vital because it creates steam during the initial baking phase, enhancing the bread's texture and rise.
Keep an eye on your Julekake during the baking process, which should take about 30-40 minutes.
You're aiming for an internal temperature of around 200°F (93°C) to confirm it's fully cooked and safe to eat. Monitoring the bread in the last few minutes is essential; if you notice it's browning too quickly, you can lightly tent it with foil.
This simple action protects the crust without hindering the baking process.
Cooling Methods for Crust
Cooling your Julekake properly is essential for achieving that perfect crust everyone loves. After baking, place your loaves on a cooling rack and let cool for at least 5-10 minutes. This important step prevents steam from softening the crust, allowing the interior to finish setting and ensuring a light, airy texture.
Here are some tips to keep in mind during the cooling process:
- Avoid covering the bread: Keeping it uncovered helps maintain that crisp, golden crust.
- Brush with an egg wash: For a shinier finish, apply an egg wash just before baking.
- Watch the baking time: Over-baking can lead to excessive browning, so keep a close eye on it.
- Adjust baking time for thickness: If you desire a thicker crust, bake a bit longer, monitoring the internal temperature, which should reach around 200°F.
Serving Suggestions
Julekake shines when served fresh out of the oven or lightly toasted, bringing out its delightful sweet and spiced flavors. This traditional Norwegian Christmas bread is a perfect addition to your holiday season celebrations. You can enjoy it simply with a spread of butter or brown cheese, which beautifully complements its richness.
For a cozy gathering, serve slices of Julekake alongside your favorite warm beverages like coffee or tea. The combination makes for a comforting treat that friends and family will love during festive brunches or dessert tables.
If you want to elevate the experience, consider adding a dollop of jam or honey on top of your Julekake slices. This adds an extra layer of sweetness that pairs wonderfully with the bread's spices.
Whether you're following a Julekake recipe for your holiday baking or gifting a loaf to someone special, this bread is sure to delight. It's not just a treat; it's a way to create warm memories with loved ones during the most wonderful time of the year.
Enjoy the flavors and the festive spirit that Julekake brings to your holiday table!
Storage and Freezing Methods
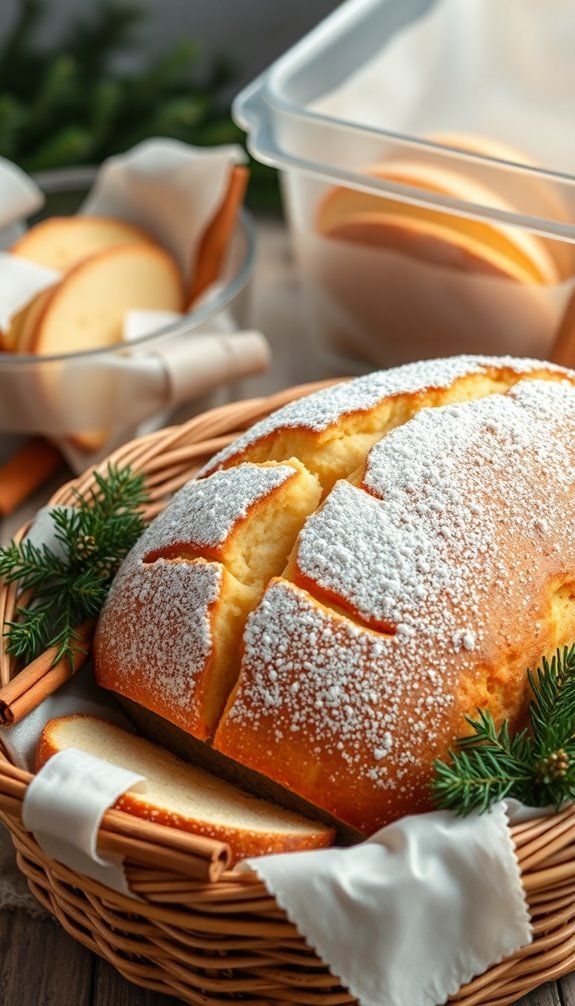
To keep your Julekake fresh and delicious, proper storage is key. You can store your bread at room temperature in a plastic bag for up to 2 days. This helps maintain its delightful flavor and texture.
If you need to keep it longer, wrapping the loaves in plastic and placing them in a freezer bag is the way to go. Julekake can last up to 2 months in the freezer, ensuring you have this sweet treat on hand whenever you crave it.
When you're ready to enjoy your frozen Julekake, just thaw it completely at room temperature. For an extra touch, consider gently warming it in the oven for a few minutes after thawing.
If the bread becomes dry, don't worry! You can slice and toast it, which pairs perfectly with jam or butter.
Here are some quick storage tips:
- Use a plastic bag to store at room temperature.
- Wrap tightly for freezer storage.
- Thaw completely before serving.
- Warm in the oven for enhanced flavor.
With these simple storage methods, your Julekake will be ready to delight your taste buds any time!
Variations on Julekake
When it comes to Julekake, there are countless ways to make it your own. You can start by mixing in a variety of dried fruits, like apricots, cherries, or dates, along with the traditional raisins and candied fruit for a delightful burst of flavor and texture.
If you're looking for a healthier twist, try substituting half of the all-purpose flour with whole wheat flour; this not only boosts the nutritional value but also adds a nutty flavor.
Don't forget about spices! You can adjust the spices to suit your taste. Adding cinnamon or nutmeg alongside cardamom gives the bread a warm, complex flavor profile that's perfect for the season.
For an extra crunch, consider incorporating different nuts, such as walnuts or hazelnuts, to enhance the texture.
Lastly, remember that regional variations of Julekake can reflect local ingredients and culinary traditions. So, feel free to experiment with what you have on hand or what's common in your area.
Each twist you make will create a unique version of this beloved Christmas bread, making it a special treat for your celebrations.
Cultural Significance of Julekake
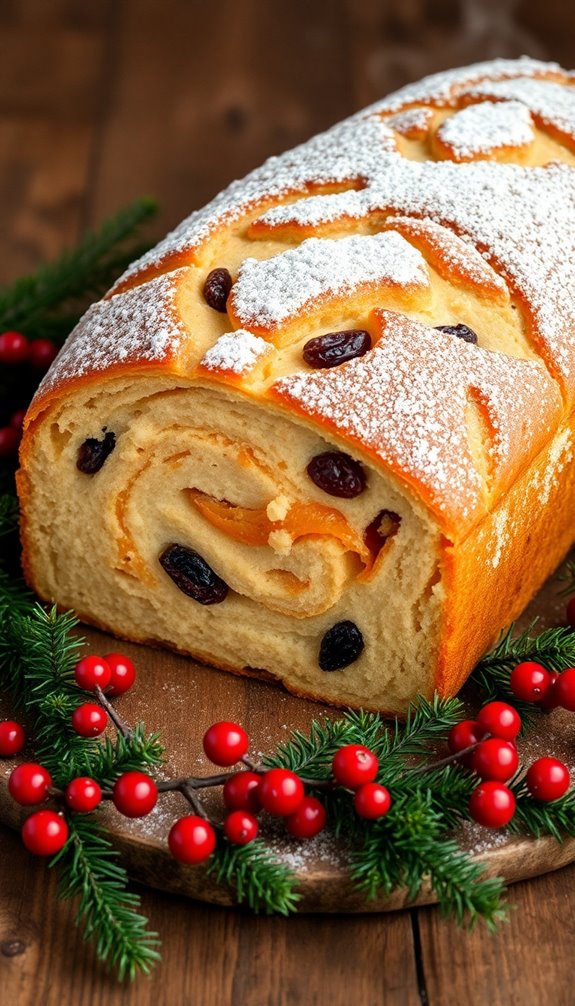
There's something truly special about the aroma of freshly baked Julekake filling a home during the Christmas season. This traditional Norwegian bread isn't just a delicious treat; it embodies the warmth and hospitality that the holidays represent.
Each slice carries the rich flavors of cardamom and dried fruits, connecting you to Norway's cultural heritage.
When you serve Julekake, you're partaking in a time-honored practice that strengthens community bonds. Sharing this bread among family and friends during festive gatherings fosters togetherness and creates cherished memories.
Here are a few reasons why Julekake holds such cultural significance:
- Symbol of hospitality: Offering Julekake reflects your welcoming spirit.
- Seasonal nostalgia: Its preparation brings back fond holiday memories.
- Regional variations: Different areas of Norway showcase local ingredients, enriching the tradition.
- Culinary connection: Each bite links you to generations of festive baking.
As you celebrate the Christmas season, remember that Julekake is more than just a bread—it's a bridge to your cultural roots and a celebration of togetherness.
Community Baking Traditions
Gathering around the kitchen with family and friends to bake Julekake creates a sense of community that's hard to replicate. These community baking traditions not only bring people together but also allow you to share cherished recipes for Julekake, filled with candied fruit and spiced flavors.
As you knead the dough, you're likely exchanging stories and techniques, fostering a deep sense of togetherness during the holiday season.
Local bakeries often play an essential role in maintaining these traditions. They host classes and workshops, inviting community members to engage in the art of making Julekake.
Seasonal baking events, like potlucks, encourage participants to bring their own versions of this beloved bread, allowing for delightful exchanges of flavors and family secrets.
Baking Julekake evokes nostalgia, connecting generations through shared experiences. Each loaf carries a piece of heritage, reminding you of the joy and warmth of creating something meaningful together.
Whether it's your first time or you're a seasoned baker, the communal aspect of making Julekake enriches the holiday experience, making it a delicious blend of tradition and connection.
Related Scandinavian Treats
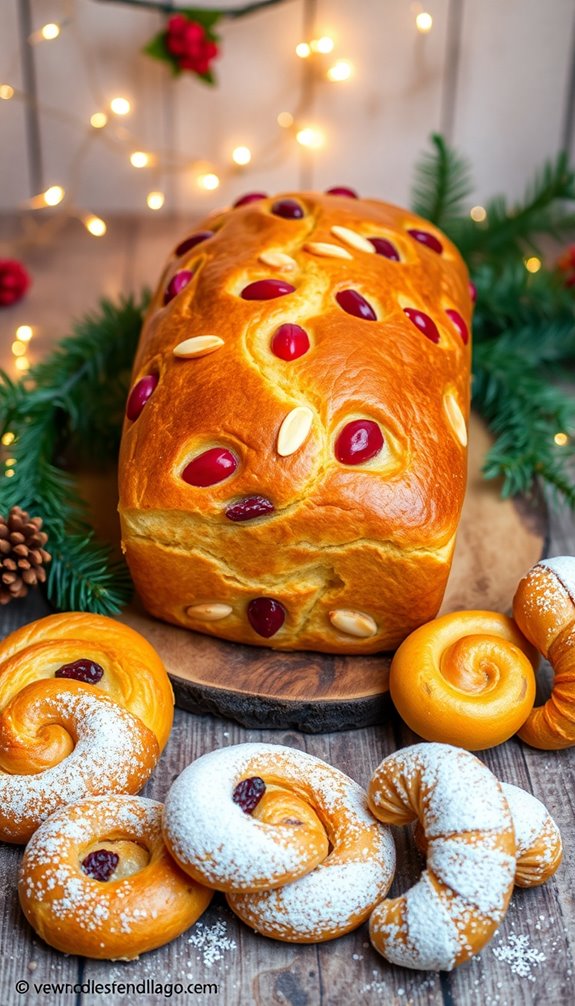
As you explore the delightful world of Scandinavian treats, you'll find a rich array of flavors and textures that complement the festive spirit of the season. Each treat brings its own unique charm, often featuring traditional spices like cardamom, which gives the bread its warm, aromatic essence.
Here are some related treats you shouldn't miss:
- Kringla: These pretzel-shaped pastries are flavored with cardamom and perfect for holiday gatherings.
- Lefse: A soft flatbread made from potatoes, often enjoyed with butter and sugar or filled with sweet or savory items.
- Vafler: Crisp on the outside and soft inside, these Norwegian waffles are typically served with jam or brown cheese.
- Pepparkakor: Thin, spiced ginger cookies enjoyed with glögg, adding a festive touch to any celebration.
Incorporating ingredients like lemon peels or candied fruit in these treats enhances their flavors, making them even more inviting.
Each bite offers a taste of tradition, reflecting the warmth of Scandinavian culture. So, indulge in these treats to elevate your holiday experience!
Conclusion
In the grand tapestry of festive delights, Julekake reigns supreme, a veritable crown jewel of Norwegian Christmas traditions. With its intoxicating blend of spices and sweet fruits, this bread doesn't just tantalize your taste buds—it transports you to a winter wonderland of warmth and joy. So, as you knead and bake, remember: you're not just making bread; you're crafting an edible masterpiece that embodies the spirit of Christmas, ensuring your holiday celebrations are nothing short of legendary!

