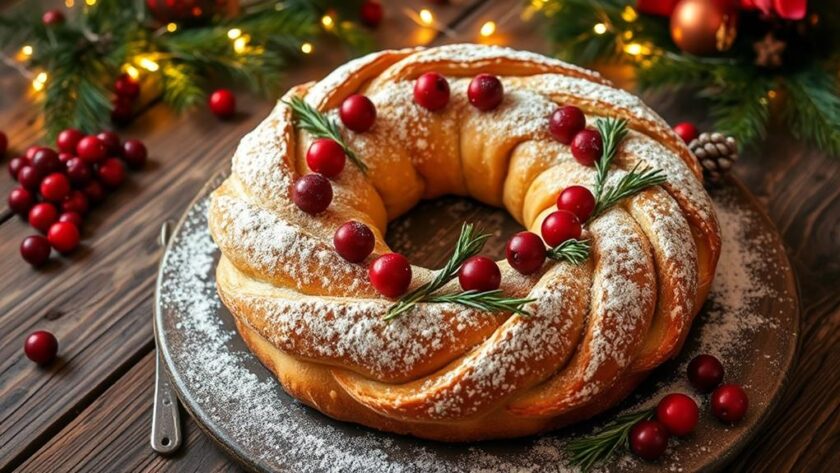
You can create an impressive Christmas Kringle this holiday season by baking this traditional Danish pastry. Start with essential ingredients like flour, butter, and active yeast to guarantee a light, flaky texture. As you mix, knead, and chill the dough, remember to keep the butter cold for perfect layers. Choose fillings like almond paste or fruity preserves to add a burst of flavor. Once you assemble and proof the Kringle, bake it until golden brown, then glaze for that festive touch. This delightful treat is sure to be a holiday centerpiece, and more tips await you just ahead!
History of Danish Kringle
Danish Kringle has often been celebrated as a beloved pastry that traces its roots back to Danish immigrants in Racine, Wisconsin, during the late 1800s. This delightful pastry quickly became a staple in Midwestern holiday traditions, especially during Danish Christmas celebrations.
Its unique pretzel-like shape makes it a standout on holiday tables, and its rich fillings, often featuring almond paste and apricot fruit spread, add to its charm. The use of traditional ingredients like evaporated milk contributes to its exceptional flavor and texture, making it even more special during the festive season.
As you gather with family and friends during the holidays, you'll find that Kringle symbolizes the warm Danish concept of hygge, fostering a sense of community and togetherness.
Bakeries like O&H Danish Bakery have played a significant role in popularizing this treat, shipping it nationwide while upholding high-quality standards.
Whether you enjoy it fresh within a few days of baking or freeze it for later, Kringle's flaky texture and delicious flavors make it perfect for any festive occasion.
Essential Ingredients for Kringle
To create a delicious Kringle that honors its rich history, you'll need a few key ingredients that come together to form the perfect pastry.
First and foremost, all-purpose flour is essential; it provides the necessary structure and texture for your Kringle.
You'll also want to include active dry yeast, which helps the dough rise, resulting in that light and fluffy texture you crave.
Don't forget unsalted butter! This ingredient contributes richness and flavor, elevating the overall taste of your pastry.
Milk is another crucial component, as it hydrates the dough and activates the yeast, ensuring proper fermentation and rise.
The combination of these ingredients creates a dough that's both pliable and delicious.
Step-by-Step Dough Preparation
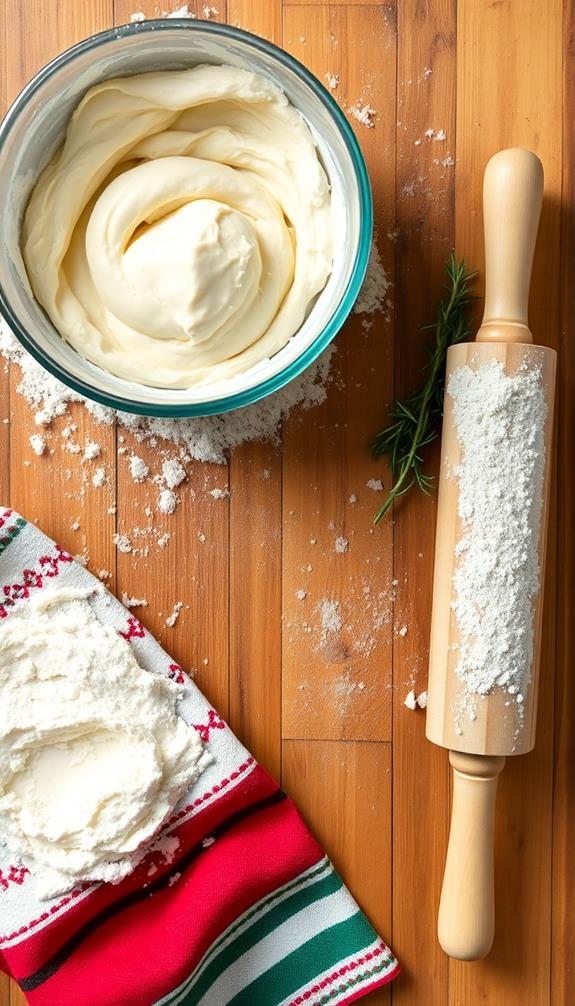
To start your Christmas Kringle, you'll want to combine the essential ingredients like all-purpose flour, sugar, and salt.
Make certain to measure your flour accurately to guarantee the right texture, similar to how gluten-free flour is used for cookies to achieve perfect consistency.
Once you've activated the yeast in warm milk, it's time to mix everything together and knead the dough until it's smooth and elastic.
Essential Ingredients Overview
Creating the perfect Christmas Kringle starts with a few essential ingredients that work together to give the dough its rich flavor and flaky texture. You'll need all-purpose flour, active dry yeast, unsalted butter, milk, and sugar. These ingredients form the base for your flaky pastry.
Begin by combining the flour, sugar, and salt in a bowl. Next, activate the yeast by mixing it with warm milk for about 5-10 minutes. Once it's bubbly, mix it with your dry ingredients to form the dough. Knead the dough for 8-10 minutes until it's smooth.
Then, chill it for at least 1 hour to relax the gluten, which is vital for achieving that desirable texture.
After chilling, roll the dough into an 8×15-inch rectangle and fold it into thirds. Repeat this process for a total of 6 turns. This folding creates layers that will puff up during baking.
A final chilling period of at least 20 minutes is recommended between each rolling and folding to keep the dough manageable and maintain its structure.
With these ingredients and steps, you're well on your way to creating a delicious Christmas Kringle!
Dough Handling Techniques
Mastering dough handling techniques is vital for achieving the perfect Christmas Kringle. Start by combining flour, sugar, and salt in a bowl.
Next, activate the yeast in warm milk for 5-10 minutes; this step's essential for achieving a light dough texture. Once the yeast is ready, mix it into your dry ingredients.
Knead the dough for 8-10 minutes until it's smooth, then chill it for at least 1 hour. This resting period relaxes the gluten, making it easier to roll out.
After chilling, roll the dough into a 24×24 inch square, using flour to prevent sticking. Fold it into thirds to create layers for that flaky texture.
Now, roll the dough into a 36-inch length. To guarantee the edges stick together during baking, apply an egg wash.
Finally, allow the formed Kringle to proof in a warm area for 45 minutes. Bake at 375°F for 25-30 minutes until it's golden brown and fragrant.
With these dough handling techniques, your Christmas Kringle will be a delightful centerpiece for the holiday season!
Techniques for Rolling and Folding
When you're ready to roll and fold your dough, focus on achieving that perfect rectangle shape of about 8×15 inches.
Keeping the butter cold is essential for creating those flaky layers, as it helps form steam pockets during baking.
By folding the dough into thirds like a letter, you'll create those essential layers that make your Kringle flaky and delicious.
Don't forget to chill the dough between turns to relax the gluten and prevent shrinking during baking.
For more tips on achieving flakiness, remember that practice makes perfect!
Dough Preparation Essentials
A successful dough preparation sets the foundation for your Christmas Kringle, making it vital to understand the techniques for rolling and folding. Start by combining flour, sugar, and salt in a bowl, then activate your yeast in warm milk for 5-10 minutes. This step guarantees proper leavening.
Next, use a food processor to mix the wet and dry ingredients until a cohesive dough forms. Knead it for 8-10 minutes until it's smooth and elastic.
Chill the dough for at least an hour to relax the gluten, which makes rolling easier later. Once chilled, roll the dough into a rectangle using flour to prevent sticking.
To create layers for flakiness, fold the rectangle into thirds, then roll it out again. You'll want to roll the dough into an oval shape during this process.
After each rolling and folding, chill the dough again for at least 20 minutes. This step is essential for maintaining its structure and achieving that desired light, flaky texture during baking.
Following these steps diligently will set you up for a delightful Christmas Kringle experience!
Proper Rolling Techniques
Rolling dough properly is vital for creating the delightful layers in your Christmas Kringle. Start by chilling your dough, then use a rolling pin to roll it into a rectangle measuring approximately 24×24 inches. Don't forget to sprinkle some flour on your work surface and the dough to prevent sticking.
Here are some key tips for successful rolling:
- Roll evenly to maintain uniform thickness.
- Fold the dough into thirds like a letter to create layers.
- Roll it out again to a 36-inch length before chilling.
- Rotate the dough between folds for even layer distribution.
After you've folded the dough, allow it to chill for at least 20 minutes. This step is important as it relaxes the gluten, helping to maintain the dough's structure.
When you're ready to shape your Kringle, brush the edges with an egg wash; this helps secure the layers and enhances the final glaze.
Folding for Flakiness
Master the art of folding to achieve that coveted flakiness in your Christmas Kringle. Proper dough handling is vital, so roll your dough into a 24×24 inch square, using flour to prevent sticking during the folding process.
To create those essential layers, fold the dough into thirds. This technique is key for folding for flakiness, as it builds the structure that makes your Kringle delightfully flaky.
After folding, roll the dough out to a length of 36 inches, which helps achieve the desired thickness and shape. Remember to chill the dough between rolling and folding steps; this relaxation of gluten enhances the overall texture and makes it easier to work with.
Each fold and turn you execute contributes to the layered structure, resulting in that flaky texture you want.
Before baking, don't forget to apply an egg wash to secure the edges and enhance glaze adherence. This little step guarantees your Kringle not only tastes amazing but looks beautifully finished as well.
Filling Options and Assembly
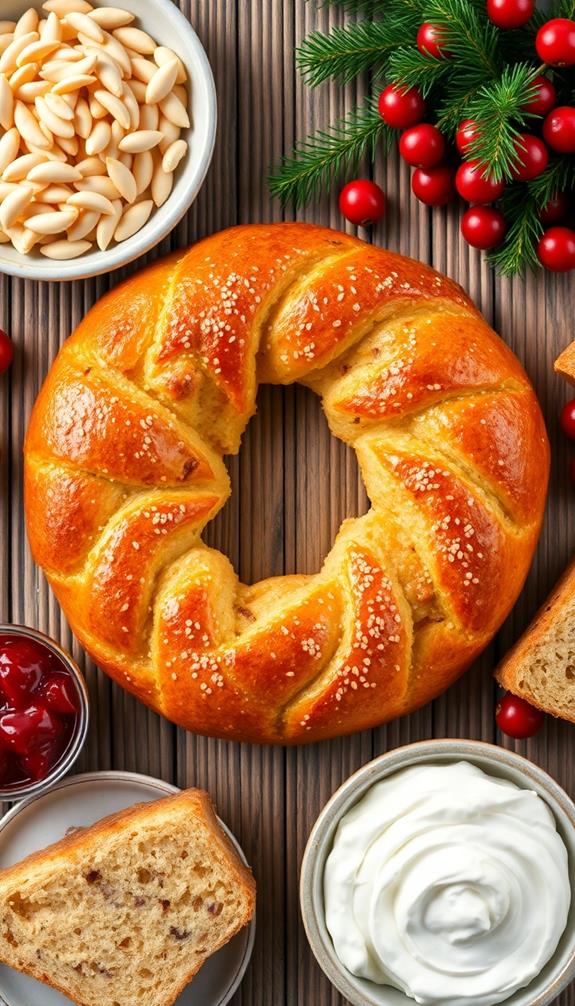
Creating a delicious Kringle hinges on the choice of fillings and the assembly technique. The filling options you choose can elevate your pastry from good to unforgettable. Here are some delightful combinations to contemplate:
- Traditional Almond Paste: A rich blend of almond paste, powdered sugar, egg white, and vanilla for a classic flavor, reminiscent of the Norwegian Kransekake.
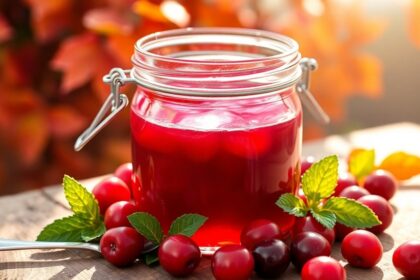
- Fruity Preserves: Add apricot or raspberry preserves for a burst of sweetness and color.
- Decadent Chocolate: For a modern twist, incorporate a chocolate filling to satisfy any sweet tooth.
- Nutty Variations: Experiment with walnut or pecan fillings for added texture and flavor.
When assembling your Kringle, spread the chosen filling down the center of the rolled-out dough, leaving enough border to seal it properly. This prevents any filling from leaking during baking.
Don't forget to seal the edges using an egg wash; it not only keeps the filling contained but also gives your Kringle a beautiful golden finish once baked.
With these filling options and assembly tips, you're well on your way to creating a festive treat that'll impress everyone at your holiday gathering!
Baking and Glazing Instructions
After you've assembled your Kringle with your chosen filling, it's time to focus on the baking and glazing process. First, preheat your oven to 375°F and prepare a baking sheet lined with parchment paper. This guarantees your Kringle bakes evenly and doesn't stick.
Once you've shaped the Kringle, let it proof in a warm area for 45 minutes. This step is essential for achieving that light and airy texture, similar to how proper mixing of dry ingredients is vital for cookie texture in recipes like simple gluten-free cookies.
When the proofing time's up, place your Kringle on the baking sheet and bake it for 25-30 minutes or until it turns golden brown.
While it's baking, you can prepare the glaze by mixing confectioners' sugar with milk until you achieve a smooth consistency. Adjust the thickness to your liking.
Once your Kringle is baked, allow it to cool slightly on the baking sheet. While it's still warm, apply the glaze to guarantee it adheres well and gives a beautiful finish.
For an extra touch, consider topping it with chopped pecans or walnuts immediately after glazing. Enjoy the delightful aroma that fills your kitchen as you complete this festive treat!
Serving Suggestions and Pairings
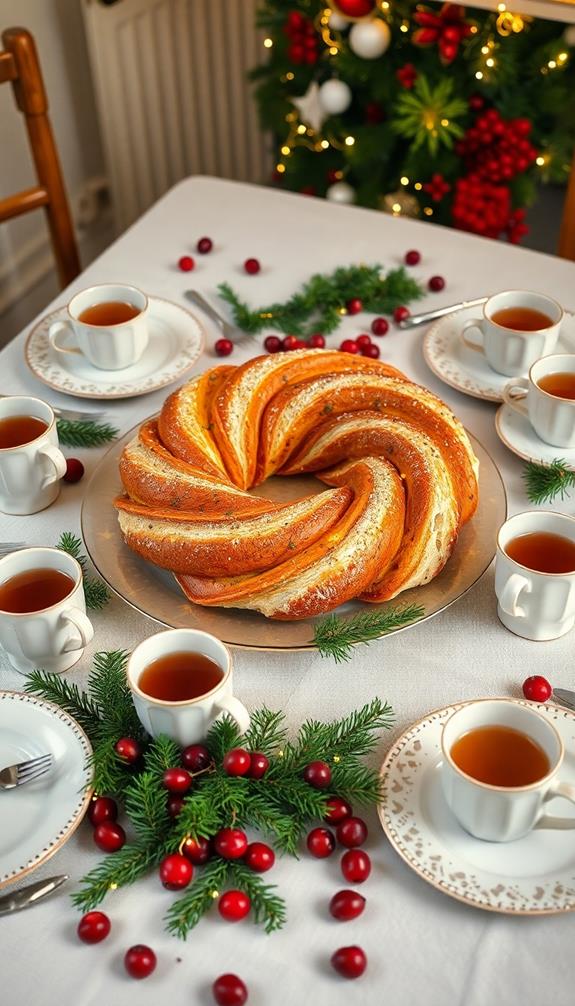
When it comes to serving your Christmas Kringle, think about making it the star of your holiday gatherings. This delicious pastry serves approximately 8-12 people, making it a perfect centerpiece for your festive celebrations.
To elevate your holiday treat, consider these delightful pairings:
- A warm cup of spiced cider
- Rich, freshly brewed coffee
- Whipped cream or vanilla ice cream
- Chopped pecans or walnuts for garnish
Incorporating healthier ingredient swaps can also make your Kringle a guilt-free indulgence that everyone can enjoy. Pairing your Kringle with a warm drink enhances its buttery flavor and festive spirit. The aromatic spices in the cider or the robust notes of coffee will beautifully complement the sweet glaze and flaky texture of the pastry.
For an extra touch, serve a side of whipped cream or vanilla ice cream, which adds a creamy richness that's hard to resist. Don't forget to sprinkle chopped pecans or walnuts on top! This adds a lovely crunch that contrasts perfectly with the soft pastry.
Whether you choose to enjoy it for breakfast or as a dessert, your Christmas Kringle will surely impress your guests and become a cherished tradition in your holiday festivities.
Customer Feedback and Reviews
Delighting in the festive spirit, customers consistently praise the Old Danish Christmas Kringle for its buttery texture and unique spiced nut filling. Many have noted how this delicious pastry becomes the star of holiday gatherings, serving 8-12 people and making it an ideal centerpiece for your celebrations.
The reviews frequently highlight the delightful glaze that enhances the sweetness, creating a perfect balance with the rich flavors. The festive nature of this pastry resonates with those who cherish traditional holiday recipes, much like the beloved Julekage bread, which symbolizes warmth and togetherness during the season.
You'll find that the feedback emphasizes the ease of preparation when you follow the provided baking instructions. While some variations in dough texture have been mentioned, the majority of customers appreciate the high-quality ingredients and traditional recipe that reflect the heritage of Danish pastries.
This authenticity not only contributes to its popularity during the holiday season but also resonates with those who value homemade treats.
Conclusion
As you gather around the table, the warm aroma of freshly baked Christmas Kringle wafts through the air, wrapping your loved ones in a cozy embrace. This festive pastry isn't just a treat; it's a delicious tradition that brings joy to your holiday celebrations. With every flaky bite, you'll savor the stories and laughter shared. So, roll up your sleeves, and let your kitchen become a haven of warmth and cheer this holiday season!

