
Twisted croissants are a fun and creative pastry to bake that brings an exciting twist to the classic. You start by preparing laminated dough filled with layers of butter for that flaky texture. Once your dough is ready, roll and slice it into strips, twist them tightly, and let them rise until they're puffy. Bake at 375°F until golden brown, and enjoy experimenting with sweet or savory fillings for extra flavor. The process is both satisfying and rewarding, and you'll find even more tips and tricks to make your twisted croissants truly special ahead.
Understanding Croissant Dough
Understanding croissant dough is fundamental for anyone looking to master this flaky pastry. This dough is a type of laminated dough, which means it's intricately layered with butter to achieve that signature flaky texture. The process of lamination involves folding butter into the dough multiple times to create distinct layers that puff up during baking.
You'll start by creating the base recipe, as it's the foundation for various pastry shapes and flavors. Mastering this base allows you to explore and be creative with both sweet and savory options.
During the preparation, verify your butter layers remain cool and firm. This is essential; if the butter leaks, the layers won't develop properly. Maintaining the right temperature is crucial for achieving the desired texture in your pastries.
Once you've rolled and folded the dough, let it rise until doubled in size—this typically takes about 45 minutes. This rise is crucial for flavor and texture development, so don't rush it!
After you've perfected the dough, you can engage in experimenting with fillings. Whether you want to incorporate fresh herbs, chocolate, or other sweet ingredients, the possibilities for creative pastry are endless. Additionally, incorporating choux pastry techniques can elevate your pastry-making skills and enhance your creations.
Embrace the process, and you'll soon find that croissant dough opens up a world of delicious potential!
Essential Ingredients for Twisted Croissants
To create delicious twisted croissants, you'll need a handful of essential ingredients that work together to produce that signature flaky texture. Start with high-quality all-purpose flour, which provides the necessary structure for your pastry. The use of high-quality chocolate in desserts, such as opera cake, exemplifies how ingredient quality significantly impacts the final result. The almond sponge used in Gateau Opera Cake also highlights the importance of using fine ingredients for optimal flavor and texture.
Unsalted butter is vital for the lamination process, forming those coveted flaky layers that make croissants so irresistible.
Next, incorporate yeast into your dough. It helps the mixture rise, contributing to an airy texture.
Sugar not only adds a subtle sweetness but also assists in browning during baking, giving your croissants a beautiful golden hue.
Don't forget milk; it adds richness and moisture, enhancing the overall flavor.
Salt is important, too—it elevates the taste and controls yeast fermentation, ensuring a balanced dough.
If you're feeling adventurous, consider adding eggs; they enrich the dough, leading to a tender crumb and a lovely color once baked.
For a delicious twist, you might mix sugar and cinnamon with whipped butter for a flavorful filling. Additionally, the process of lamination in croissant making is similar to that used in preparing opera cake layers, which enhances the texture and complexity of the pastry.
With these essential ingredients at hand, you're well on your way to crafting the perfect twisted croissants that will impress everyone!
Preparing the Dough
The key to perfect twisted croissants lies in preparing a well-crafted dough. Start by combining water, yeast, and sugar in a stand mixer, letting it sit for 2-3 minutes until foamy. This step activates the yeast for ideal dough rise and is similar to how adding baking soda helps cookies rise.
Next, gradually add salt and flour to the yeast mixture, mixing until a soft, slightly sticky dough forms that clears the sides of the bowl. Incorporating baking powder can also enhance the dough's texture, making it light and airy.
Once your dough is ready, knead it for 3-4 minutes until it's smooth. Then, cover it and allow it to rise until doubled in size, which typically takes about 1 hour.
After the dough has risen, it's time to roll it out. Gently roll the dough into a rectangle measuring 18 x 11-12 inches, being careful not to over-flour to maintain its soft texture.
With the dough rolled into shape, you're almost ready to create your delicious twisted croissants. But first, remember to chill your butter, which will be incorporated later. This preparation sets the stage for achieving that flaky, buttery perfection in your finished pastries. Using cold butter is essential for achieving a flaky texture in pastries.
Creating the Butter Packet
Creating the butter packet is vital for achieving those irresistible flaky layers in your twisted croissants. Start by cutting two sticks of cool, room temperature butter into pieces.
Then, place the pieces between sheets of parchment paper and press them by hand to form a thin sheet measuring approximately 16 1/4 x 12 inches. Avoid using a rolling pin, as it can warm the butter, making it difficult to work with. A technique similar to this is used in preparing layers for traditional Italian desserts like cassata, where maintaining the right temperature is crucial for texture.
Once you've shaped the butter into a packet, it's important to chill it in the fridge while preparing your dough. This guarantees the butter remains firm during the upcoming rolling and folding process.
A well-prepared butter packet is a significant step in creating your croissants, as it allows for even distribution during lamination, contributing to the dough's texture and the overall flakiness of the pastry. This technique is similar to the method used in creating Norwegian Kransekake, where proper layering is essential for achieving the desired texture.
Rolling and Folding Techniques
Once your butter packet is chilled and ready, it's time to roll and fold your dough. First, roll your risen dough into a rectangle measuring 18 x 11-12 inches, ensuring an even thickness for ideal lamination. The layering technique used here is reminiscent of the ancient Greece origins of layered desserts.
Place the chilled butter packet in the center of the rolled dough, then fold the edges over the butter, sealing well to prevent any leakage during rolling.
Next, roll the folded dough into a long rectangle of 8 x 22 inches. If your dough springs back, let it rest for 5-10 minutes to relax the gluten. This resting period is crucial for achieving a tender and flaky texture, similar to how almond flour contributes to the richness in gluten-free cookies.
Now it's time for the folding technique. Bring the edges of the dough to the center and then fold it in half. This process creates those essential layers for a flaky croissant.
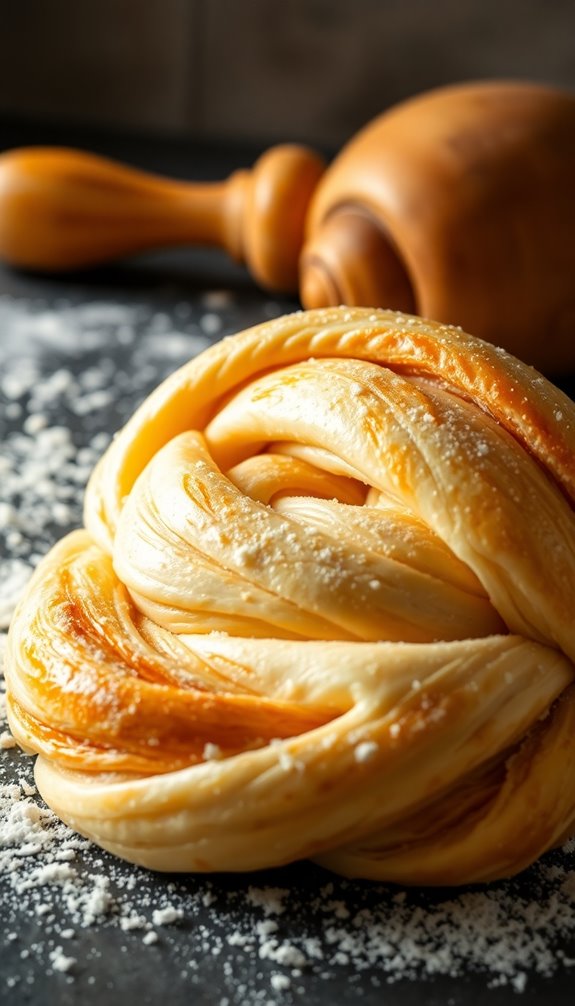
Finally, cut the rolled dough into strips for shaping. To achieve the signature twisted appearance, twist each strip 3-4 times before placing it on a parchment-lined baking sheet.
This rolling and folding technique is vital for your twisted croissants, setting the foundation for a delightful baking experience. Additionally, incorporating nutrient-rich flour alternatives can enhance both the taste and health benefits of your pastries. Enjoy the process, and get ready for those delicious layers!
Shaping Your Twisted Croissants
Shaping your twisted croissants is a delightful process that brings the dough to life. Start by rolling your laminated dough into a rectangle measuring approximately 12 x 18 inches, guaranteeing an even thickness for ideal layering.
Next, cut the dough into strips about one inch wide. This is where the fun begins! Twist each strip 3-4 times to create the signature spiral shape. This twisting not only adds visual appeal but also guarantees even baking and a satisfying texture. Incorporating low-sugar alternatives can enhance the flavor while reducing overall sugar content in your pastries.
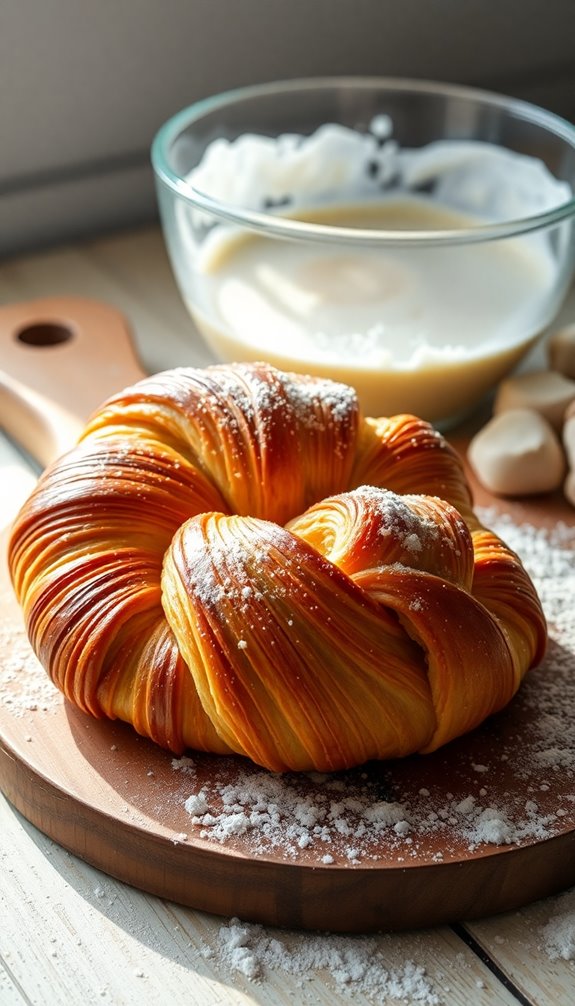
Once you've shaped all your strips, place them on a parchment-lined baking sheet. Allow them to rise until they're noticeably puffy, usually taking about 45 minutes to an hour. This step is essential for achieving that airy, flaky pastry you crave.
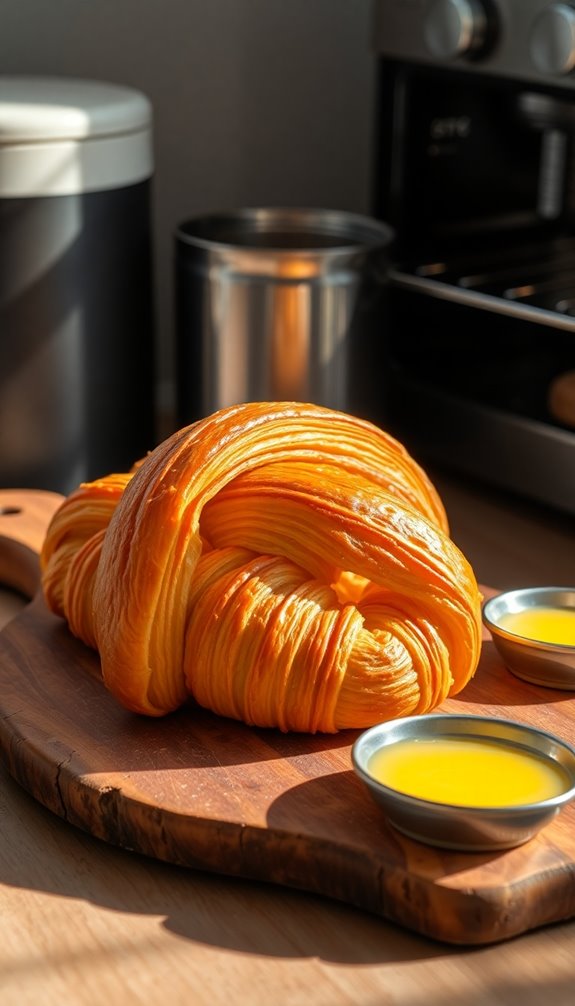
For added flavor, brush the tops with melted butter before baking. This enhances browning and contributes to a rich, flaky texture. Remember to use high-quality ingredients, as they can significantly impact the final taste and texture of your pastries and facilitate even baking results due to heat retention.
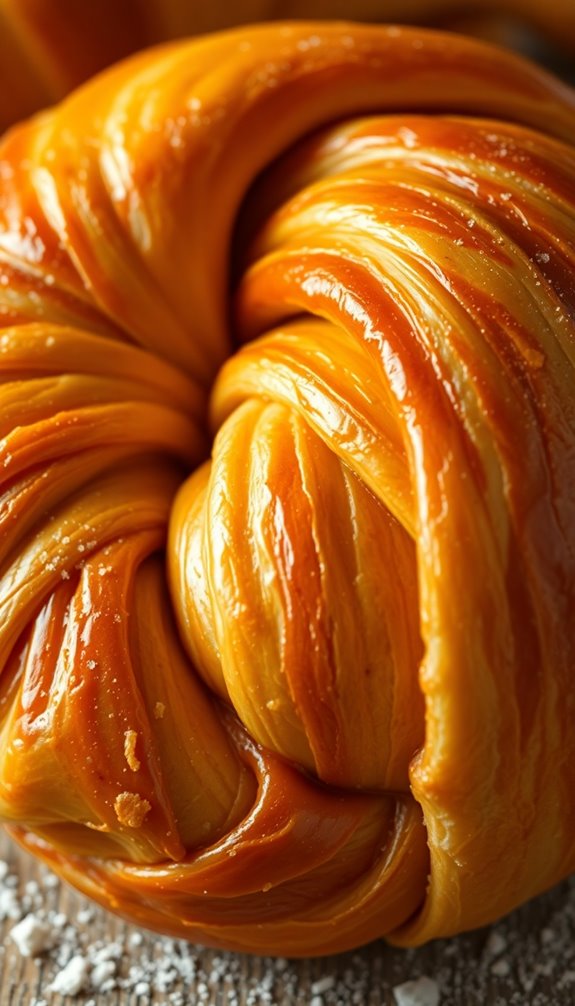
Bake your twisted croissants at 375°F for 20-25 minutes, or until they're golden brown and perfectly puffed. You'll love the delightful aroma that fills your kitchen as they bake, making the effort well worth it!
Rising and Proofing
When it comes to twisted croissants, proper rising and proofing are essential for achieving that perfect texture and flavor.
You'll want to keep an eye on the dough as it puffs up, ensuring it's covered to retain moisture and kept in a warm spot to boost yeast activity.
Importance of Proper Rising
Proper rising is essential for achieving the ideal texture in your twisted croissant pastry. You'll want to let your dough rise until nearly doubled in size, which typically takes about 45 minutes to 1 hour. This time allows the gluten structure to develop, creating the light and fluffy texture you desire.
During this phase, make sure to cover the dough with plastic wrap to retain moisture and promote consistent yeast activity. Maintain a warm temperature, ideally around 75°F, to enhance the performance of the yeast. Avoid drafts, as they can disrupt the rising process.
A well-risen dough will be noticeably puffy, indicating that the yeast has effectively fermented and produced gas. Insufficient rising can lead to dense, undercooked pastries, while over-proofing may cause the dough to collapse.
It's vital to monitor your dough carefully during this critical phase to achieve the best results. By understanding the importance of proper rising, you'll set yourself up for success in creating delicious twisted croissants that are light, airy, and irresistible.
Techniques for Effective Proofing
After you've confirmed your dough has risen properly, the next step is effective proofing, which plays a significant role in the final outcome of your twisted croissant pastry.
Proofing, or the second rise, allows your dough to expand and develop flavor. Aim for a warm environment, ideally around 75-80°F, for about 45 minutes to 1 hour. This temperature encourages yeast activity, guaranteeing your dough rises until doubled and becomes noticeably puffy.
To maintain moisture and achieve a soft texture, cover the dough with plastic wrap during proofing. This prevents it from drying out and helps create the perfect conditions for your yeast to work.
To check if your dough is ready, gently poke it. If it springs back slowly, it's time to shape or bake. A rapid spring back means it needs more time to proof.
By mastering these techniques, you'll guarantee your twisted croissant pastry has the ideal rise and texture, making it a delightful treat.
Happy baking!
Baking Instructions
To get started on your twisted croissants, you'll want to prepare the dough with just the right sticky texture.
Once that's set, it's time to focus on shaping techniques that will give your pastries their unique look.
Let's break down the essential steps for both dough preparation and shaping to guarantee a delicious result.
Dough Preparation Tips
Often, the key to a successful twisted croissant pastry lies in how you prepare the dough. Start by combining warm water, yeast, and sugar in a stand mixer. Let it sit for 2-3 minutes until it's foamy—this step is essential for activating the yeast.
Next, gradually add salt and flour, mixing until a soft, slightly sticky dough forms that clears the sides of the bowl. Knead the dough for about 3-4 minutes until it's smooth, then let it rise in a warm place until it doubles in size, which usually takes around 1 hour.
While the dough rises, prepare your butter packet. Make sure the butter is at cool room temperature and flatten it into a thin sheet between parchment paper. This will help with easy incorporation into the dough later.
When it's time to roll and fold, roll your dough into the specified rectangle size, ensuring even thickness. Follow the layering techniques carefully during this rolling and folding process to achieve that desired flaky texture.
With these dough preparation tips, you'll set the foundation for a delicious twisted croissant pastry!
Shaping Techniques Explained
Once your dough has risen and is ready to be shaped, begin by rolling it out into a rectangle measuring approximately 12 x 18 inches. Make certain the thickness is even to achieve ideal layering and flakiness.
Next, cut the rolled dough into one-inch strips. This uniformity will help each twisted pastry maintain a visually appealing shape.
Now, take each strip and twist it tightly, rotating 3-4 times. This tight twist is essential for creating a sturdy structure and enhancing texture during baking.
Once you've twisted all the strips, place them on a baking sheet and allow them to rise until they're noticeably puffy. This step is critical for achieving a light and airy final product.
Preheat your oven to 375°F while the twisted strips rise. When they're ready, pop them in the oven and bake for 20-25 minutes.
Keep an eye on them until they turn a beautiful golden brown. You'll want to verify the internal temperature reaches a desirable doneness for the perfect flaky texture.
Enjoy your deliciously twisted croissants!
Flavor Variations and Customizations

Twisted croissants offer a delightful canvas for a variety of flavor variations and customizations that cater to every palate. You can easily indulge in sweet flavors by filling your croissants with rich chocolate, smooth almond paste, or fruity preserves.
If you're in the mood for something different, consider savory options like gooey cheese, fresh herbs, or even slices of meat, which provide a delicious contrast to the sweetness of traditional pastries.
Seasonal ingredients can inspire unique combinations, too. In the fall, try a pumpkin spice filling, while fresh berries shine in the summer months.
Don't forget to experiment with spices or extracts—adding vanilla or cardamom can give your dough an aromatic twist that elevates the entire experience.
Customizations extend beyond fillings; toppings play a vital role in enhancing both taste and presentation. A sprinkle of cinnamon sugar or a drizzle of glaze can transform your twisted croissant into a visually stunning treat that's just as delightful to eat.
With so many options at your fingertips, you'll never run out of ways to make your twisted croissants uniquely yours!
Tips for Perfect Texture
To achieve the perfect texture in your twisted croissant pastry, focus on the consistency of your dough.
Make sure it's slightly sticky yet clears the bowl, and don't rush the rising time—let it double in size.
Also, pay attention to your rolling and folding techniques, as they're key to creating those flaky layers you crave.
Dough Consistency and Handling
Achieving the perfect dough consistency for your Twisted Croissant pastry starts with a slightly sticky texture that can easily clear the sides of the bowl after about 3-4 minutes of kneading.
Proper hydration is important, so mix water, yeast, and sugar, and let the mixture sit for 2-3 minutes until it's foamy. Then, add salt and flour carefully to maintain that soft and pliable texture you need for handling and shaping.
Avoid over-flouring your dough, as this can compromise its elasticity. Allow the dough to rise until noticeably puffy, which should take about an hour. This step is essential for ensuring the dough has the right elasticity for shaping into twists.
If you find that the dough springs back while rolling, give it a rest for 5-10 minutes to let the gluten relax and roll more easily. This resting period is crucial for a smooth, workable dough that's ready for twisting.
Proper Rising Time
Once your dough reaches that perfect consistency, it's time to focus on rising time, which is vital to getting the light and airy texture that makes Twisted Croissants so delightful.
You'll want to allow your dough to rise until it's puffy and doubled in size, typically taking about 45 minutes to 1 hour. This guarantees your pastry has the desired flaky layers.
Cover the dough with plastic wrap during rising to create a warm, humid environment. This helps activate the yeast and promotes proper leavening, which is essential for achieving that ideal texture.
Don't rush the rising process; insufficient rising can lead to dense pastries that lack the lightness you're after.
If you prefer a cold rise, consider refrigerating the dough overnight. This can enhance both flavor and texture while allowing for a more controlled fermentation process.
Remember to monitor the dough closely, as factors like room temperature and humidity will affect rising time. Adjust accordingly to guarantee your dough rises perfectly, setting you up for a successful baking experience.
Rolling and Folding Techniques
Mastering the rolling and folding techniques is vital for creating the perfect Twisted Croissant texture. Start by rolling your risen dough into a rectangle of about 18 x 11-12 inches. Place a chilled butter packet in the center, guaranteeing even layering for that flaky finish.
Fold the edges of the dough over the butter, sealing it well to prevent any leakage. This step is essential for maintaining the integrity of the layers during baking.
Once sealed, roll the folded dough into a long rectangle measuring 8 x 22 inches. If the dough springs back, let it rest for 5-10 minutes to relax the gluten, making it easier to handle.
For ideal flakiness, begin folding the dough by bringing the edges to the center, then fold it in half, repeating this process several times to create multiple layers of dough and butter.
When you cut and twist the strips, aim for a thickness of about one inch. This thickness promotes even baking and guarantees that your Twisted Croissants have the desirable texture you're aiming for.
Happy baking!
Storage and Reheating Methods
To keep your twisted croissants fresh and delicious, proper storage and reheating methods are vital. Store your croissants in a Ziploc bag at room temperature for up to two days to maintain their freshness. If you need longer storage, you can freeze them; many users report that freezing keeps their quality intact.
When it's time to enjoy your croissants again, thaw them at room temperature for 1-2 hours before reheating. This process enhances their flavor as they reabsorb the butter, making them even tastier.
For reheating, place the thawed or frozen croissants in the oven at 350°F for 10-15 minutes. This method restores their flaky texture and warmth without compromising their crisp exterior and soft interior.
Always allow your baked croissants to cool on a wire rack after baking to prevent sogginess from trapped steam. This step is essential for ensuring they remain delicious for future enjoyment.
Recommended Baking Tools
Baking twisted croissants requires the right tools to achieve that perfect flaky texture and buttery flavor. Start with a half sheet pan; it's vital for even baking and allows you to bake multiple pastries at once without overcrowding.
A good rolling pin is essential for rolling out your croissant dough to the desired thickness, ensuring uniformity in size and texture.
Once your croissants are baked to perfection, grab a serrated bread knife for slicing. This tool provides clean cuts without squishing those delicate layers, preserving their flaky goodness.
Don't forget a pastry brush to apply melted butter or glaze before and after baking. This step enhances both flavor and appearance, making your pastries irresistible.
Lastly, line your baking sheets with parchment paper. This prevents sticking and makes cleanup a breeze, letting you enjoy your baking experience without the hassle.
With these recommended baking tools in hand, you'll be well on your way to creating delicious twisted croissants that everyone will love!
Community Feedback and Experiences
Many bakers have shared their positive experiences with the Twisted Croissant recipe, highlighting its crispy exterior and soft, fluffy interior.
They appreciate the clear instructions that guide you through the process, increasing your chances of success. Many find that the fun and creative aspect of twisting and shaping the croissants elevates their baking experience, making it enjoyable for bakers of all skill levels.
You'll also discover a wealth of variations that bakers have experimented with, from adding chocolate to incorporating savory cheese.
This versatility allows you to customize your creations to suit your taste. Plus, a popular tip within the community is freezing the croissants.
Many users report that the quality remains intact even after thawing, making it easy to enjoy freshly baked croissants whenever you want.
Conclusion
Baking twisted croissants isn't just about following a recipe; it's a delightful journey that connects you to centuries of culinary tradition. As you pull that golden, flaky pastry from the oven, you're not just indulging your taste buds—you're creating a moment of joy. Remember, every twist you make carries the laughter and love of your kitchen. So go ahead, share these treats with family and friends, and witness how a simple pastry can weave bonds that last a lifetime.