Red velvet cake is a vibrant dessert known for its mild cocoa flavor paired with tangy buttermilk and a striking red color. To make it, you'll need key ingredients like quality cocoa powder, buttermilk, and red gel food coloring. Start by ensuring your ingredients are at room temperature for a smooth batter. Mix your dry and wet ingredients carefully to avoid overmixing. Bake the layers and allow them to cool before frosting with a delicious cream cheese blend. By mastering this recipe, you'll reveal endless variations and creative twists that can elevate your baking game.
What Is Red Velvet Cake?
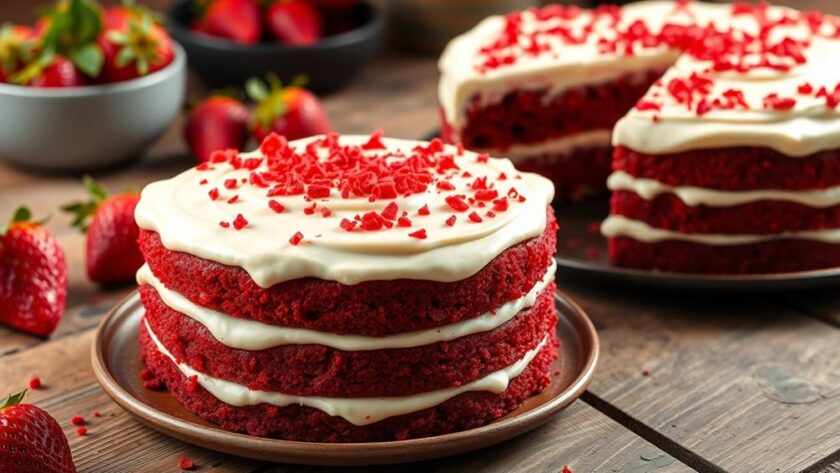
Red velvet cake is a beloved Southern classic that stands out with its unique combination of flavors and textures. This cake has a distinct flavor profile that balances a mild cocoa taste with the tangy richness of buttermilk and vinegar. Traditionally, the vibrant red color of red velvet cake comes from red food coloring, often in gel form, which gives it that eye-catching hue.
To enhance the cake's texture and flavor, some bakers incorporate elements like chocolate and vanilla layers, which can provide a delightful contrast to the red velvet.
What sets red velvet cake apart is its moist cake and velvety texture, achieved through a carefully crafted blend of oil, buttermilk, and vinegar. Unlike standard chocolate cakes, the tangy notes from the buttermilk enhance the overall flavor, making each bite a delightful experience.
The cake is typically layered or topped with cream cheese frosting, which not only complements its sweetness but also adds an extra layer of tangy richness that elevates the dessert.
Historically, the red color in red velvet cake was originally a result of a reaction between cocoa powder and the cake's acidic ingredients, producing a maroon hue before artificial coloring became popular.
This classic dessert continues to be a favorite for celebrations and gatherings, embodying Southern charm and culinary tradition.
Key Ingredients for Success
Creating a successful red velvet cake hinges on selecting the right key ingredients. Start with quality cocoa powder; it adds a mild chocolate flavor that complements the cake's unique taste.
Buttermilk is crucial for achieving that tender, moist texture you want, so don't skip it. The addition of white vinegar is critical too, as it reacts with baking soda to enhance leavening, resulting in a light and airy cake with a subtle tang.
For a richer flavor, consider using gluten-free alternatives to cater to various dietary needs. To achieve that iconic red hue, use concentrated red gel food coloring. It gives you an intense color without overloading the batter with dye.
Remember, using room temperature ingredients, especially eggs and buttermilk, is essential for a cohesive batter and even baking.
For the frosting, opt for softened cream cheese and unsalted butter. This combination creates a smooth, creamy texture that perfectly balances the cake's sweetness with a delightful tang.
If you prefer a sweeter touch, consider sweet cream cheese for your frosting. By focusing on these key ingredients, you'll set yourself up for a deliciously successful red velvet cake.
Preparing the Batter
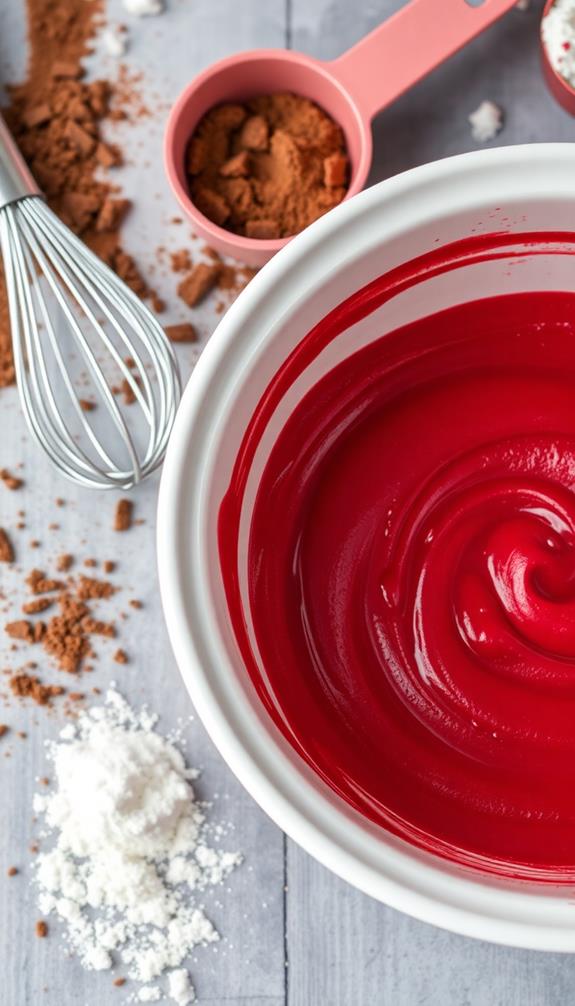
To prepare the perfect red velvet cake batter, start by ensuring all your key ingredients are at room temperature.
Incorporating red velvet cake mix ingredients such as unsalted butter and vegetable oil is essential for a rich flavor.
You'll mix your dry ingredients in one bowl and your wet ingredients in another before combining them for a smooth consistency.
Don't forget to enhance the chocolate flavor by incorporating hot coffee or water into the cocoa powder!
Key Ingredients Overview
When preparing the batter for a red velvet cake, you'll want to focus on key ingredients that define its signature flavor and color. Here are the essentials:
- Cocoa powder: Adds a subtle chocolate flavor that complements the cake's overall taste.
- Buttermilk: Contributes to the cake's moisture and tanginess, guaranteeing a tender crumb.
- Red food coloring: Gives the cake its iconic hue, making it visually striking.
To create a moist cake, use room temperature eggs and buttermilk. This helps achieve an even mix throughout the batter. For a richer chocolate flavor, consider combining cocoa powder with hot coffee or water to enhance its profile.
When mixing your dry ingredients—flour, baking powder, baking soda, salt, and cinnamon—do this separately to guarantee even distribution before integrating them with the wet ingredients.
Vinegar is also vital here, acting as a leavening agent alongside baking soda, contributing to a light, tender crumb in your red velvet cake.
With these key ingredients in mind, you're on your way to a deliciously rich and vibrant dessert!
Mixing Techniques Explained
Mixing techniques play an essential role in achieving the perfect red velvet cake batter. Start by mixing the dry ingredients, including flour, cocoa powder, baking soda, salt, and sugar, in a separate bowl. This guarantees even distribution before you combine them with the wet ingredients.
In another bowl, whisk together the wet ingredients—vegetable oil, eggs, buttermilk, vinegar, vanilla extract, and red food coloring—until smooth and well incorporated.
Next, gradually combine the dry and wet mixtures by adding the dry ingredients to the wet mixture. Mix on medium speed until just combined to avoid overmixing, which can lead to a dense cake instead of a tender crumb.
To enhance the chocolate flavor, incorporate hot coffee or hot water into the batter after mixing the dry and wet ingredients. This step helps bloom the cocoa powder for a richer taste.
Make sure that all ingredients are at room temperature before mixing, as this helps create a cohesive batter and contributes to the cake's moist texture.
Step-by-Step Baking Process
Baking your perfect red velvet cake starts with the right preparation and attention to detail. Follow these essential steps to guarantee a deliciously moist cake:
- Preheat the oven to 335°F (168°C).
- Prepare your two 8 x 2 cake pans for easy release.
- Gather all your ingredients at room temperature.
In a medium bowl, combine room temperature eggs, vegetable oil, buttermilk, vinegar, butter, vanilla, and red food coloring, mixing until smooth.
For a richer flavor, consider incorporating optional flavorings like citrus zest or almond extract.
In a stand mixer, combine flour, sugar, cocoa powder, salt, and baking soda on low speed. Gradually add the wet mixture, increasing to medium speed until you achieve a cohesive batter.
Pour the batter evenly into the prepared cake pans and bake for 35-40 minutes. You'll know they're ready when they bounce back lightly when touched and a toothpick comes out clean.
Allow the cakes to cool in the pans for 10 minutes before transferring them to a wire rack.
For same-day frosting, chill the cooled layers in the freezer for about an hour to firm them up before spreading on the cream cheese frosting.
Enjoy your baking journey and savor each delicious bite!
Making Cream Cheese Frosting
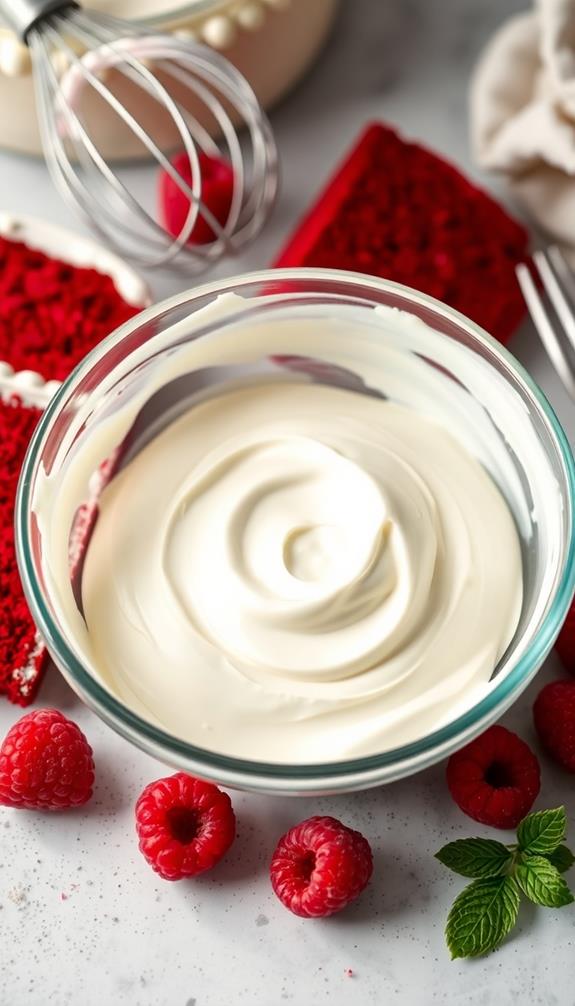
To create the perfect cream cheese frosting for your red velvet cake, start by beating softened unsalted butter and cream cheese together until the mixture is smooth and fluffy, which usually takes about three minutes.
For an added burst of flavor, consider infusing your frosting with a hint of vanilla bean, similar to techniques used in vanilla bean infusion techniques.
Once combined, gradually add sifted confectioners' sugar to the butter and cream cheese mixture. Make sure to mix on low speed to prevent spillage, and continue until it's fully combined and fluffy.
Next, incorporate a teaspoon of vanilla extract and a pinch of salt to enhance the flavor of your cream cheese frosting.
For ideal texture, avoid over-mixing; you should only mix until the frosting is just combined and smooth. If you find the frosting to be too thick, you can adjust its consistency by adding a small amount of milk. On the other hand, if it's too thin, simply add more powdered sugar until you reach your desired thickness.
This creamy, smooth, and fluffy frosting will perfectly complement your red velvet cake, creating a delightful balance of flavors and textures.
Enjoy the process, and soon you'll have a delicious frosting ready for your cake!
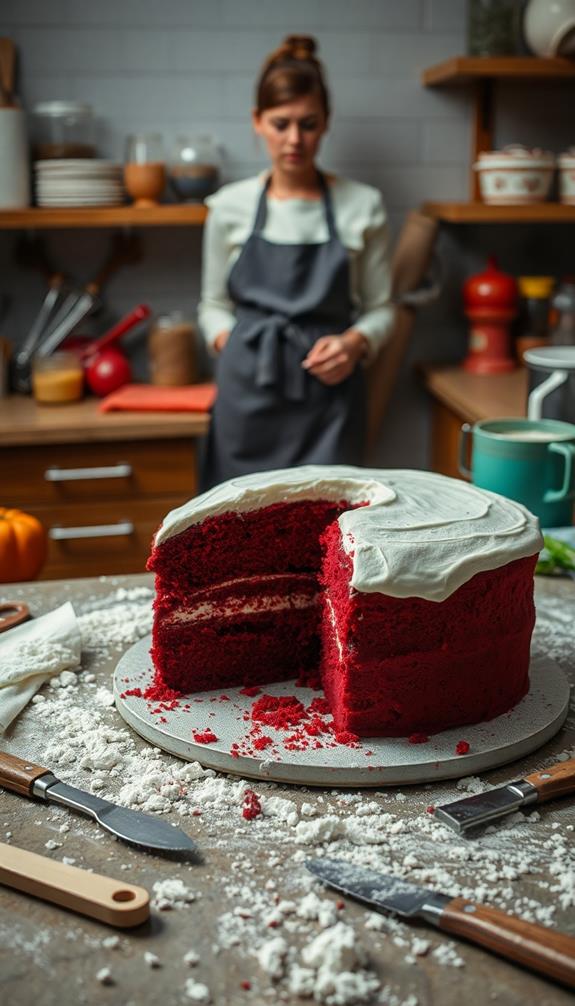
Assembling the Cake
Once your cream cheese frosting is ready, it's time to assemble the cake. Start by ensuring your cooled cake layers are level. Use a serrated knife to trim off any domed tops to allow for evenly stacking.
For a healthier twist, consider incorporating nutrient-rich swaps in your frosting, such as using avocado or natural sweeteners, to boost the nutritional profile.
Next, follow these steps to create a stunning presentation:
- Spread a third of the cream cheese frosting between each layer.
- Coat the sides and top of the cake with the remaining frosting.
- Use an offset spatula to achieve a smooth finish and add decorative touches.
After frosting, it's essential to refrigerate the assembled cake for at least 30 minutes. This chilling time not only enhances the flavor but also helps the frosting set, making it easier to slice later.
If you want to elevate your cake's decorative appeal, consider reserving a cup of frosting for piping or other embellishments.
Storage and Freezing Tips

Properly storing your red velvet cake is key to preserving its deliciousness. If you've got unfrosted cake layers, you can keep them at room temperature for up to 6 hours. For longer storage, wrap them tightly in plastic wrap and freeze them for up to 2 months. This way, you can enjoy your cake layers later without sacrificing flavor or texture.
Additionally, if you're looking for a gluten-free option, you can explore alternatives that maintain taste and texture while accommodating dietary needs, making for delightful treats gluten-free options.
Once you've assembled your red velvet cake, it's best to keep it covered in the refrigerator. It'll stay fresh for about 3 days, but remember to wrap it well to avoid drying out.
If you decide to freeze the whole cake or slices, make sure to wrap them tightly in plastic wrap to prevent freezer burn. They can last up to 3 months in the freezer.
When you're ready to enjoy your cake, thaw the frozen layers in the refrigerator overnight for the best results.
Variations and Creative Twists
After mastering the art of storing your red velvet cake, it's time to get creative with this beloved dessert. With roots in traditional baking, like the evolution of cheesecake's adaptations, there are countless variations and unique twists you can try, making your red velvet cake even more exciting!
- Transform your cake into red velvet cupcakes by adjusting the baking time and using cupcake liners for easy serving.
- Add a layer of chocolate ganache between cake layers to boost the chocolate flavor and create a decadent surprise.
- Incorporate spices like cinnamon or nutmeg for a warm flavor profile that enhances the traditional tanginess of red velvet.
You can also experiment with different frostings. Try a rich chocolate buttercream or a light vanilla bean frosting to give your cake a new twist while honoring its classic base.
If you want to introduce some crunch, consider adding crushed walnuts or pecans. These ingredients not only elevate the texture but also provide a delightful contrast to the smooth cream cheese frosting.
With these variations, you'll keep red velvet cake exciting and delicious. So, roll up your sleeves and start experimenting with flavors and textures!
Common Baking Challenges
Baking a red velvet cake can present several common challenges that might trip you up if you're not prepared. One of the first hurdles is achieving the perfect red velvet color. Using a concentrated red gel food coloring guarantees you get that bold hue without compromising the red velvet flavor.
Additionally, make certain all your ingredients, especially buttermilk and eggs, are at room temperature. This step is essential for a cohesive texture and to prevent the batter from breaking.
Another challenge is overmixing the batter. You want to mix just until combined to retain the light, moist crumb characteristic of red velvet.
Pay close attention to your baking time as well; test the cake with a toothpick and remove it from the oven once it comes out clean to avoid drying it out.
Community Feedback and Experiences
Community feedback surrounding red velvet cake reveals a wealth of experiences and preferences that can enhance your baking journey. Many bakers share insights that can help you achieve the perfect cake:
- Opt for oil-based recipes to create moist red velvet cakes that many tasters prefer.
- Focus on accurate ingredient measurements to guarantee the best flavor and texture.
- Experiment with variations like red velvet cupcakes for a fun twist on the classic.
You'll find that the rich flavor profile of red velvet cake comes from the delightful balance of chocolate and tanginess, thanks to the buttermilk and vinegar. Most bakers agree that cream cheese frosting is the ideal pairing, with some even seeking less sugary alternatives to enhance the cake's flavor.
Additionally, participants in baking challenges often share tips and photos, fostering a vibrant community that encourages experimentation.
Don't shy away from trying new techniques or tweaking recipes based on community feedback. Embracing these insights can help you navigate baking challenges and elevate your red velvet cake to new heights!
Conclusion
Now that you've got the scoop on red velvet cake, you're ready to whip up a delicious masterpiece. Remember, practice makes perfect—don't get discouraged if your first attempt isn't a showstopper. With the right ingredients, techniques, and a sprinkle of creativity, you'll soon be baking like a pro. So roll up your sleeves and plunge into it; it's time to make your kitchen the heart of the celebration! Enjoy the process and savor every bite!