You can whip up the easiest peanut butter fudge in no time! Start by melting ½ cup of butter with ¾ cup of smooth peanut butter in a saucepan. Once combined, stir in 1 teaspoon of vanilla and gradually mix in 2 cups of sifted powdered sugar until smooth. Pour the mixture into a greased 8×8 dish and chill for 2 to 4 hours until firm. Then, slice and enjoy! This simple recipe yields about 16 delicious squares. Curious about some fun variations or storage tips? There's plenty more to explore that'll make your fudge even better!
Ingredients for Peanut Butter Fudge
To whip up a delicious batch of peanut butter fudge, you'll need a few key ingredients. Start with ½ cup of butter, which gives your fudge a rich, creamy base. You'll also need a 16 oz package of brown sugar, but if you're looking for a different sweetness profile, you can swap it out for 2 cups of granulated white sugar. Don't forget ½ cup of milk to help blend everything smoothly.
One delightful addition to contemplate is a touch of vanilla, which can enhance desserts like Traditional Julekage during the holiday season.
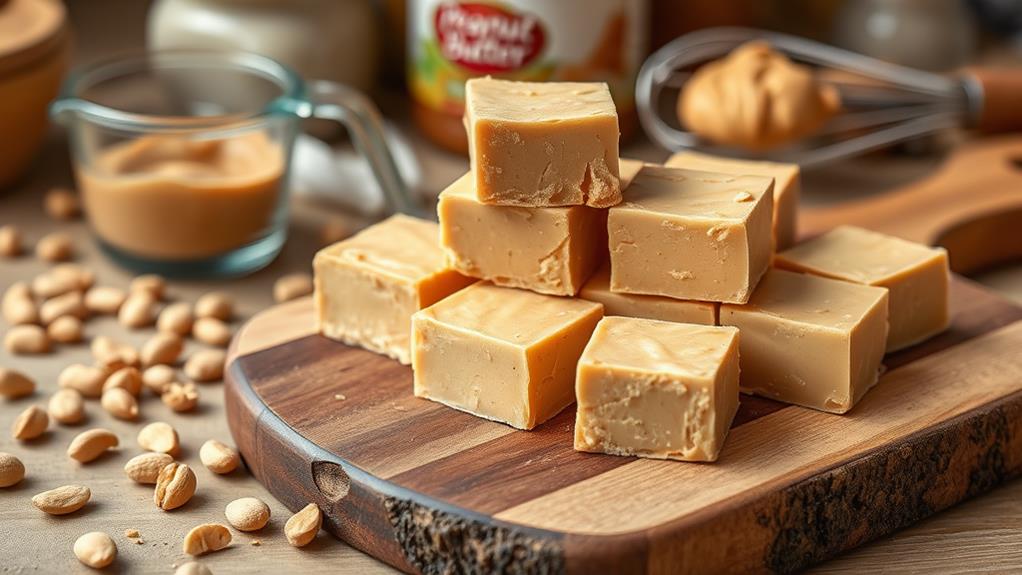
Next, grab ¾ cup of smooth peanut butter. Smooth peanut butter is recommended for that perfect creamy texture, but if you prefer a little crunch, feel free to use crunchy peanut butter instead. You'll also want to add 1 teaspoon of vanilla extract for a delightful hint of flavor.
For an extra twist, think about adding optional mix-ins like chocolate chips, crushed cookies, or chopped nuts to enhance the fudge's taste and texture.
Step-by-Step Preparation
To make your peanut butter fudge, start by gathering the essential ingredients and prepping your workspace.
If you're interested in experimenting with different flavor profiles, consider incorporating elements like nuts or dried fruits, which can elevate your fudge just like adding chocolate chips does in gluten-free cookie recipes.
You'll follow simple cooking instructions to create a creamy, delicious treat that sets perfectly in the fridge.
Essential Ingredients Needed
Gathering the essential ingredients is crucial for making delicious peanut butter fudge. You'll want to guarantee you have everything ready before diving into your peanut butter fudge recipe. Here's what you need:
- ½ cup of butter
- 1 (16 oz) package of brown sugar
- ½ cup of milk
You'll also need ¾ cup of smooth peanut butter and 1 teaspoon of vanilla extract for that rich flavor. Make certain to choose commercial smooth peanut butter for the best texture, as natural varieties can separate and lead to a grainy fudge.
Once you've got your ingredients, grab a medium saucepan. Start by melting the butter over medium heat.
Then, add the brown sugar and milk, bringing the mixture to a boil for about 2 minutes. After removing it from heat, stir in the peanut butter and vanilla extract until everything's fully combined.
Finally, mix in the confectioners sugar to achieve that sweet, creamy consistency.
With these essential ingredients at hand, you're well on your way to creating a delectable treat that everyone will love!
Simple Cooking Instructions
Starting with a greased or lined 8×8 baking dish makes the process smoother for removing your fudge later.
Begin by melting ½ cup of butter and ¾ cup of peanut butter in a medium saucepan. You can do this in the microwave for about 3 minutes, whisking until fully combined. This step is essential for achieving a creamy texture in your peanut butter fudge.
Next, stir in 1 teaspoon of vanilla extract for added flavor. Gradually add 2 cups of sifted powdered sugar, mixing thoroughly until the mixture is smooth and free of any white streaks. This guarantees your fudge has the perfect sweetness and consistency.
Once everything's well combined, pour the fudge mixture into your prepared baking dish. Use a spatula to smooth the top, making it look nice and even.
Refrigerate the dish for about 4 hours or until the fudge is firm to the touch.
After it's set, slice your fudge into squares and enjoy! This easy-to-make treat is perfect for sharing or satisfying your sweet tooth.
Remember to store any leftovers in an airtight container at room temperature for up to a week.
Storage and Freshness Tips
Once your peanut butter fudge has set and been cut into squares, proper storage is key to keeping it fresh. Here are some tips to guarantee your fudge stays delicious:
- Room Temperature: Store your fudge in an airtight container at room temperature for up to 1 week. This keeps it soft and enjoyable.
- Refrigerator: To extend freshness, place the fudge in the refrigerator. Seal it properly in an airtight container, and it can last for up to 2 weeks.
- Freeze: For longer storage, you can freeze the fudge. Wrap each piece tightly in wax paper and aluminum foil, then place it in a freezer-safe container. It'll stay good for up to 3 months.
When you're ready to enjoy your frozen fudge, thaw it in the refrigerator overnight. This method preserves its texture and flavor perfectly.
Don't forget to label your storage container with the date it was made. This helps you track freshness and avoid eating old fudge.
With these tips, you can savor your peanut butter fudge for as long as possible!
Cooking Time and Yield
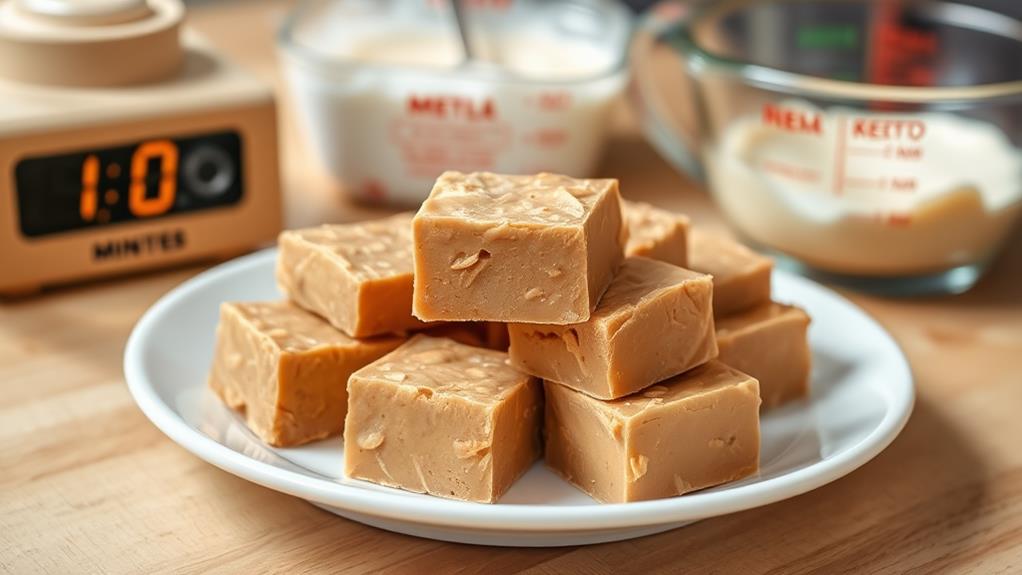
When you're ready to make this delicious peanut butter fudge, you'll find that the entire process takes about 10 minutes of active cooking time. This includes preparation and cooking, so it's quick and straightforward.
To make it even healthier, consider using natural sweeteners like honey or maple syrup for a guilt-free indulgence healthier ingredient swaps.
After you've combined your ingredients and heated them, you'll need to let the fudge cool. Cooling time is essential; it typically takes about 2 to 4 hours in the refrigerator for the fudge to set properly. While this cooling time may vary based on room temperature, chilling in the fridge is recommended for the best results.
When you finally slice the fudge into 1-inch squares, you can expect a yield of approximately 16 pieces. This means you'll have plenty to share—or to keep all to yourself!
Storing Your Fudge
After your peanut butter fudge has cooled and set, it's important to store it properly to keep it fresh and delicious. Here are some tips to guarantee your fudge stays in top condition:
1. At Room Temperature: You can store peanut butter fudge in an airtight container at room temperature for up to 1 week. Just make sure it's away from direct sunlight or heat sources.
For a delightful treat, consider pairing it with nutty ingredients like almond butter for added flavor.
2. In the Refrigerator: For extended freshness, refrigerate the fudge in an airtight container. It'll last up to 2 weeks, but remember to seal it properly to prevent moisture from affecting its texture.
3. Freezer Storage: If you plan to keep the fudge longer, consider freezing it. Wrap it tightly in wax paper and aluminum foil before placing it in a freezer-safe container. This method allows it to last for up to 3 months.
Don't forget to label the container with the date of preparation to help track its freshness. By following these storage tips, you can enjoy your peanut butter fudge at its best for as long as possible!
Freezing Peanut Butter Fudge
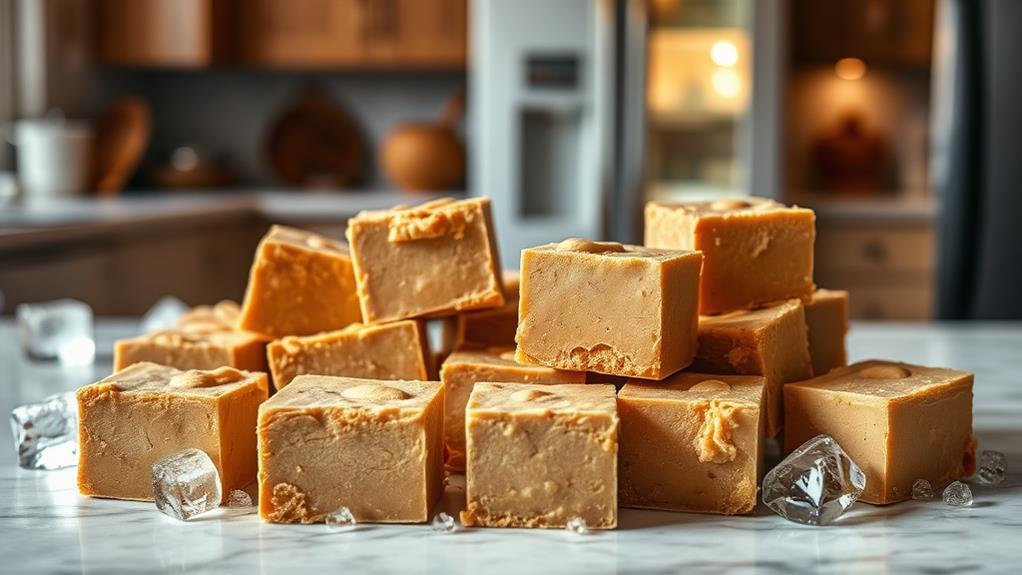
If you want to keep your peanut butter fudge fresh for longer, freezing is a great option. Not only does freezing help preserve the flavor and texture of your fudge, but it also allows you to enjoy a nutritious snack later on.
Consider pairing it with a protein-packed cookie for a balanced treat. You'll need to wrap it properly and store it in a freezer-safe container to maintain its delicious flavor and texture.
When you're ready to enjoy it again, just transfer it to the fridge to thaw overnight for the best results.
Freezing Process Steps
To successfully freeze peanut butter fudge, you should start by wrapping it tightly in wax paper to prevent freezer burn. This initial step is essential as it protects the fudge from exposure to air.
Once wrapped, cover the fudge with aluminum foil for added protection against moisture and odors.
Follow these steps for an effective freezing process:
- Wrap: Use wax paper to wrap the fudge securely, ensuring every edge is covered.
- Cover: Add a layer of aluminum foil around the wax paper wrapper to keep out odors and moisture.
- Store: Place the wrapped fudge in a freezer-safe container, which will help maintain its shape and prevent it from getting squished.
Thawing and Serving Tips
Once your peanut butter fudge is frozen and you're ready to enjoy it, thawing it correctly is key to preserving its taste and texture. To do this, simply place the fudge in the refrigerator overnight. This gradual defrosting process helps maintain the rich flavor and creamy consistency you love.
Once thawed, you have options for serving. If you prefer a softer texture, let the fudge sit at room temperature for a bit before serving. If you like it denser, serve it chilled straight from the fridge. Remember, avoid refreezing any thawed fudge to keep its original quality intact.
When you're ready to serve, consider cutting the fudge into squares while it's still slightly chilled. This helps achieve cleaner edges and a more appealing presentation.
If you have any leftovers, store them in an airtight container at room temperature for up to one week, or refrigerate them for up to two weeks. Enjoy your delicious peanut butter fudge in a way that suits your taste!
Tips From the Community
Community wisdom shines through in the many tips shared by avid bakers looking to perfect their peanut butter fudge. If you want to elevate your peanut butter fudge recipes, consider these helpful suggestions:
- Try Crunchy Peanut Butter: Many home bakers swear by using crunchy peanut butter. It adds a delightful texture and enhances the overall flavor of your creamy peanut butter fudge.
- Experiment with Add-Ins: Don't hesitate to stir in peanut butter with additional ingredients like crushed walnuts or chocolate chips. These variations can create a unique twist on the traditional fudge recipe that everyone will love.
- Mix Properly: To avoid grittiness in your fudge, make sure you mix the confectioners' sugar thoroughly. This step is essential for achieving that smooth, melt-in-your-mouth consistency.
Timing is also key when boiling your sugar and milk mixture. Pay attention to the temperature and duration to nail that perfect fudge consistency.
Common Questions and Answers
You might be wondering how to double the peanut butter fudge recipe without losing its deliciousness.
If you're facing gritty texture issues, it's essential to mix well and use smooth peanut butter for a creamier result.
Let's tackle these common concerns to guarantee your fudge turns out perfectly every time.
Doubling the Recipe
Doubling the peanut butter fudge recipe can be a rewarding experience, especially when you're anticipating a crowd or a special occasion. To get started, you'll need to make some adjustments to the ingredients and equipment.
Here's what you'll need for the doubled recipe:
- Ingredients: Use 1 cup of butter, 2 cups of peanut butter, and 8 cups of powdered sugar for ideal results.
- Larger Baking Pan: Make sure you have a prepared pan, like a 9×13-inch dish, to accommodate the increased volume of fudge.
- Cooking Time: Adjust the cooking time slightly since the peanut butter mixture may take longer to reach the desired consistency when doubled.
Remember to stir the mixture thoroughly to guarantee even distribution of ingredients. This helps prevent any issues later on.
When you double the recipe, you can expect to yield approximately 32 pieces of delicious fudge, depending on how you cut it.
Enjoy your rich, creamy fudge while sharing it with friends and family!
Gritty Texture Concerns
While making peanut butter fudge, encountering a gritty texture can be frustrating, but understanding its causes can help prevent it. One common culprit is using natural peanut butter, which often separates and creates an uneven consistency. To avoid this, opt for a high-quality, creamy peanut butter that maintains its smoothness.
Another key factor is ensuring that all ingredients are thoroughly mixed. Pay special attention to the confectioners' sugar; if it's not fully incorporated, you may end up with white streaks and a less-than-desirable texture.
If you find your fudge has turned out gritty, consider refrigerating it longer. Allowing it to set properly can improve the overall texture, making it more enjoyable.
Lastly, be cautious about how you cook your sugar and milk mixture. Overcooking can lead to crystallization, contributing to that gritty texture.
User Reviews and Feedback
Users have raved about this peanut butter fudge recipe, often calling it "amazing" and "delicious." The creamy texture and rich flavor have garnered consistent praise, with many finding it incredibly easy to whip up in just around 10 minutes.
The peanut buttery taste is so delightful that you'll want to share it with everyone!
Here's what people love most about this easy peanut butter fudge:
- Quick Preparation: Many reviewers appreciate how little time it takes to make this treat, typically around 10 minutes. Perfect for those last-minute cravings!
- Soft and Smooth: Users have noted that when stored properly, the delicious peanut butter fudge remains soft and smooth for up to three days—ideal for gatherings or snacking.
- Customization Options: Some reviewers have experimented by adding chocolate chips or nuts, enhancing the overall enjoyment of what they call the best peanut butter fudge.
While feedback is overwhelmingly positive, a few users mention consistency issues due to oily peanut butter. They suggest trying different brands to achieve the perfect texture.
Customizing Your Fudge
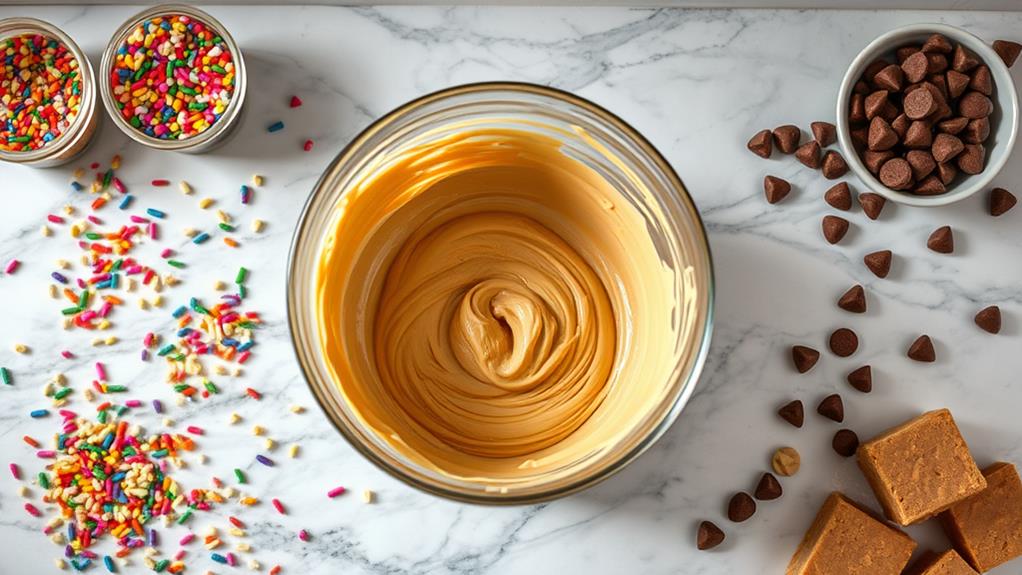
Building on the rave reviews, customizing your peanut butter fudge can take this delightful treat to another level. Start by experimenting with different types of peanut butter. Whether you prefer the crunch of crunchy peanut butter or the unique taste of flavored varieties, this choice can enhance both texture and flavor.
Don't stop there! Consider adding mix-ins like crushed cookies, chocolate chips, or chopped nuts to create a fudge that's truly your own. For a special touch, swirl melted chocolate on top before it sets; it not only looks gorgeous but also adds a rich chocolate layer to your fudge.
If you want to explore unique flavors, try incorporating ingredients like marshmallows or dried fruits for an extra pop of sweetness.
For those looking for a healthier option, swap out powdered sugar for sugar substitutes like Swerve, making your fudge low-sugar without sacrificing taste.
About the Author
Grace Vallo, the creative force behind the Easiest Peanut Butter Fudge recipe, combines a passion for seasonal cooking with a commitment to accessible recipes that anyone can master. Her goal is to make cooking easy and enjoyable, empowering home cooks to try new things without fear.
Here are three reasons why Grace stands out in the culinary world:
- Expertise: Grace's work has been featured in top publications like Food Network and Food & Wine, showcasing her skills and creativity in the kitchen.
- Encouragement: She aims to build confidence in home cooks through straightforward tutorials that demystify the cooking process, making it fun and approachable for all skill levels.
- Engagement: Grace actively connects with her audience via newsletters and social media, sharing updates and new recipes that keep culinary enthusiasts inspired.
Whether you're a seasoned cook or just starting out, Grace Vallo's easy approach to recipes, especially her delightful peanut butter fudge, guarantees you'll feel confident and excited about your time in the kitchen.
Immerse yourself in her world of seasonal cooking and discover how simple it's to create delicious treats!
Conclusion
In just a few simple steps, you've transformed everyday ingredients into a sweet slice of heaven. This peanut butter fudge isn't just a treat; it's a warm hug for your taste buds, perfect for sharing or savoring alone. So, whether you're a seasoned baker or a kitchen novice, this recipe makes indulgence a breeze. Go ahead—dive into the creamy goodness and enjoy the smiles it brings. Your friends and family will be begging for more!