You can easily whip up a delicious Depression Era Peanut Butter Bread using just a few simple ingredients. Start by preheating your oven to 325°F. In a bowl, mix 2 cups of all-purpose flour, 4 teaspoons of baking powder, 1/4 cup of sugar, and 1/2 teaspoon of salt. In a separate bowl, combine 1/2 cup of peanut butter with 1-1/3 cups of milk until smooth. Mix the wet and dry ingredients together, pour the batter into a greased 9×5-inch loaf pan, and bake for about an hour. There's so much more to explore about this comforting recipe!
Historical Context of the Recipe
The Peanut Butter Bread recipe has its roots in the resourceful cooking of the 1930s, emerging from the pages of the Depression-era cookbook "Five Roses Flour: A Guide to Good Cooking."
During this challenging period, home cooks turned to affordable ingredients like peanut butter to substitute pricier options such as butter and eggs. This innovative recipe reflects the creativity and resilience of families facing food scarcity during the Great Depression, much like how traditional Norwegian Kransekake showcases celebration through simple yet effective ingredients.
Quick breads like Peanut Butter Bread gained popularity for their simplicity and reliance on minimal pantry staples.
With limited resources, cooks adapted traditional baking methods, making it easier to whip up nourishing meals that fed families without breaking the bank. The use of peanut butter not only provided essential nutrients but also added flavor and texture to the bread.
Interestingly, the recipe saw a resurgence on platforms like Reddit during quarantine, showcasing its enduring appeal.
As people sought comforting, easy-to-make meals, the historical context of Peanut Butter Bread resonated with a new generation. This recipe stands as a symbol of the resourcefulness of the Depression Era, reminding us that even in tough times, we can create delicious and satisfying dishes.
Essential Ingredients for Bread
To create a delicious Peanut Butter Bread, you'll need a few key ingredients that come together to form a simple yet satisfying loaf. This Depression era recipe isn't only easy to make but also highlights the resourcefulness of that time, much like healthy baking alternatives that have gained popularity today.
Here's what you'll need:
- 2 cups of all-purpose flour – This serves as the base, providing structure to your bread.
- 4 teaspoons of baking powder – As the leavening agent, it helps the bread rise, ensuring a light and fluffy texture.
- 1/4 cup of sugar – This adds a touch of sweetness, balancing the savory flavor of the peanut butter.
- 1/2 cup of peanut butter – The star ingredient! It provides moisture, richness, and the signature flavor that makes this loaf irresistible.
You'll also need 1/2 teaspoon of salt and 1-1/3 cups of milk to enhance the overall taste and texture.
The combination of these ingredients results in a delightful and satisfying bread that reflects the simplicity and creativity of the Great Depression era. Enjoy the process of making this unique loaf that's sure to please!
Preparation Steps and Techniques
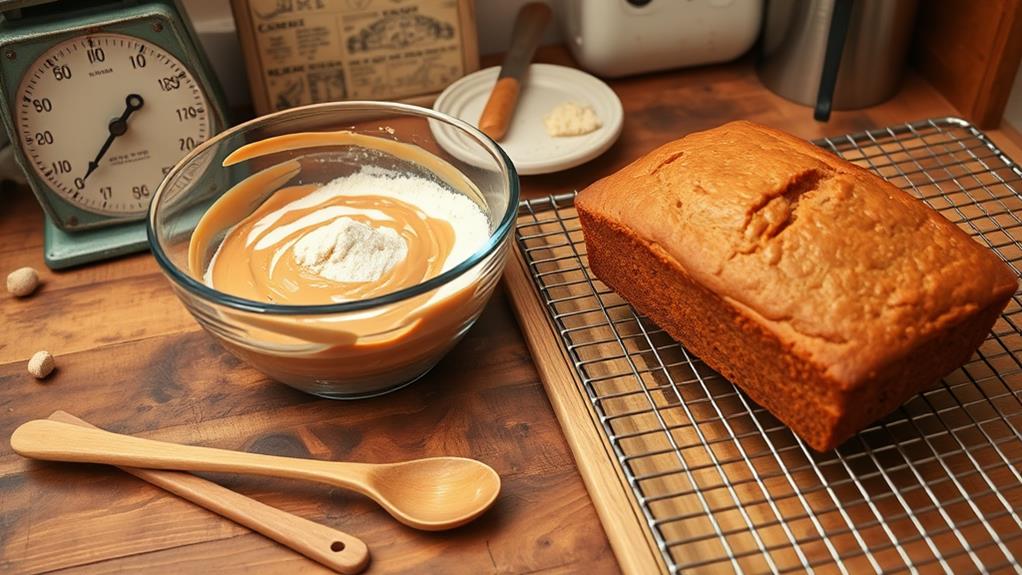
When preparing Peanut Butter Bread, it's essential to follow each step carefully to achieve the best results. Start by preheating your oven to 325°F and preparing a 9×5-inch loaf pan. Grease it or line it with parchment paper to prevent sticking.
In a large bowl, whisk together the dry ingredients: 2 cups of flour, 4 teaspoons of baking powder, 1/4 cup of sugar, and 1/2 teaspoon of salt until they're well combined. This vintage recipe highlights a unique twist on traditional bread recipes, showcasing the beauty of minimalism in baking, perfect for a quick and easy baking project.
Next, in a separate bowl, mix 1-1/3 cups of milk with 1/2 cup of peanut butter until smooth. Gradually add this wet mixture to the dry ingredients, stirring until just combined to avoid overmixing. This batter will be thick, which is perfect for your Peanut Butter Bread.
Pour the batter into the prepared loaf pan, smoothing the top before placing it in the oven. Bake for approximately 1 hour, or until a toothpick inserted comes out clean.
Once baked, allow the bread to cool in the pan for 5 minutes. Then, transfer it to a wire rack to cool completely, ensuring the best texture and flavor for your simple pantry ingredients.
Baking Tips for Perfect Results
Achieving perfect Peanut Butter Bread comes down to a few key baking tips. Follow these guidelines for easy-to-make results:
- Preheat your oven: Set it to 325°F for even baking, similar to how you'd preheat for baking cookies to guarantee the right texture.
- Mix dry ingredients together: In a separate mixing bowl, combine flour, baking powder, salt, and sugar before incorporating them into your wet ingredients. This guarantees a consistent batter without overmixing.
- Prepare your loaf pan: Grease a 9×5-inch loaf pan or line it with parchment paper to prevent sticking.
- Check for doneness: Bake the bread for about 1 hour. Insert a toothpick; if it comes out clean, your bread is ready. If not, continue baking until golden brown.
Once baked, let the bread cool in the pan for 5-10 minutes.
Then, transfer it to a wire rack to cool completely. This step helps maintain the texture and prevents sogginess.
Flavor and Texture Profile
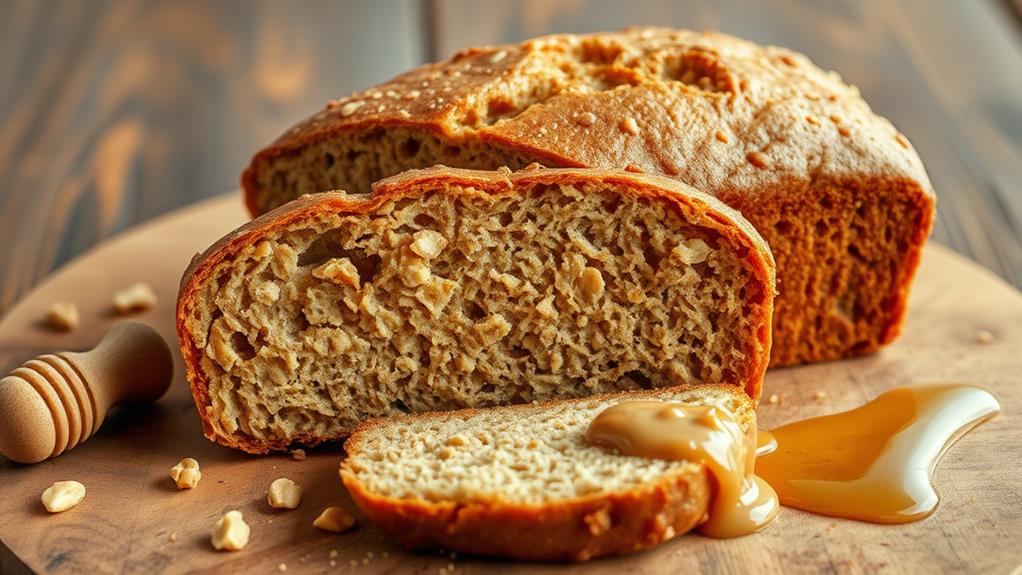
Peanut Butter Bread offers a comforting flavor profile that's lightly sweet with a rich peanut butter essence, making it an ideal choice for breakfast or a satisfying snack.
The Depression Era Peanut Butter Bread features a texture that's slightly dense and crumbly, reminiscent of a muffin. This unique texture comes from the absence of eggs and the use of peanut butter as the primary moisture source. To make it even more nutritious, consider experimenting with healthier ingredient swaps like almond flour, which can add fiber and protein, or incorporating spices such as cinnamon for an extra flavor boost creative and delicious guilt-free recipes.
When baked, you'll notice the bread develops a beautiful golden brown crust, while the moist interior enhances its overall appeal. The balance between the crust and the tender inside creates a delightful eating experience.
If you're looking to elevate the flavor, consider adding chocolate chips or a drizzle of honey. These additions can amplify the sweetness and complexity, providing a delightful variation to the classic recipe.
One of the best aspects of this bread is how its flavor improves after resting. You'll find that it often tastes even better the day after baking, as the flavors meld together beautifully.
Serving Suggestions and Pairings
Enjoying a slice of peanut butter bread warm out of the oven is a simple pleasure that can be enhanced with a variety of delicious toppings and pairings. Here are some great ideas to elevate your experience:
- Warm Spread of Butter or Nutella: Slather on some butter or Nutella for a rich flavor contrast that complements the nutty taste of the bread.
- Fruit Spreads: Pair your slices with fruit spreads like strawberry jam or blueberry compote to enhance the sweetness and add a fresh twist.
- Sliced Banana on Top: For a delightful breakfast option, place sliced banana on top. The banana adds natural sweetness and a lovely texture.
- Classic PB&J: Use the bread as a base for a classic PB&J sandwich, marrying the nostalgic flavors of peanut butter and jelly perfectly.
Consider serving your peanut butter bread alongside a tall glass of milk or plant-based milk. This not only complements its rich flavor but also makes for a satisfying snack or breakfast.
Whether you're enjoying it solo or with friends, these pairings can make your peanut butter bread experience truly special!
Storage and Preservation Methods
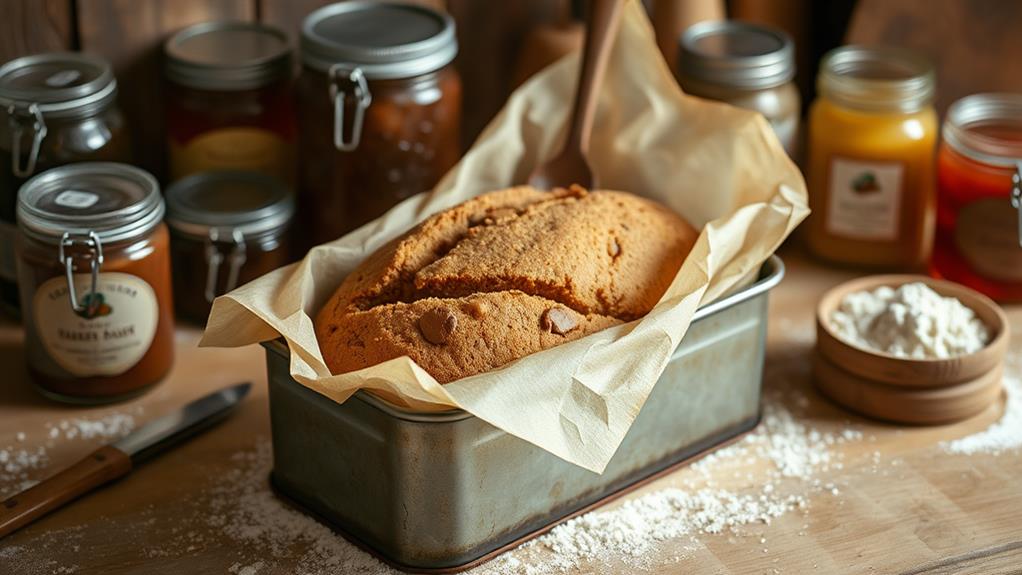
Proper storage is key to keeping your peanut butter bread fresh and delicious. Once you've baked your bread, let it cool completely at room temperature. This step is essential to prevent moisture buildup, which can lead to spoilage.
After it's cooled, wrap the bread tightly in greaseproof paper and aluminum foil or place it in an airtight container. This will help maintain its freshness for up to five days.
If you want to preserve your bread for a longer time, consider freezing it. Slice the bread before freezing, as this makes it easier to thaw individual pieces when you need them. Wrap the slices well in plastic wrap or foil, and they can last for 3-4 months in the freezer.
When you're ready to enjoy a slice, simply thaw it in the fridge overnight.
If you find that your slices have become stale, don't worry! You can refresh them by gently warming them in a toaster oven or a low-temperature oven for a few minutes. This will help restore moisture and texture, making your peanut butter bread delightful once again.
Community Feedback and Adaptations
Bakers have embraced the peanut butter bread recipe, often praising its simplicity and quick prep time. The community feedback highlights how accessible this Depression Era Peanut Butter Bread is, making it a favorite for many home bakers.
You can easily whip it up in just 10-15 minutes, with a baking time of 30-45 minutes.
Here are some popular adaptations shared by the community:
- Reduce sugar: Many have cut back on sugar for a less sweet bread.
- Different nut butters: Experimenting with almond or cashew butter allows you to customize the flavor.
- Enhance flavor: Adding chocolate chips or vanilla extract can elevate the taste, making it even more enjoyable.
- Eggless households: This recipe's success without traditional binding ingredients has made it a staple for those avoiding eggs.
Bakers often describe the texture as pleasantly dense and muffin-like, making this peanut butter bread a unique addition to their baking repertoire.
Whether you're trying it for the first time or making your own adaptations, it's clear this recipe resonates with many home cooks.
Conclusion
To sum up, making this peanut butter bread connects you to a resilient era where simple ingredients created comfort during tough times. Curiously, during the Great Depression, peanut butter became a staple, with consumption soaring to about 1.5 pounds per person each year. By baking this bread, you not only enjoy a delicious treat but also honor the ingenuity and resourcefulness of those who faced hardship. Give it a try, and savor a slice of history!

