Preserve the excellence of your cheesecake by choosing high-quality ingredients like premium cream cheese and fresh eggs. Blend everything thoroughly for a smooth texture. Select heat-resistant jars, clean them well, and leave space for baking. Seal the jars properly after decorating the lids. Bake according to jar sizes and check internal temperature. Sterilize jars and maintain safety measures for processing times. Test seals, follow recipes, and avoid common mistakes. Label and store the jars correctly for future enjoyment. Master these steps for successful cheesecake canning.
Selecting the Right Ingredients
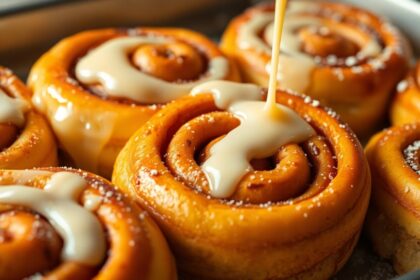
To create a delectable canned cheesecake, start by carefully selecting top-quality ingredients. When filling the jars, it's important to choose high-quality cream cheese with a good amount of at least 30% milkfat. This guarantees a rich and creamy texture that will elevate the overall taste of your cheesecake.
Fresh eggs, often used in cheesecake recipes, should be at room temperature to make sure a smooth and well-incorporated batter. Opt for pure vanilla extract over imitation varieties for a more intense and authentic flavor profile that will delight your taste buds.
Additionally, when preparing the graham cracker crust for your canned cheesecake, consider using a high-quality pre-made crust or make your own with crushed graham crackers and melted butter. This base provides a delicious foundation for your cheesecake that complements the creamy filling perfectly.
For a subtle yet impactful twist, you can also add a touch of citrus zest, such as lemon or orange, to enhance the overall flavor profile of your canned cheesecake.
Preparing the Cheesecake Mixture
When preparing the cheesecake mixture, make sure all ingredients are at room temperature for a smooth and creamy consistency. Using a hand mixer or stand mixer, thoroughly blend the cream cheese, sugar, eggs, and any other ingredients to achieve a uniform texture.
Next time, remember to incorporate any flavorings or mix-ins like vanilla extract, lemon zest, or chocolate chips evenly into the cheesecake mixture. Love baked goods? You'll love the rich and decadent taste of a perfectly prepared cheesecake.
I've seen that it's important not to overmix the batter, as this can lead to a sunken or cracked cheesecake. Taste the mixture and adjust the sweetness or tanginess by adding more sugar or lemon juice as needed before pouring it into the canning jars for baking.
With these steps, you'll be on your way to enjoying a delicious canned cheesecake that retains its perfect texture and flavor.
Choosing the Canning Jars
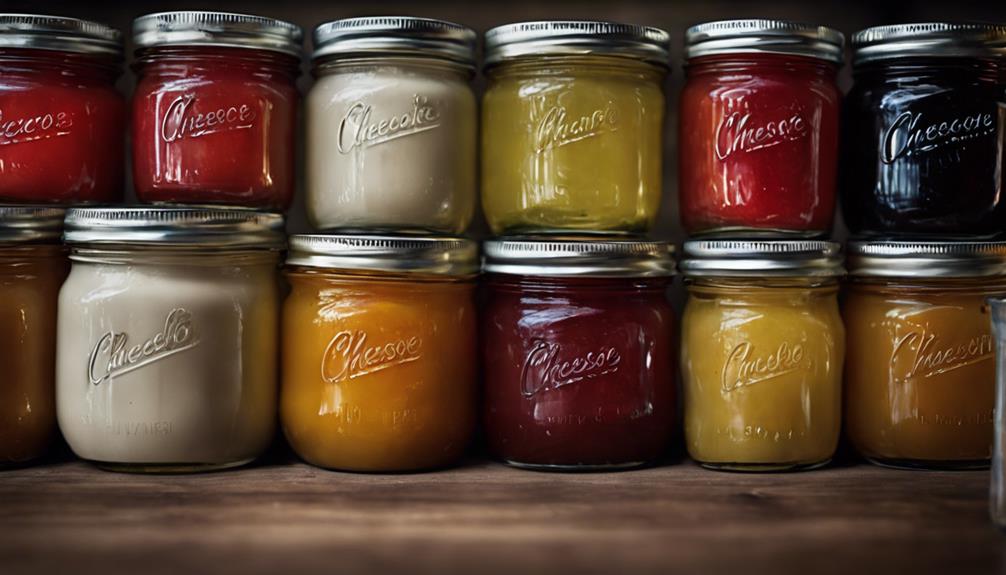
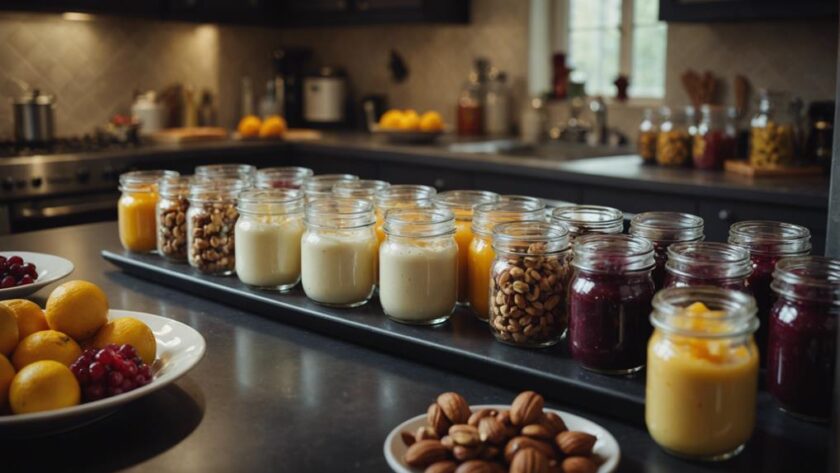
Consider selecting heat-resistant and oven-safe canning jars when choosing containers for your canned cheesecake. For individual portions, opt for jars ranging from 4 oz to 8 oz in capacity.
Mason jars are a popular choice among home cooks for canning cheesecake due to their durability and tight seal. When filling the jars with cheesecake batter, wide-mouth jars are advantageous as they make it easier to pour and remove the cheesecake. Make sure the jars are thoroughly cleaned and inspected for cracks before adding the batter to maintain the integrity of your canned cheesecake.
Various material options are available for canning jars, including glass and heat-resistant plastics. Glass jars are preferred for canning cheesecake as they're non-reactive and maintain the flavor of the dessert.
Some recommended brands for canning jars suitable for cheesecake are Ball, Kerr, and Weck. These brands offer a wide selection of sizes and styles to suit your canning needs while ensuring the safety and quality of your canned cheesecake.
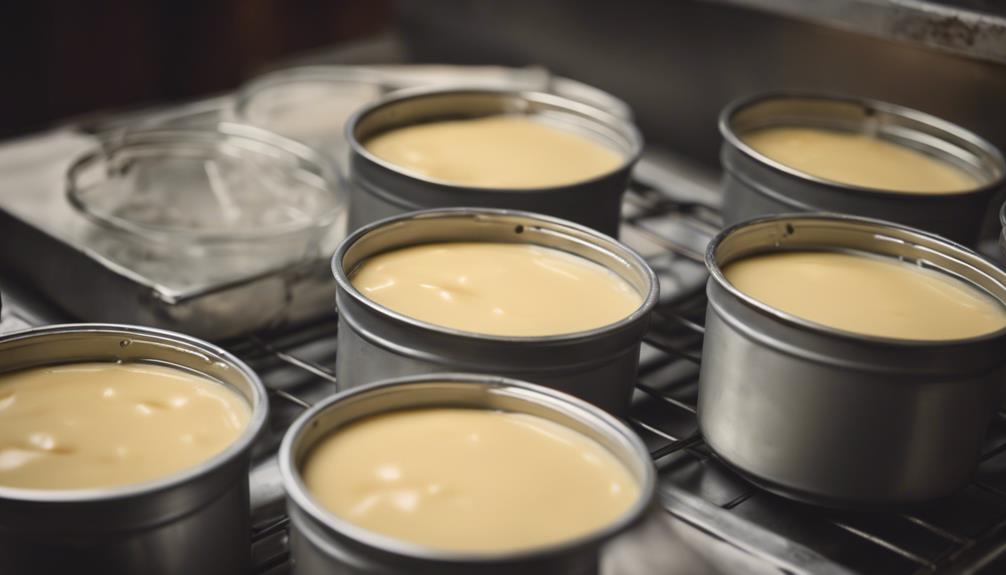
Filling the Jars With Cheesecake
Fill the canning jars with cheesecake batter, making sure to leave some space at the top for expansion during baking.
To make this process easier, use a canning jar funnel to pour the mixture without spilling. This tool helps you achieve uniform layers in each jar.
After filling, confirm the jar rims are clean and free of any batter to allow for proper sealing. Smooth out the top of the cheesecake batter in each jar for even baking and a clean presentation.
It's important to avoid overfilling the jars to prevent spillage and ensure the cheesecakes bake properly. Additionally, wipe any spills or drips on the sides of the jars to prevent burning and guarantee a tight seal during baking.
Following these jar filling tips will help you create perfectly canned cheesecakes that look and taste delicious.
Oven Canning Process
For oven canning cheesecake, make sure you have the appropriate canning jars like Mason jars on hand.
When preparing to oven can cheesecake, consider the following:
- Jar size options: Choose the right size of jars based on your portion preferences and storage needs. Smaller jars are ideal for individual servings, while larger jars work well for sharing or gifting cheesecakes.
- Baking temperature variations: Adjust baking temperatures according to your recipe and the size of the jars. Make certain that the cheesecakes reach the recommended internal temperature for safe consumption.
- Decorating jar lids: After sealing the jars, add a personal touch by decorating the lids with labels indicating the flavor or date of preparation. This not only adds a decorative element but also helps you track freshness and flavors.
Personalizing the lids can make your oven-canned cheesecakes stand out and be easily identifiable in storage.
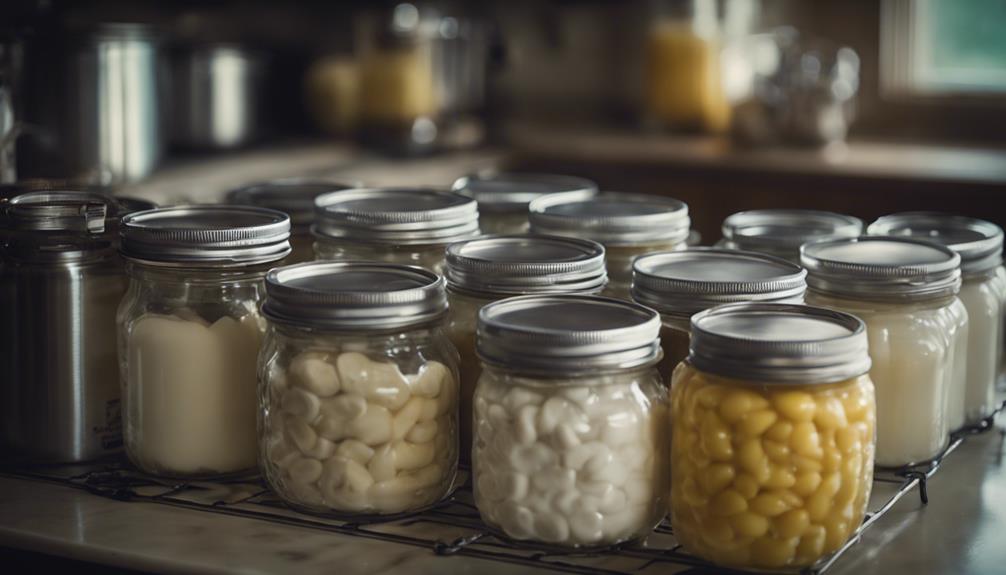
Cooling and Sealing the Jars
Once your cheesecake jars have cooled on a wire rack, it's time to seal them to maintain freshness.
To guarantee a proper seal, press the center of the lid to check for flexibility or popping sounds.
Jar Cooling Process
Allow the cheesecake jars to cool at room temperature for 1-2 hours before handling to guarantee proper sealing. As the cooling method takes place, the jars will naturally create a vacuum seal, signified by a distinctive popping sound.
To make sure the jar sealing process is successful, refrain from any unnecessary movements that could disrupt the sealing process. Once the jars have completely cooled, it's essential to check the seals by lightly pressing on the center of the lids; properly sealed jars shouldn't flex or pop.
For best results, follow these steps to preserve your cheesecake jars:
- Preventing Disruption: Avoid moving or disturbing the jars during the cooling process to prevent disrupting the sealing.
- Checking Seals: After cooling, check the seals by pressing the center of the lids to ensure they're properly sealed.
- Storage Tips: Store the properly sealed jars in a cool, dark place for extended periods to maintain freshness.
Jar Sealing Technique
To guarantee successful preservation, properly seal and cool the cheesecake jars after baking. After allowing the jars to cool at room temperature for 12-24 hours, the vacuum seal forms as the cheesecake contracts, ensuring safe storage.
Once completely cooled, conduct a lid inspection by pressing down on the center of the lid; it should be firm and immovable. This seal testing is vital to prevent bacteria growth and maintain the cheesecake's integrity. A secure seal is essential for long-term storage and to preserve the freshness of the cheesecake.
Store the sealed jars in a cool, dark place like a pantry or cupboard. By following these steps diligently, you can make sure that your canned cheesecakes stay delicious and safe to eat for an extended period. Properly sealed and cooled cheesecake jars are the key to enjoying your delectable treats whenever you desire.
Safety Tips for Canning Cheesecake
Make sure your canning jars are sterilized properly, follow the recommended processing times diligently, and always test the jar seals before storing.
These essential tips are vital in preventing contamination and ensuring the longevity of your canned cheesecakes.
Taking these precautions will help preserve your cheesecakes perfectly for future enjoyment.
Proper Jar Sterilization
To guarantee safe canning of cheesecake, make sure your jars are properly sterilized by washing them in hot, soapy water and then boiling them for 10 minutes.
When it comes to jar sterilization, follow these essential steps:
- Boiling method, Water temperature: After washing your jars, submerge them in a pot of boiling water. Verify the water covers the jars by at least an inch and maintain a rolling boil throughout the 10-minute sterilization process.
- Jar inspection, Lid preparation: Before sterilizing, carefully inspect each jar for cracks or chips. Additionally, prepare the lids by simmering them in hot water, but avoid boiling to prevent damage that could compromise the seal.
- Sterilization duration, Band maintenance: The jars should be boiled for a full 10 minutes to kill any bacteria effectively. While the bands don't require sterilization, make sure they're clean and in good condition to secure the lids properly.
Following these steps will help maintain the integrity of your canned cheesecakes.
Correct Processing Times
For safe canning of cheesecake, it's essential to adhere to the correct processing times recommended for the recipe being used. When canning cheesecake, factors such as checking altitudes, adjusting for size, and ensuring safety play vital roles in determining the appropriate processing times.
Altitude can affect the boiling point of water, which in turn impacts the processing time needed to safely can cheesecake. It's important to consult altitude adjustment guides when canning at different elevations to guarantee proper processing.
Additionally, adjusting for the size of the jars used is necessary. Larger jars may require longer processing times to guarantee that the cheesecake is safely preserved. Always follow tested recipes and processing times to prevent under-processing, which could lead to harmful bacteria surviving in the canned cheesecake.
Ensuring safety should be the top priority when canning cheesecake. Using a pressure canner for low-acid ingredients like cream cheese can help meet the necessary processing times for safe canning. Consult reputable sources like the USDA or National Center for Home Food Preservation for accurate recommendations on processing times to maintain the quality and safety of your canned cheesecake.
Testing Jar Seals
Testing jar seals for your canned cheesecake is a crucial step to guarantee the safety and quality of your preserved dessert. To verify your jars are properly sealed, follow these tips:
- Jar inspection, troubleshooting
- After cooling, check the lids for a concave shape and no flex when pressed at the center. Any signs of leaks or bulging lids indicate inadequate sealing and shouldn't be consumed.
- Sealing test, tips
- Press the center of the lid to verify it doesn't move or make a popping sound. Properly sealed jars should exhibit no movement or noise, ensuring a secure seal for your cheesecake.
- Refrigeration, consumption after unsealing
- If a jar doesn't seal correctly, refrigerate it immediately and consume the contents promptly or reprocess the cheesecake. For sealed jars, store them in a cool, dark place for up to a year to maintain their quality and safety.
Common Mistakes to Avoid
Avoid the common mistakes that can compromise the safety and quality of your canned cheesecake by following these essential tips.
Overfilling jars is a common pitfall that can lead to sealing mistakes and potential cheesecake spoilage. Make sure to leave the recommended headspace to allow for proper sealing during processing.
Another critical point to note is to always follow a tested recipe to prevent preservation errors and guarantee the correct processing times for safe canning.
Using damaged jars is a sealing mistake that should be avoided as it can compromise the safety of the canned cheesecake. After baking, skipping the sealing step can expose the cheesecake to contaminants, reducing its shelf life.
Additionally, storing jars in warm areas can lead to cheesecake spoilage and impact the overall quality of the preserved dessert. By steering clear of these canning misconceptions, you can successfully preserve your cheesecake for long-term enjoyment.
Proper Storage of Canned Cheesecake

Consider storing your canned cheesecake in a cool, dark location away from direct sunlight to preserve its quality over time. Follow these storage tips to guarantee your canned cheesecake stays fresh and delicious:
- Labeling: Always label each canned cheesecake jar with the canning date and contents. This will help you track how long it has been stored and maintain a first-in, first-out system.
- Shelf Life: Once opened, refrigerate the canned cheesecake promptly. Consume it within the recommended time frame for the best taste and texture. Generally, canned cheesecake can last for several months when stored properly.
- Preventing Spoilage: Regularly check the canned cheesecake jars for any signs of spoilage, such as mold growth, off odors, or unusual texture. If you have any doubts about its safety or quality, it's best to discard the cheesecake to prevent any risk of foodborne illness.
Conclusion
Now that you've learned how to can cheesecake, you can enjoy this decadent dessert anytime you please.
By following these simple steps and safety precautions, you can preserve the perfection of your cheesecake for months to come.
So go ahead, whip up a batch, can it up, and savor the sweet taste of success every time you open a jar.
Happy canning!