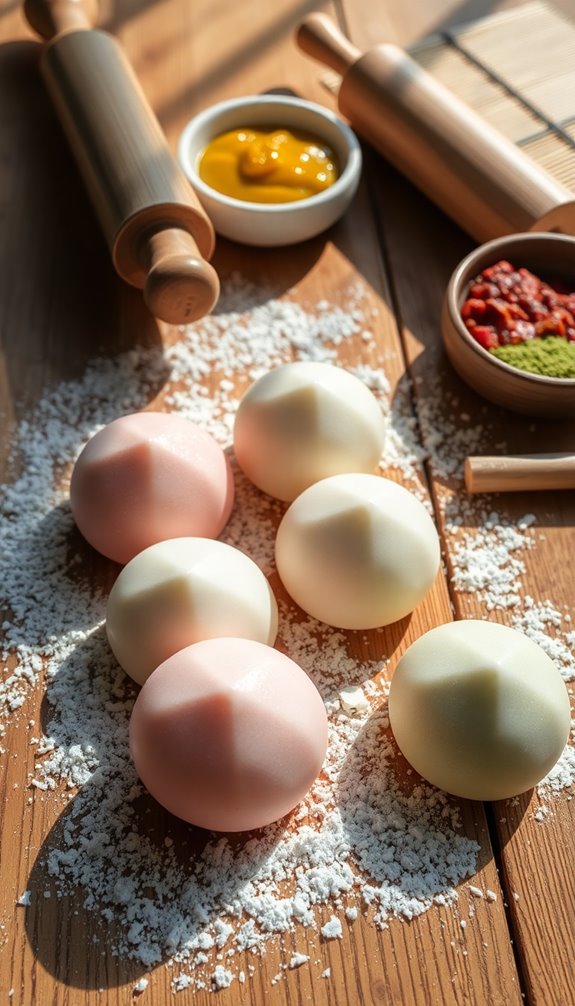
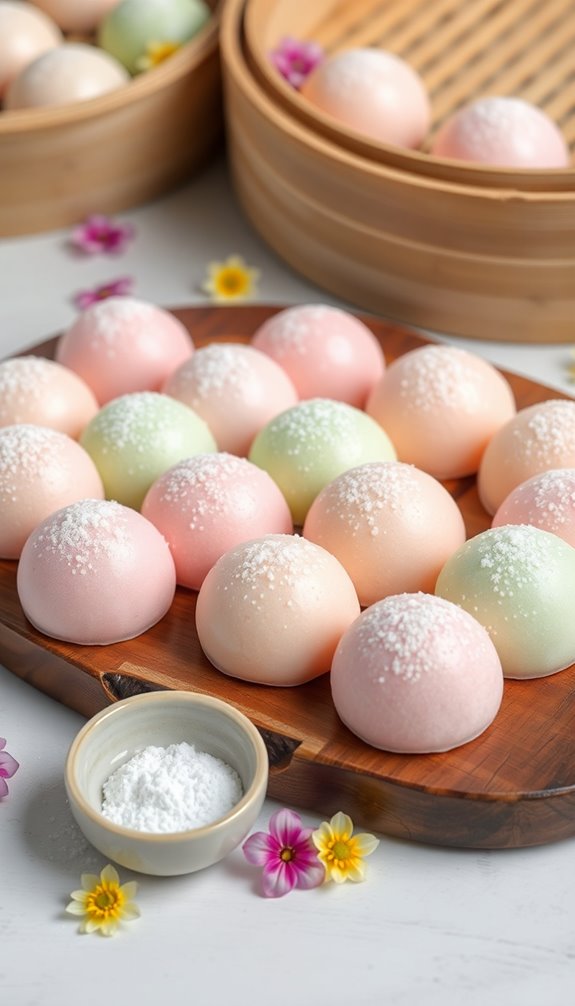
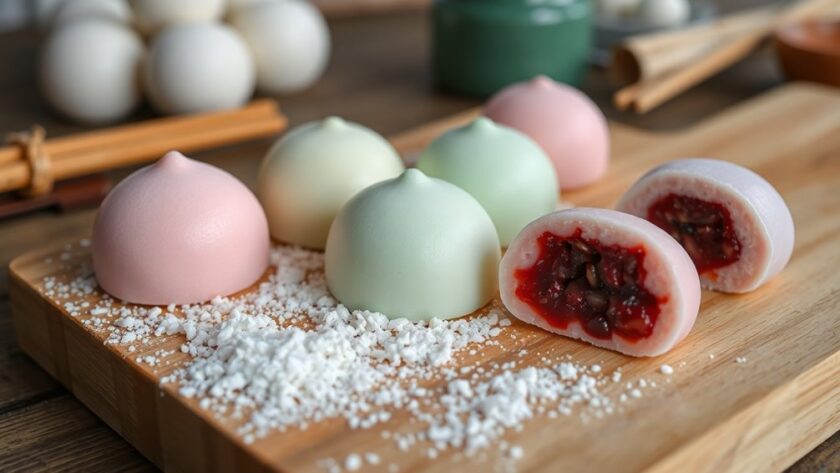
You can easily create chewy and delicious mochi at home, bringing a taste of Japan to your kitchen. Start with mochiko (glutinous rice flour), sugar, and water. Mix and cook the dough in a microwave or steamer until smooth. Knead it until stretchy, then flatten it and fill it with your favorite ingredients, like red bean paste or fruit. Dust with cornstarch to prevent sticking. Enjoy your fresh mochi at room temperature, but remember that experimenting with flavors can take it to the next level. Stick around, and you'll discover tips for perfecting your mochi-making skills!
What Is Mochi?
Mochi is a delightful Japanese rice cake that's known for its chewy and soft texture. This traditional treat is made from glutinous rice or sweet rice flour, giving it that signature stretchiness you love. The preparation process involves pounding the rice into a dough-like consistency, creating a chewy delight that's often enjoyed during New Year celebrations and special occasions in Japan. In fact, mochi is often incorporated into celebrations such as Japanese New Year festivities, highlighting its cultural significance. Additionally, mochi is a great example of a gluten-free dessert that many enjoy for its unique texture.
You might be surprised to learn that mochi is gluten-free, as it's crafted from mochikome, or glutinous rice. Despite its chewy texture, it doesn't contain gluten, which makes it a great option for those with gluten sensitivities.
One of the best aspects of mochi is its versatility. You can fill it with a variety of ingredients, including sweet red bean paste, fresh fruits, or even ice cream. These fillings not only enhance the texture but also offer a range of flavor combinations that make mochi a delightful dessert recipe. Additionally, using Mochiko flour as a primary ingredient ensures the perfect chewy consistency.
In contemporary cuisine, mochi has inspired creative adaptations like mochi donuts and mochi cookies, expanding its appeal beyond traditional Japanese sweets. Whether you enjoy it plain or filled, mochi is sure to satisfy your cravings!
Key Ingredients for Mochi
To create the perfect mochi, you'll need a few key ingredients that work together to achieve that beloved chewy texture. The essential ingredient is mochiko, a type of glutinous rice flour that forms the base of your dough. It's this flour that gives mochi its signature chewiness, making it a delightful treat. Interestingly, gluten-free baking can also utilize similar techniques to achieve desirable textures in various desserts. Additionally, using gluten-free flour options ensures that your mochi can accommodate those with dietary sensitivities.
Next, you'll want to include granulated sugar to add sweetness to your mochi. Combine this with water or milk to create the right moisture level in the dough. If you prefer non-dairy options, plant-based milks like almond or coconut milk work just as well without compromising the chewy texture.
For added flavor, sweetened red bean paste is a popular filling that enhances the taste of your mochi. You can also experiment with other fillings like fruit or whipped cream, depending on your preferences.
Finally, don't forget to use cornstarch for dusting; it prevents your mochi from sticking during preparation and serving, ensuring a smooth experience. Additionally, ensure that all ingredients are gluten-free if you wish to accommodate dietary restrictions, just like with gluten-free cookie recipes.
With these key ingredients, you'll be on your way to mastering fantastic mochi recipes that everyone will love!
How to Make Mochi

Once you've gathered your key ingredients, making mochi is a straightforward process that yields delicious results.
Start by combining glutinous rice flour (mochiko), water, and sugar in a bowl. Mix until smooth, then cook the mixture in the microwave for 3-9 minutes or steam it for about 30 minutes until you achieve that chewy texture. This chewy texture is reminiscent of traditional Italian sponge cake layers that form the base of the classic Cassata cake. The baking process of mochi, much like oatmeal cookies, enhances the final flavor and texture.
After cooking, it's time to knead the mochi dough for about 5 minutes until it becomes smooth and stretchy. Make sure to dust your hands and working surface with cornstarch to prevent sticking while you shape the mochi.
For an exciting filling, consider using whipped cream, fruit, or nut butter. Place your chosen filling in the center of flattened mochi discs, seal them up, and shape them into cute little balls.
To enhance the flavor, you can incorporate extracts like vanilla or matcha into the mochi dough. After shaping, dust the finished products with flavored powders like cocoa or cinnamon-sugar for an extra touch. Using low-sugar alternatives in fillings can also provide a healthier twist on this traditional treat.
Store any leftover mochi in an airtight container at room temperature for up to 3 days, or freeze them for a longer shelf life, thawing at room temperature before serving. Enjoy!
Cooking Methods for Mochi
Cooking mochi offers a delightful blend of creativity and technique, allowing you to explore different methods for achieving that perfect chewy texture. You can choose between microwaving and baking, each with its unique benefits.
- Microwaving: Use a greased bundt pan and cook for 8-9 minutes. Always check the texture with a toothpick to verify it reaches that desired chewiness. Vegan baking techniques can also enhance your mochi-making experience, ensuring great texture and flavor. Consider using natural sweeteners like honey or maple syrup to add a touch of sweetness without the guilt.
- Baking: Preheat your oven to 350°F (180°C) and bake for 45-55 minutes, covering the pan with aluminum foil to prevent drying out. Adjust the baking time based on the thickness of your batter.
- Dusting: After cooking, dust your mochi with potato starch or cornstarch to prevent sticking.
For ideal results, be sure to use mochiko instead of other rice flours, as it's essential for achieving that characteristic chewiness. Additionally, consider incorporating nutrient-rich flours like almond flour to enhance the health benefits of your mochi.
If you're doubling the recipe, remember to use a larger 9×13 inch pan and make careful measurement adjustments.
Whichever cooking method you choose, you're sure to enjoy the delicious results of your mochi-making adventure!
Storing and Serving Mochi

Storing mochi properly is critical to preserving its delightful chewiness and flavor. You can keep mochi at room temperature for 1-3 days in an airtight container.
If you need to extend its shelf life, refrigeration might seem like a good idea, but it can alter the texture and make it less enjoyable. Ideally, consume your mochi immediately after preparation for peak texture and chewiness. Properly sealed jars can last 12-18 months on the pantry shelf when you store similar homemade treats like jams.
If you choose to freeze mochi, be aware that this method hasn't been widely tested. When you're ready to enjoy it, thaw the mochi at room temperature for about 20 minutes before serving. This method of storage can help maintain the ideal texture of your mochi.
To prevent sticking and maintain a smooth surface, dust your mochi with potato starch or cornstarch after it cools. This will help guarantee that each piece remains separate and easy to serve.
Additionally, sharing mochi with family and friends can create lasting memories that enhance your enjoyment of this delightful treat.
Common Issues and Solutions
Even with proper storage, you might encounter a few common issues when making mochi. Don't worry; most problems have simple solutions. Here are a few key points to keep in mind:
- Crumbly texture: This usually happens due to insufficient moisture. Verify you're using enough liquid ingredients in your recipe.
- Sticky dough: If your mochi dough becomes too sticky, refrigerating it for about 15 minutes can help firm it up, making it easier to handle.
- Over-kneading: Kneading your dough too much can lead to a spongy texture. Aim to knead just until the dough is smooth and stretchy for that perfect chewy consistency.
If your dough appears dry or tough, adding a small amount of water or milk while kneading can restore moisture and improve its texture.
Also, to prevent sticking after cooking, dust your mochi with cornstarch or potato starch. This step will keep your pieces separate and manageable.
Creative Mochi Variations

Mochi's versatility opens the door to countless creative variations that can delight your taste buds. You can experiment with different flavors and fillings, making each bite a new experience.
For a fruity twist, try making strawberry mochi, or ichigo daifuku, where fresh strawberries are wrapped in a chewy rice cake, often filled with whipped cream or strawberry jam for added sweetness.
If you're in the mood for something rich, Hawaiian butter mochi is a must-try. This variation boasts a baked, chewy texture enhanced with coconut milk and butter, making it a beloved treat in Hawaiian cuisine.
For chocolate lovers, chocolate mochi offers a delightful combination of sweet and chewy, while ube mochi introduces a vibrant purple hue and a nutty flavor that's hard to resist.
You can also get creative by making mochi cookies, where traditional mochi elements blend into cookie dough for a unique dessert.
These variations showcase the chewy texture of mochi while allowing for endless flavor customization. No matter what you choose, these creative mochi variations are sure to impress and satisfy!
Conclusion
Now that you've uncovered the secrets to making mochi, it's time to release your creativity in the kitchen. Each chewy morsel is like a little cloud of delight, ready to transport you to the heart of Japan with every bite. Whether you enjoy them plain or filled with sweet surprises, these treats are sure to impress. So roll up your sleeves, grab your ingredients, and let the magic of mochi bring joy to your table!


