If you’re craving a delicious treat that’s sure to impress, 7-layer cookie bars are your answer. These bars combine a buttery graham cracker crust with sweetened condensed milk, chocolate chips, nuts, and shredded coconut for a delightful mix of flavors and textures. They’re customizable, easy to share, and perfect for any gathering. Plus, you can elevate them with unique toppings. Keep exploring to find out how to make these irresistible bars at home!
The Irresistible Appeal of 7-Layer Cookie Bars
There’s something undeniably magical about 7-layer cookie bars that draws you in with their tempting layers of flavor and texture.
When you bite into one, you experience a delightful texture contrast that keeps you coming back for more. Each layer offers something unique, from crunchy nuts to creamy chocolate, evoking sweet nostalgia from childhood treats. These bars can be made with customizable ingredients to suit various tastes, making them even more appealing. The right balance of granulated and brown sugar can enhance the overall flavor profile and texture.
Indulge in the delightful texture contrast of 7-layer cookie bars, where each unique layer evokes sweet childhood nostalgia.
You can’t help but reminisce about family gatherings or bake sales where these bars were the star. The combination of flavors plays a symphony in your mouth, making it hard to resist a second (or third) piece.
Plus, they’re simple to share, making them a perfect crowd-pleaser at parties. Once you try them, you’ll understand why they’re so beloved and irresistible. Baking these bars provides an opportunity for connection and togetherness through the joy of sharing delicious treats.
What Ingredients Make Up 7-Layer Cookie Bars?
When you make 7-layer cookie bars, you’ll need a mix of classic ingredients that create those delicious layers.
Think about the foundational elements like graham crackers, chocolate chips, and coconut, but there’s also room for optional add-ins to customize your bars. Granulated sugar can be a great alternative to brown sugar in some recipes, enhancing the sweetness without compromising texture. Additionally, using gluten-free ingredients can cater to those with dietary restrictions while still delivering a flavorful treat.
Let’s explore what you can include to make your treat truly unique! Additionally, you can consider healthier ingredient swaps to enhance nutritional profile without sacrificing taste.
Classic Layer Ingredients
Seven key ingredients come together to create the beloved 7-layer cookie bars.
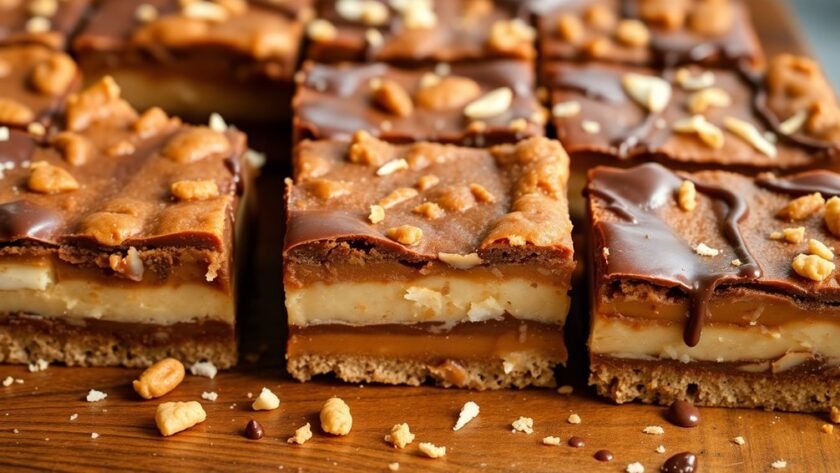
You’ll start with a buttery graham cracker crust as the base, providing a sweet and crunchy foundation. Next, layer on sweetened condensed milk, which binds everything together with its creamy richness.
Sprinkle chocolate chips generously over the milk for that irresistible chocolatey goodness. Then, add in various nut varieties like walnuts or pecans for a delightful crunch and flavor contrast.
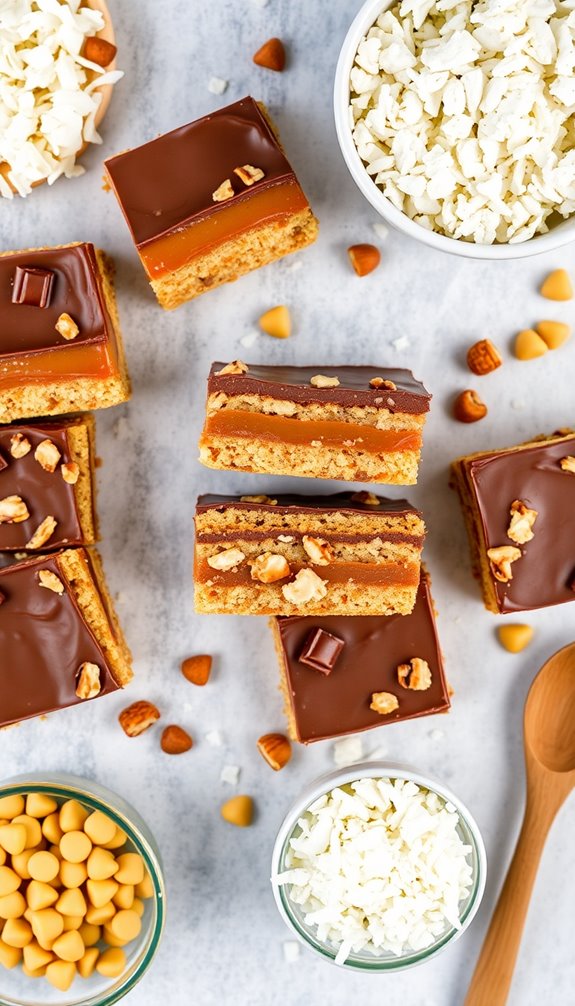
Follow this with a layer of shredded coconut to bring in a touch of chewiness. Finally, finish off with more chocolate chips on top for that extra decadent touch.
Each layer contributes to the bar’s rich, satisfying texture and taste, making it a true crowd-pleaser.
Optional Add-Ins Ideas
To elevate your 7-layer cookie bars even further, consider incorporating optional add-ins that can enhance both flavor and texture. Here are some ideas to inspire your creations:
- Nutty Additions: Toss in chopped walnuts or pecans for a satisfying crunch. Including protein-packed snacks can also boost the nutritional value of your bars. Additionally, adding gluten-free flour can cater to dietary restrictions and create a different texture in your bars.
- Fruity Flavors: Add dried cranberries or banana chips for a burst of sweetness.
- Spice Enhancements: A dash of cinnamon or nutmeg can add warmth and depth.
You might also consider swirling in chocolate or caramel, mixing in candy crunches for extra fun, or opting for health-conscious swaps like almond flour. Additionally, chilling the dough before baking can help control spreading and improve texture.
Finally, don’t forget to top your bars with gourmet toppings like sea salt or shredded coconut to take your dessert to the next level!
How to Prepare Your Pan for the Perfect Cookie Bars
To achieve the perfect cookie bars, you need to start with the right pan.
Greasing techniques and parchment paper tips can make a big difference in how easily your bars come out.
Let’s break down the best methods to prepare your pan for baking success. Additionally, be sure to measure your flour accurately to avoid incorrect flour measurement, which can affect the texture of your cookie bars.
Choose The Right Pan
Choosing the right pan is essential for achieving perfectly baked 7-layer cookie bars. The size and material of your pan can greatly influence the outcome. Here’s what to take into account:
- Pan Sizes: Opt for a 9×13-inch pan for ideal thickness. If you prefer thicker bars, a smaller pan works, but adjust baking time accordingly.
- Baking Materials: Use metal pans for even heat distribution. If you prefer glass, keep an eye on baking times, as they can cook differently.
- Non-stick vs. Regular: Non-stick pans can make it easier to remove your bars, but regular pans can yield better browning.
Greasing Techniques Explained
Greasing your pan properly is essential for ensuring your 7-layer cookie bars release easily and maintain their perfect shape.
There are several effective greasing methods you can use. Butter is a classic choice; simply rub it on the pan with a paper towel or use a pastry brush for even coverage. Cooking spray is another convenient option, providing a quick and mess-free way to coat your pan.
If you prefer a healthier greasing alternative, consider using coconut oil or a non-stick vegetable oil. Just remember to cover every inch of the surface, including corners.
With the right greasing technique, your cookie bars will slide right out, making cleanup a breeze and leaving you with beautiful, delicious treats!
Parchment Paper Tips
While greasing your pan is important, using parchment paper can elevate your baking game even further. Parchment offers several benefits, including easy removal of your cookie bars and a reduced chance of sticking.
Here are some tips to prepare your pan using parchment:
- Cut to Size: Measure your pan and cut the parchment to fit, leaving an overhang for easy lifting.
- Secure It: Lightly grease the pan before placing the parchment to keep it from sliding around.
- Smooth It Out: Press the parchment into the corners and sides of the pan, ensuring there are no air bubbles.
If you don’t have parchment, consider using silicone mats or aluminum foil as alternatives, but remember that they mightn’t provide the same non-stick results.
Step-by-Step Instructions for Baking 7-Layer Cookie Bars
Baking 7-layer cookie bars is a fun and straightforward process that yields a delicious treat for any occasion.
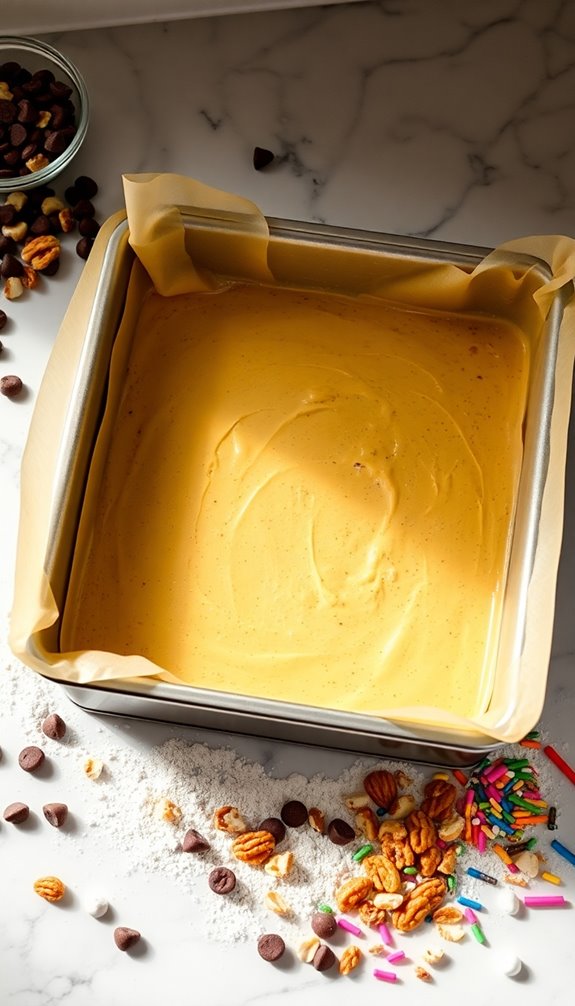
Start by preheating your oven to 350°F (175°C). Line a baking pan with parchment paper for easy removal. Combine your base layer, generally graham cracker crumbs and melted butter, then press it firmly into the pan.
Next, layer on your favorite flavor combinations—chocolate chips, butterscotch chips, shredded coconut, and nuts—all in that order. Pour sweetened condensed milk over the top to bind everything together.
Use simple baking techniques like evenly distributing the layers to guarantee each bite is packed with flavor.
Finally, bake for about 25-30 minutes, let cool, slice, and enjoy your scrumptious creation!
Tips for Melting and Layering Your Ingredients

When you’re melting your ingredients, use low heat to avoid burning, and stir frequently for a smooth consistency.
The order in which you layer your ingredients matters, as it affects both the texture and flavor of your cookie bars.
Follow these tips to guarantee your 7-layer cookie bars turn out perfectly every time.
Proper Melting Techniques
Mastering proper melting techniques is essential for achieving the perfect texture in your 7-layer cookie bars.
Whether you’re melting chocolate or butter, the right approach guarantees a smooth, even consistency. Here are three tips to get it right:
- Use Low Heat: Melt chocolate slowly over low heat to prevent burning. Stir frequently for an even melt.
- Butter vs. Margarine: If you choose margarine, remember it has a higher water content, which can affect your bars’ texture. Butter provides a richer flavor and creamier consistency.
- Double Boiler Method: For chocolate, consider using a double boiler. This indirect heat method helps control the temperature and guarantees your chocolate melts perfectly without seizing.
Follow these tips, and you’re on your way to delicious layers!
Layering Order Importance
The order in which you layer your ingredients plays a crucial role in achieving balanced flavors and textures in your 7-layer cookie bars. Each layer has its significance, influencing how the flavors meld together.
Start with a solid base like graham cracker crumbs, followed by chocolate chips, which should be topped with nuts and coconut. This layering guarantees that the heavier ingredients settle properly, enhancing the overall texture.
Next, drizzle your sweetened condensed milk evenly to bind everything together without overwhelming any layer. Finally, finish with a sprinkle of chocolate or butterscotch chips on top.
This careful layering creates a harmonious flavor balance, guaranteeing every bite is a delightful experience. So, pay attention to your order for the best results!
How to Customize Your 7-Layer Cookie Bars?
Customizing your 7-layer cookie bars can elevate them to new heights and cater to your personal taste.
With endless possibilities, you can create custom flavor combinations and unique texture variations that everyone will love. Here are three ideas to get you started:
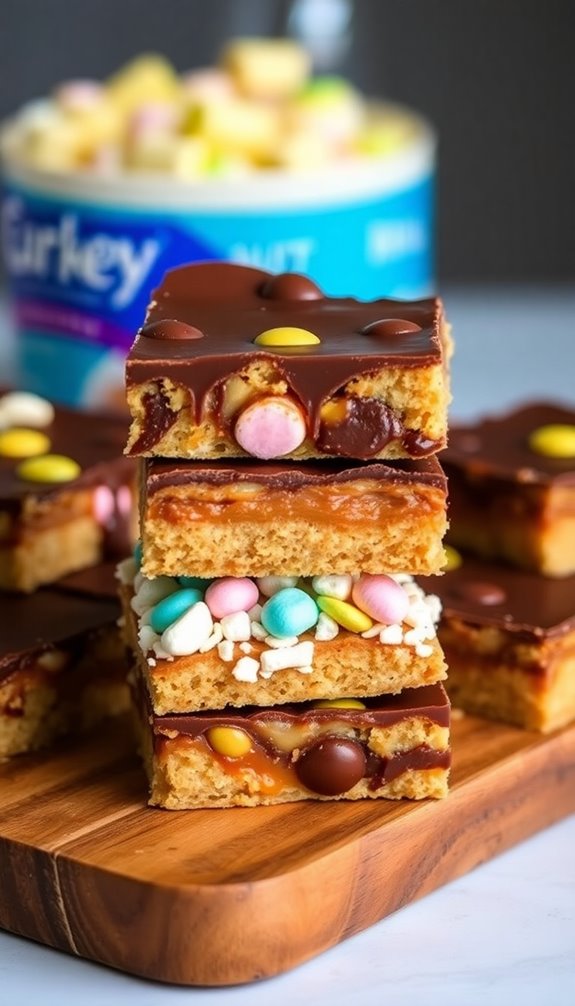
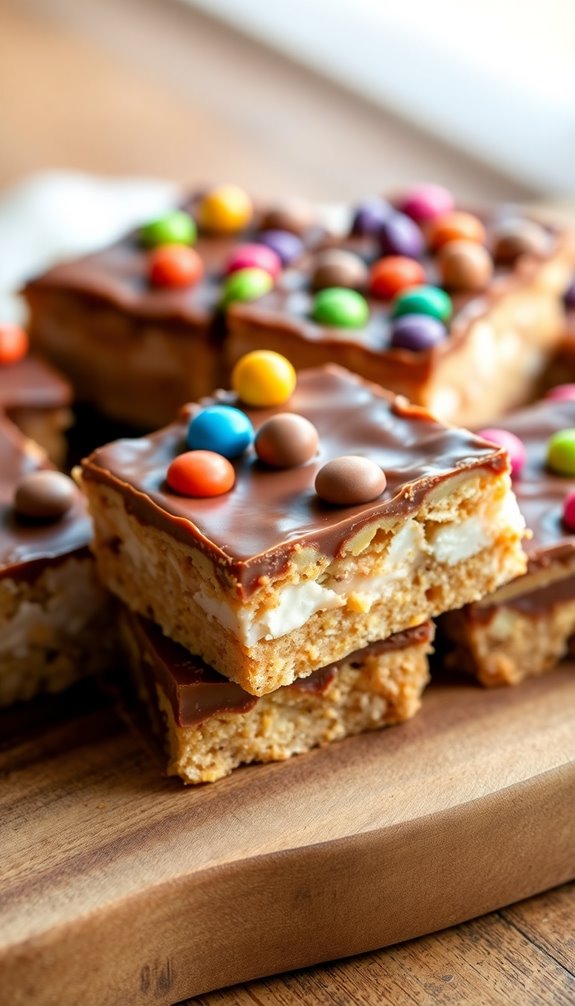
- Mix-Ins: Add nuts, dried fruits, or crushed cookies to enhance flavor and crunch.
- Flavor Layers: Swap out chocolate chips for butterscotch or peanut butter chips, or try adding a layer of caramel or fruit preserves for a fruity twist.
- Toppings: Finish with a drizzle of white or dark chocolate, or sprinkle flaky sea salt for a sweet-savory contrast.
Experimenting with these options will make your 7-layer cookie bars truly your own!
Common Mistakes to Avoid When Making Cookie Bars
When making cookie bars, avoiding common pitfalls can be the difference between a chewy delight and a disappointing mess. One major mistake is ignoring the baking temperature. If your oven is too hot, you’ll end up with cookie bar disasters—burnt edges and a gooey center. Always preheat your oven and use an oven thermometer to double-check accuracy.
Another common error is overmixing the batter. This can lead to tough bars instead of the desired softness. Make sure to mix just until the ingredients are combined.
Finally, don’t forget to let your cookie bars cool completely before cutting. Cutting too soon can result in a crumbly mess. Keep these tips in mind, and you’ll create perfect cookie bars every time!
Creative Ways to Serve and Present Your Cookie Bars
While serving your cookie bars, think outside the box to elevate their appeal. You want your guests to be wowed, so consider these creative serving suggestions and presentation ideas:
- Tiered Cake Stand: Stack your cookie bars on a tiered cake stand for a stunning visual effect that draws attention.
- Individual Wrapping: Wrap each bar in parchment paper and tie with twine for a charming, rustic touch. This makes it easy for guests to grab and go!
- Garnish with Fresh Fruits: Serve alongside fresh berries or sliced fruits to add color and a revitalizing contrast to the rich flavors of the cookie bars.
These simple yet effective ideas will make your cookie bars the star of any gathering!
How to Store and Preserve Your 7-Layer Cookie Bars
To keep your 7-layer cookie bars fresh and delicious, it’s important to store them properly. First, let them cool completely before cutting into bars to prevent sogginess.
Use an airtight container for short-term storage at room temperature, ensuring they stay soft and chewy for up to a week.
For longer preservation, consider refrigeration tips: wrap the bars tightly in plastic wrap or aluminum foil, then place them in a container. This can extend their freshness for up to two weeks.
If you want to store them for even longer, try freezing techniques. Cut the bars into portions, wrap each piece individually, and freeze them.
When you’re ready to enjoy, simply thaw at room temperature!
Pairing Ideas: What Goes Well With 7-Layer Cookie Bars?
If you’re looking to elevate your 7-layer cookie bars, consider pairing them with complementary flavors and textures. Here are some delicious ideas to enhance your dessert experience:
- Ice Cream: A scoop of vanilla or chocolate ice cream creates a delightful contrast with the cookie bars’ richness.
- Coffee Pairings: A strong cup of coffee or a latte balances the sweetness, making it a perfect afternoon treat.
- Dessert Wine: A sweet dessert wine can enhance the flavors, adding a sophisticated touch.
For an extra flourish, try drizzling chocolate sauce over the bars, topping them with whipped cream, or adding fresh fruit or nut toppings for added crunch.
Enjoy the indulgence!
Why Are 7-Layer Cookie Bars Perfect for Every Occasion?
7-layer cookie bars are incredibly versatile, making them a go-to treat for any event. Whether you’re celebrating a birthday, hosting a holiday gathering, or simply enjoying a cozy night in, these bars fit right in as occasional treats.
Their combination of rich flavors and textures appeals to everyone, making them true crowd favorites. You can easily customize the layers to match the theme of your event or your guests’ preferences, ensuring that each bite brings joy.
Plus, they’re easy to prepare and transport, so you won’t stress about last-minute baking. With their eye-catching presentation and indulgent taste, 7-layer cookie bars are sure to impress and satisfy at any occasion.
Conclusion
Whether you’re hosting a lively party or enjoying a quiet night in, 7-layer cookie bars fit every mood. Their rich, indulgent layers contrast beautifully with the simplicity of their preparation, making them both a showstopper and an easy treat. You can impress your guests while also satisfying your own cravings. So go ahead, whip up these bars and savor the delightful blend of flavors and textures—they’re perfect for any occasion, big or small!