Kolache nut rolls are a delicious way to bring your family together, blending rich flavors and a strong cultural heritage in every bite. Filled with a scrumptious walnut mixture, these fluffy treats are perfect for holidays or any gathering. The soft dough, combined with the nutty filling, creates a comforting experience. Plus, you can experiment with various fillings to keep things exciting. There’s so much more in store about crafting and enjoying these delightful rolls!
The Cultural Significance of Kolache
Kolache, often referred to as nut rolls, hold a special place in Slovak and Czech traditions.
These delightful pastries are more than just treats; they symbolize family heritage and celebration. You’ll often find kolache prepared during significant holidays like Christmas and Easter, showcasing their cultural significance. The name “kolache” reflects their round shape, resembling wheels that bring people together. Family recipes, passed down through generations, highlight the importance of sharing culinary heritage. Kolache, filled with ground walnuts or poppy seeds, represent the rich agricultural practices of Eastern Europe. Additionally, Norwegian Julekake, enjoyed at weddings, polka dances, and community gatherings, embody hospitality and the communal spirit, making them a cherished part of your cultural heritage. Furthermore, these pastries, like kolache, are often enjoyed during the festive season, bringing joy and warmth and togetherness during festive celebrations.
Essential Ingredients for Kolache
When crafting kolache nut rolls, the right ingredients are vital for achieving that perfect blend of flavor and texture. Start with 5 cups of flour, adding more if needed for the desired consistency. Active dry yeast is essential for that fluffy, sweet bread base, while granulated sugar balances the flavors. You’ll also need softened butter, eggs, salt, and sour cream to create a rich dough. Gluten-free options are available for those with dietary restrictions, making it easier to enjoy this traditional treat without compromising health needs. Additionally, incorporating almond extract infused into your dough can enhance the overall flavor profile, making the rolls even more delightful.
For the filling, ground walnuts combine with sugar, melted butter, milk, and cinnamon to create a delicious paste. This classic combination not only enhances the taste but also gives you the signature kolache experience. Additionally, using gluten-free flour can be a great alternative for those with dietary restrictions. Feel free to experiment with variations, using pecans or fruits to make it your own!
Preparing the Sweet Dough
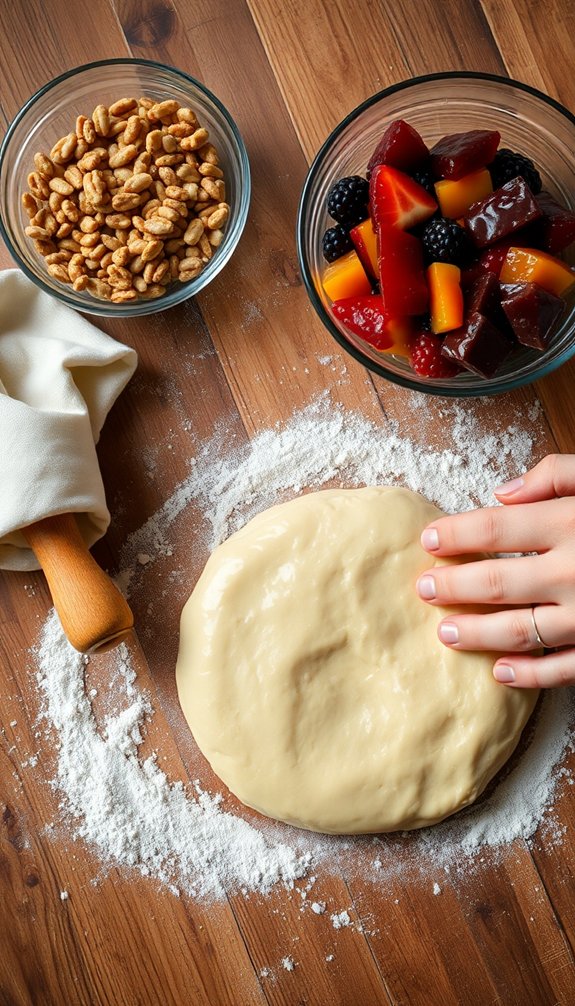
To prepare the sweet dough for your kolache nut rolls, you’ll start with key ingredients like milk, yeast, and flour.
Mixing techniques play a vital role in achieving the right consistency, so be sure to follow the steps carefully. Additionally, using nutrient-rich flours like almond or coconut flour can enhance the health benefits of your dough. Incorporating gluten-free options can also make your dough suitable for those with dietary restrictions.
After mixing, allow the dough to rise and rest, which is essential for developing that light, fluffy texture you want. Additionally, using a combination of butter and shortening in your dough can enhance its flakiness and overall texture.
Key Ingredients Overview
Creating the perfect sweet dough for kolache nut rolls starts with a few essential ingredients that blend together to yield a rich and tender base.
You’ll need about 5 cups of flour, adjusting to 6 cups based on the dough’s consistency. Active dry yeast is essential, so dissolve it in warm milk (100-110 degrees F) with a teaspoon of sugar.
Next, incorporate softened butter, sour cream, and eggs for added richness. Once combined, let the dough rise in a warm, draft-free space for about an hour until it doubles in size. This step is important for achieving lightness.
After rising, divide the dough and consider refrigerating it overnight to enhance the flavor and ease of rolling out later.
Dough Mixing Techniques
While mixing the dough for your kolache nut rolls, start by ensuring your yeast is active and bubbly. Heat milk to 100-110 degrees F, then dissolve the active dry yeast with a teaspoon of sugar.
In a stand mixer, combine the yeast mixture with softened butter, sour cream, eggs, and granulated sugar. Gradually add flour using the dough hook until the dough pulls away from the sides of the bowl, achieving a slightly sticky texture.
Knead the dough until it’s smooth and elastic—test it with the window pane method. Form the dough into a ball and place it in a greased bowl, covering it with buttered aluminum foil to create a warm environment for the dough rise.
Rising and Resting Time
As the dough rises, it’s vital to provide a warm, draft-free environment, allowing the yeast to work its magic and double in size within about an hour.
Cover the dough with buttered aluminum foil to retain moisture and warmth, promoting a successful rise.
After the initial rising period, punch down the dough to release excess gas. Then, divide it into sections for shaping and rolling.
Don’t forget, a second rise of approximately 30 minutes is essential after shaping the rolls. This resting time guarantees a light and fluffy texture when baked.
Aim for a dough consistency that’s slightly sticky but not wet, pulling away from the sides of the bowl for the best results.
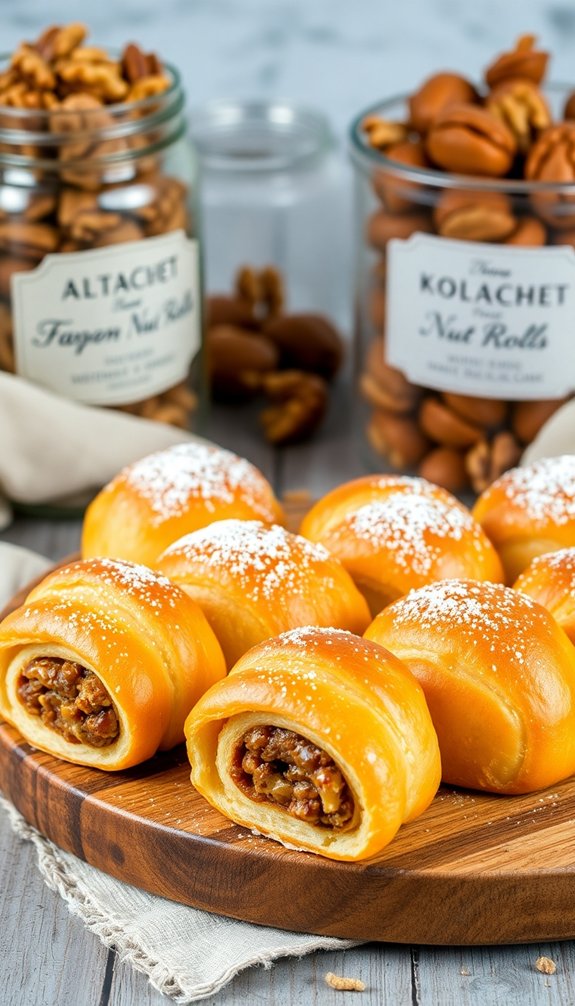
Crafting the Perfect Walnut Filling

To craft the perfect walnut filling for your kolache, start by combining ground walnuts with a few key ingredients that enhance its flavor and texture.
Begin with 1 lb. of ground walnuts, then heat 1/2 cup of evaporated milk and 1 cup of sugar in a saucepan over medium heat until the sugar dissolves and the mixture boils.
Add 1 teaspoon of butter and 1/2 teaspoon of vanilla to deepen the flavor. Using fresh, seasonal produce in your baking not only enhances the flavor but also supports local farmers. Additionally, incorporating nutty flavor from ground walnuts provides a delightful contrast to the sweetness of the filling.
Once combined, mix the ground walnuts into the milk mixture thoroughly until you achieve a rich, cohesive paste.
If you want to elevate the taste, consider adding a pinch of cinnamon for an extra layer of warmth. This walnut filling will make your kolache truly unforgettable, providing a nutritious snack option that complements your family’s dessert choices!
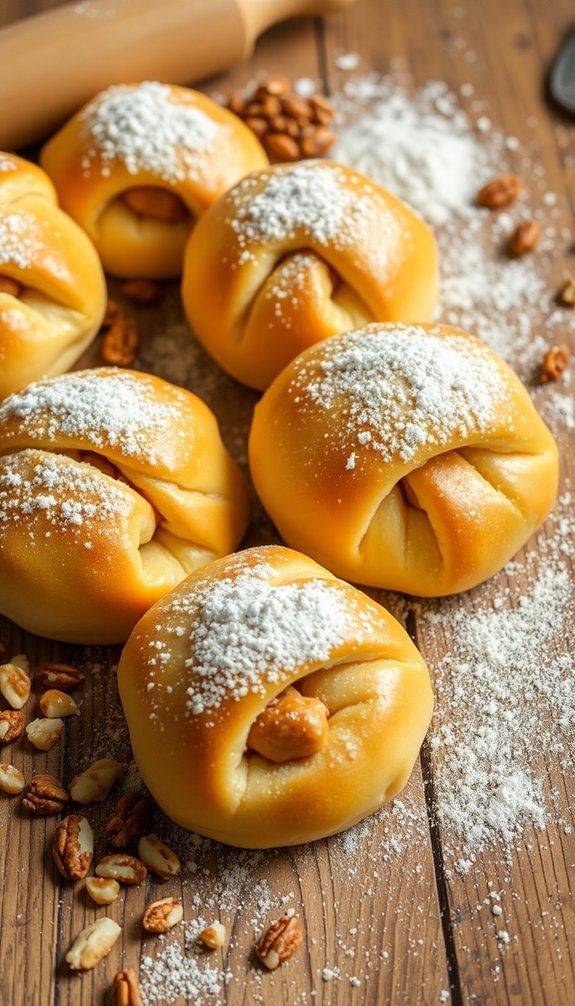
Rolling and Shaping Your Kolache
Once your dough has risen, it’s time to roll and shape it for those perfect kolaches.
Keep the thickness around ¼ inch to guarantee even cooking, and spread your filling evenly for the best flavor. A traditional pastry like Norwegian Kransekake may inspire you to experiment with different shapes and presentations for your kolaches. Additionally, ensuring that your dough has the right baking powder can help achieve a better rise and texture.
Remember to leave that ½ inch border to prevent any messy overflow during baking! Using cold butter in your dough can also help achieve a flaky texture, enhancing the overall quality of your kolaches.
Dough Thickness Matters
Achieving the perfect kolache starts with the right dough thickness. Roll your dough out to about 1/8 inch thick to guarantee even baking and a soft texture. Aim for a rectangle shape of approximately 12×10 inches; this uniformity will help your kolaches rise beautifully.
As you roll, keep the dough slightly sticky but not wet, which helps it hold together. When you spread the filling, remember to leave a ½ inch border around the edges of the dough. This prevents overflow during baking.
Finally, pinch the edges of the rolled dough to seal tightly and tuck them underneath. This step is essential for maintaining shape as your kolaches rise and bake to perfection.
Filling Distribution Techniques
Mastering the art of filling distribution is essential for creating delicious kolaches. Start by rolling out your dough to about 1/4 inch thick. This thickness helps guarantee even distribution of the filling without compromising the dough’s structure.
Next, spread the filling evenly across the dough, leaving a 1/2 inch border around the edges to prevent overflow while baking. When you roll the dough tightly from one long edge, press the filling lightly against the dough to maintain consistency and prevent separation.
After shaping your roll, place it seam side down on the baking sheet to secure the seal and avoid any leaks. Finally, let the formed kolache rise for 30 minutes under greased foil for a light, airy texture.
Baking Tips for Golden Perfection
To achieve that perfect golden finish on your kolache nut rolls, start by brushing the dough with an egg wash made from one egg and a teaspoon of water before popping them in the oven.
Preheat your oven to 350°F (175°C) and keep a close eye on the baking time; your rolls should bake for about 30 to 35 minutes until they’re golden brown and sound hollow when tapped.
Roll the dough to about 1/4 inch thick to guarantee even baking and avoid a doughy texture.
Before baking, allow the formed rolls to rise in a warm place for an additional 30 minutes, covered with greased foil.
For extra flavor, brush melted butter on top immediately after baking.
Creative Variations on Traditional Kolache
While traditional kolache are delicious on their own, experimenting with creative variations can elevate your baking experience.
You can swap out the walnut filling for pecans or introduce sweet fruit fillings like apricot, raspberry, or cherry preserves for a delightful twist. For an added burst of flavor, mix in golden raisins or a hint of orange zest into your nut filling.
Want something different? Try a poppy seed filling, known as makowiec, to give your kolache a unique taste. Drizzling a sweet glaze of powdered sugar and milk over the baked rolls adds a lovely touch for special occasions.
Seasonal adaptations, like pumpkin spice in the fall or chocolate walnut during the winter, keep your kolache variations exciting year-round.
Storage Tips for Freshness
Keeping your kolache nut rolls fresh is essential for enjoying their delightful flavor and texture. To achieve this, make sure to cool completely before slicing.
Wrap whole, uncut rolls tightly in aluminum foil for an airtight seal. If you’ve already sliced the rolls, place them on a plate and cover them securely with plastic wrap to prevent drying out. You can keep sliced rolls at room temperature for up to 3 days.
For longer storage, freeze your kolache wrapped in plastic wrap and aluminum foil to avoid freezer burn; they can last up to 3 months. When you’re ready to enjoy them, slice before thawing for easier and more even thawing.
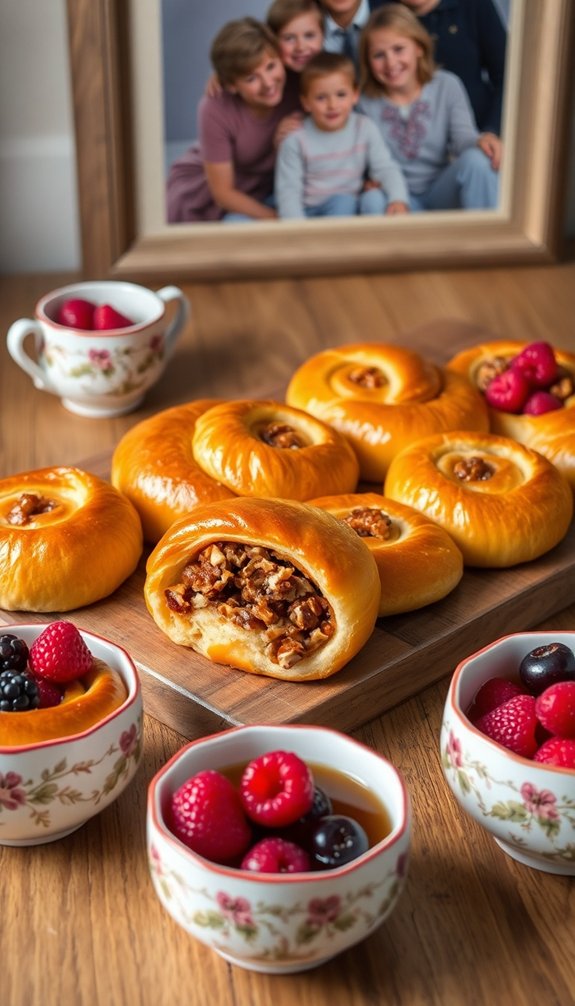
Community and Family Traditions
Kolache nut rolls aren’t just a delicious treat; they embody rich traditions that connect families and communities.
Rooted in Slovak and Czech cultures, these rolls symbolize family heritage, often made during significant holidays like Christmas and Easter. When you bake kolache, you’re not just following a recipe; you’re honoring a shared history passed down through generations.
At community gatherings like weddings and polka dances, kolache play an essential role in celebrating special moments and fostering social bonds.
As you adapt your family’s unique recipe, you contribute to a vibrant tapestry of baking traditions, enriching the communal experience.
Sharing Your Kolache Experience
How do you share your kolache experience with others? By connecting with your family and community, you can celebrate this cherished recipe together.
Here are a few ways to enhance your sharing:
- Post your kolache creations on social media to engage with fellow bakers.
- Share stories and traditions related to your family’s recipe, enriching the experience for everyone.
- Exchange feedback and ideas for filling variations, encouraging creativity while honoring the tradition.
Your kolache baking journey not only brings your family together during holidays but also contributes to a larger narrative about passing down culinary traditions.
Conclusion
In the end, your kolache nut rolls will not only fill bellies but also warm hearts, weaving family traditions into the fabric of your home. As you gather around the table, sharing stories and laughter, these delightful treats become more than just food—they’re a sweet connection to your heritage. So, roll up your sleeves, embrace the joy of baking, and let each bite remind you that love truly is the secret ingredient in every recipe.