You can easily make delicious homemade honey lollipops that are both tasty and soothing. Start by combining 1 cup of sugar, 1/3 cup of honey, and 2 tablespoons of water in a saucepan over medium-low heat. Stir continuously until the sugar dissolves, then heat until it reaches 300°F using a candy thermometer. Lightly spray silicone molds, insert lollipop sticks, and pour in the hot mixture. Allow them to cool completely before removing. Store your lollipops in an airtight container at room temperature. Want to learn more about flavor variations and creative presentations? There's plenty more to discover!
Overview of Honey Lollipops
Honey lollipops are delightful homemade treats that combine the natural sweetness of honey with sugar, making them not only tasty but also soothing for sore throats.
These simple confections are easy to make and can yield around 20 lollipops per batch, each containing approximately 82 calories. The process of making honey lollipops involves heating the mixture to the hard crack stage, which is essential for achieving that perfect candy texture. A candy thermometer is an invaluable tool in this process, ensuring you reach the critical temperature of 300°F.
For a touch of creativity, consider adding flavors reminiscent of traditional desserts, such as rich almond notes found in Norwegian Kransekake, or even a hint of spices like those used in festive breads.
What makes these lollipops even more special is the ability to customize them. You can add various flavorings, such as lemon or ginger, and even incorporate natural colors to enhance their visual appeal.
Once made, properly stored honey lollipops can last from one to three months, making them a convenient treat or a thoughtful gift for someone dealing with a sore throat.
Essential Ingredients
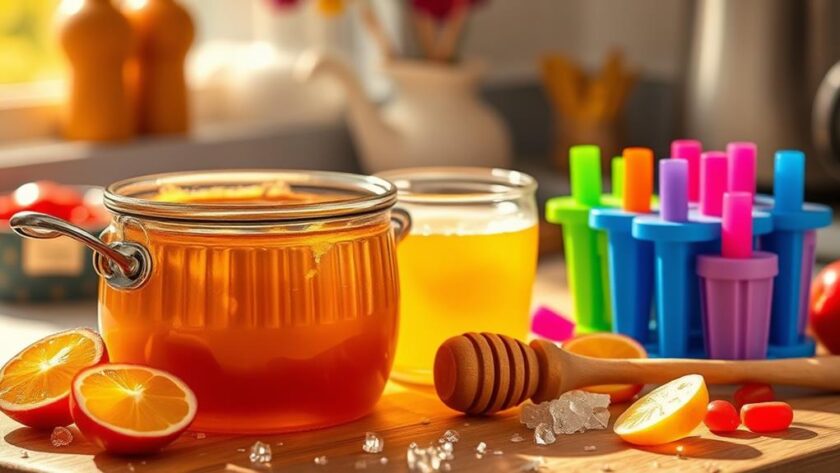
To create delicious homemade honey lollipops, you'll need a few key ingredients that work together to achieve the perfect blend of sweetness and texture. Incorporating natural sweeteners like honey not only enhances the flavor but also provides health benefits of honey due to its vitamins and antioxidants.
- 1 cup of granulated sugar
- 1/3 cup of honey (Manuka is a great choice for its health benefits)
- 2 tablespoons of water
- Optional: food-grade essential oils for flavor
Granulated sugar is essential for that hard candy consistency when heated to 300°F. It pairs beautifully with honey, which adds a natural sweetness and unique flavor profile to your lollipops. You can choose from various honey types like clover, wildflower, or orange blossom for different tastes.
The water helps dissolve the sugar, ensuring a smooth mixture as you heat it over medium heat. If you want to customize your homemade lollipops further, consider adding a few drops of essential oils like lemon for a zesty kick, or spices like cinnamon for added health benefits.
Once you've made your lollipops, store them in a cool dry place to keep them fresh and tasty for longer. With these essential ingredients, you're well on your way to crafting delightful treats!
Step-by-Step Preparation
Now that you've gathered your essential ingredients, it's time to jump into the cooking and molding process.
Start by mixing sugar and water, then heat it until it reaches the right temperature. For those looking for sweet treat alternatives, consider trying sugar-free vegan cookie recipes that are perfect for maintaining a healthier diet.
Once you've got your mixture ready, you'll pour it into your prepared molds and let those lollipops cool.
Essential Ingredients Needed
Creating delicious homemade honey lollipops starts with gathering the vital ingredients.
You'll need a few basic items to make your sweet treat a reality. Here's what you should have on hand:
- 1 cup of granulated sugar
- 1/3 cup of honey
- 2 tablespoons of water
- Optional flavorings (like lemon essential oil) and food coloring
These ingredients form the foundation of your candy. The sugar and honey create a delightful blend, while the water helps dissolve everything.
If you want to add a unique twist to your lollipops, consider using flavorings to enhance the taste.
A candy thermometer is essential for this process, ensuring the mixture reaches the hard crack stage at 300°F, which is necessary for achieving the perfect lollipop consistency.
Don't forget about your silicone molds; lightly spray them with cooking spray and insert lollipop sticks to hold the candy.
With these vital ingredients ready, you're all set to plunge into the cooking and molding process that will transform your ingredients into tasty honey lollipops!
Cooking and Molding Process
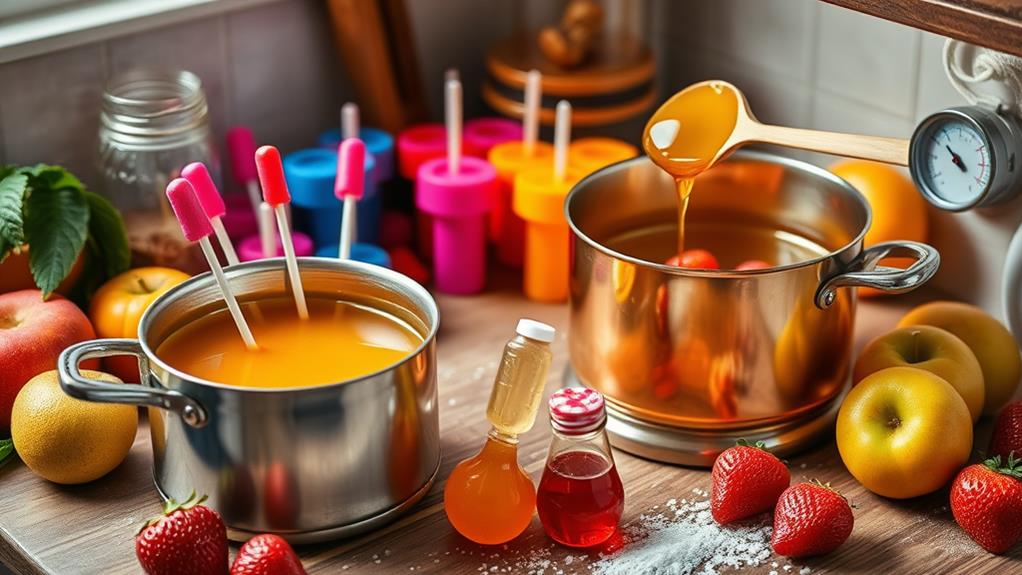
With your ingredients gathered, you're ready to start the cooking and molding process for your homemade honey lollipops.
Begin by combining 1 cup of sugar and 2 tablespoons of water in a saucepan over medium-low heat. Stir until the sugar dissolves completely, then add 1/3 cup of honey.
Next, increase the heat to medium and use a candy thermometer to monitor the mixture. Boil it until it reaches the hard crack stage at 300 degrees Fahrenheit. Once you hit this temperature, remove the saucepan from heat.
If you want, you can stir in flavorings like lemon essential oil or spices for extra taste.
Carefully pour the hot candy mixture into prepared silicone lollipop molds, making sure the lollipop sticks are inserted securely and coated with the mixture.
Allow the lollipops to cool and harden for 30-60 minutes. Once they've set, gently remove them from the molds.
To keep your lollipops fresh, store them in an airtight container. Enjoy your sweet homemade treat!
Cooking Techniques
When making homemade honey lollipops, mastering the right cooking techniques is essential for achieving that perfect hard candy texture. Start by combining honey, sugar, and water in a small saucepan over medium-low heat. Stir continuously until the sugar dissolves completely to prevent burning.
To elevate your candy-making experience, consider infusing flavors like almond or coconut for a unique twist, reminiscent of tropical flavors of coconut and pineapple. Next, crank up the heat to medium, and keep a close eye on the candy thermometer. You're aiming for that magic number of 300 degrees Fahrenheit, the hard crack stage necessary for lollipop formation.
- Always prep your lollipop molds with non-stick spray.
- Use a heat-safe measuring cup with a spigot for easy pouring.
- Test the syrup by dropping a small amount into cold water; if it forms a hard ball, you're ready.
- Carefully pour the hot candy mixture into the molds, ensuring the sticks are well coated for stability.
Once you've poured into molds, let the lollipops cool for 30-60 minutes until they're fully hardened.
With these techniques, you'll create delightful homemade honey lollipops that aren't just tasty but also fun to make!
Storage and Handling
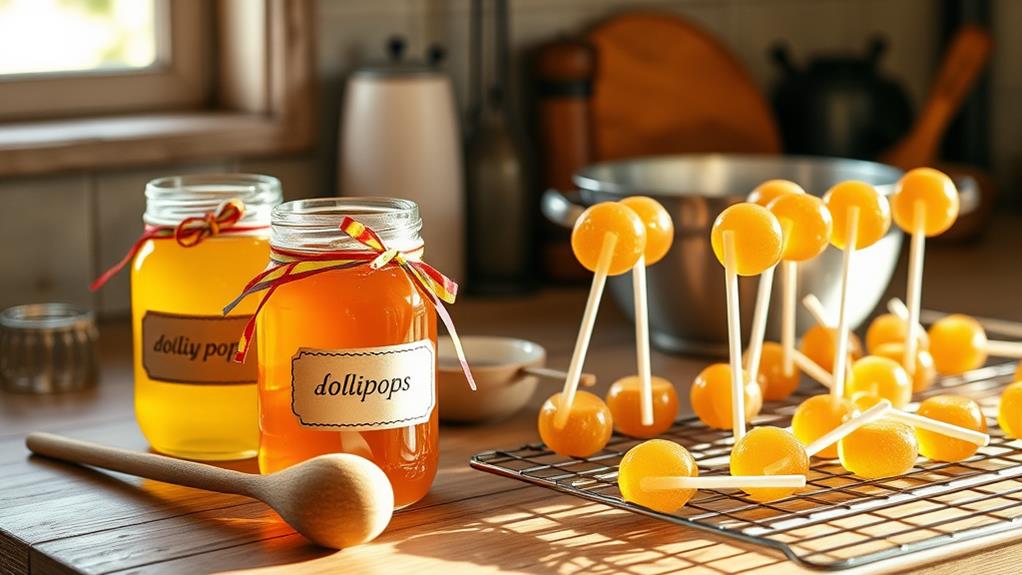
After you've perfected your homemade honey lollipops, proper storage is key to keeping them fresh and enjoyable. Just like the ancient Greeks who valued honey's natural sweetness, guaranteeing your treats are well-preserved helps maintain their delightful flavor.
Store your lollipops in an airtight container at room temperature. This helps maintain their texture and prevents stickiness, especially if you keep them in a cool, dry place away from humidity. Cheesecake's historical journey reveals how important it's to use local ingredients for the best results.
To further protect them, wrap each lollipop in parchment paper or place wax paper between them. This simple step will prevent them from sticking together and guarantee they remain easy to grab when you're ready to enjoy one.
When stored correctly, your honey lollipops can last for 1-3 months, making them a fantastic treat to prepare in advance for parties or special occasions.
Avoid refrigeration since it can lead to moisture accumulation, which may cause your lollipops to become sticky or lose their hard texture. If you plan to ship your lollipops, make sure they're well-wrapped and send them in cooler weather to maintain their shape and prevent melting.
Creative Variations
Exploring creative variations can elevate your homemade honey lollipops from simple treats to unique confections. By experimenting with different flavorings and decorations, you can create lollipops that not only taste amazing but also look stunning.
- Essential Oils: Add lemon or vanilla to your mix for distinct flavor profiles.
- Spices: Incorporate ginger or clove powder to give your lollipops a spicy kick, making them soothing and medicinal.
- Natural Fruit Extracts: Use raspberry or orange extract for fruity flavors and vibrant colors that pop.
- Decorative Touches: Enhance visual appeal with themed sprinkles or edible glitter for special occasions.
When you make honey lollipops, don't be afraid to layer different colors with food coloring for a fun, striped effect.
Each variation not only provides a new taste experience but also transforms your lollipops into eye-catching treats.
With these creative twists, your homemade honey lollipops will impress friends and family alike.
Conclusion
Now that you've mastered the art of homemade honey lollipops, you're practically a candy wizard! With just a few simple ingredients and your magical touch, you can create sweet, golden bursts of joy that'll make anyone swoon. Imagine the smiles when friends and family sink their teeth into these delightful treats! So, grab your pot, release your creativity, and transform your kitchen into a candy factory that'll have everyone clamoring for more. Sweetness awaits!