If you yearn to bake perfect pies like a pro, start by choosing the right flour blend. Mix in cold butter to create airy layers and delicate flakiness. Roll out the dough evenly and seal it artfully. Remember to chill the dough slowly for a flakier crust. Store extra dough by refrigerating or freezing for future use. Enhance your fillings by balancing sweetness and tartness and boosting flavors. Experiment with different fruit combinations and additives. Your pie-making journey is about to get even more exciting with these tips and tricks.
Choosing the Right Flour Blend
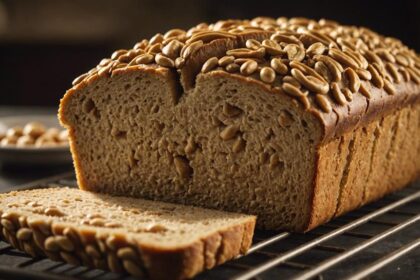
To achieve the perfect balance of nuttiness and tenderness in your pie crust, selecting the right blend of whole wheat and all-purpose flour is essential. Whole wheat flour adds a rich, nutty flavor and extra fiber to your crust, while all-purpose flour provides the necessary structure and tenderness. By using a combination of these two flours, you can customize both the flavor and texture of your pie crust to suit your preferences.
Whole wheat flour brings a depth of flavor and a slightly coarser texture to the crust, enhancing the overall taste of your pie. Its nuttiness complements sweet or savory fillings, adding a delicious complexity to every bite. Additionally, the fiber content in whole wheat flour offers a subtle earthiness that contrasts beautifully with the buttery richness of the crust.
Incorporating whole wheat flour into your pie crust not only elevates its taste but also increases its nutritional value, making your homemade pies both flavorful and wholesome.
Importance of Keeping Butter Cold
When making pie dough, maintaining your butter cold is crucial. This guarantees a flaky texture by keeping the butter solid when baked.
The chilled butter creates steam pockets, resulting in a light and airy crust.
Chilling Enhances Flakiness
For achieving a flaky pie crust, ensuring that your butter remains cold throughout the dough preparation process is absolutely vital. Chilling enhances flakiness by keeping the butter solid until it hits the hot oven, creating steam pockets that result in a light, flaky texture.
When cold butter is incorporated into the dough, it helps maintain distinct layers, leading to a crispy crust. This process is essential as warm butter can cause the dough to become tough and dense instead of achieving the desired flakiness.
Cold Butter Yields Tenderness
Keeping your butter cold is the key to achieving a tender and flaky pie crust. Cold butter is vital because it helps create those sought-after pockets of steam during baking, giving your crust a light and airy texture.
To guarantee your pie crust turns out perfectly, it's recommended to use frozen butter or chill the butter before adding it to the dough. By keeping the butter cold, you prevent it from blending too thoroughly, which is essential for maintaining the desired flakiness in your crust.
Temperature Affects Dough
To achieve a perfect pie crust, ensuring your butter remains cold is essential for the desired flakiness and tenderness. Cold butter is vital as it helps create steam pockets during baking, resulting in a light and airy texture.
If the butter is warm, it will melt too quickly in the oven, leading to a dense and tough crust. You can maintain the butter's coldness by using frozen butter or chilling the dough before baking.
The success of your dough is directly impacted by the temperature of the butter, so keeping it cold throughout the process is pivotal. Remember, cold butter is your key to a perfectly flaky and tender pie crust.
Forming the Perfect Pie Crust
When forming the perfect pie crust, remember to roll out the dough evenly and with gentle pressure to achieve the desired thickness.
Next, crimping the edges of the crust not only seals in the fillings but also adds a decorative touch to your homemade pie.
Practice these techniques to enhance the visual appeal and overall taste of your delicious baked creations.
Rolling Out Dough
Roll out the pie dough on a lightly floured surface with a rolling pin to guarantee a consistent thickness. Rotate the dough as you roll to prevent sticking and ensure it stretches evenly. Aim for a circle shape slightly larger than the pie dish to accommodate the sides and allow for trimming.
Apply gentle, even pressure to maintain the dough's integrity and prevent tearing. When the dough is rolled out to the desired size, transfer it to the pie dish by gently folding it in half or rolling it onto the rolling pin for easy handling.
Following these steps will establish a solid foundation for your pie-making endeavors.
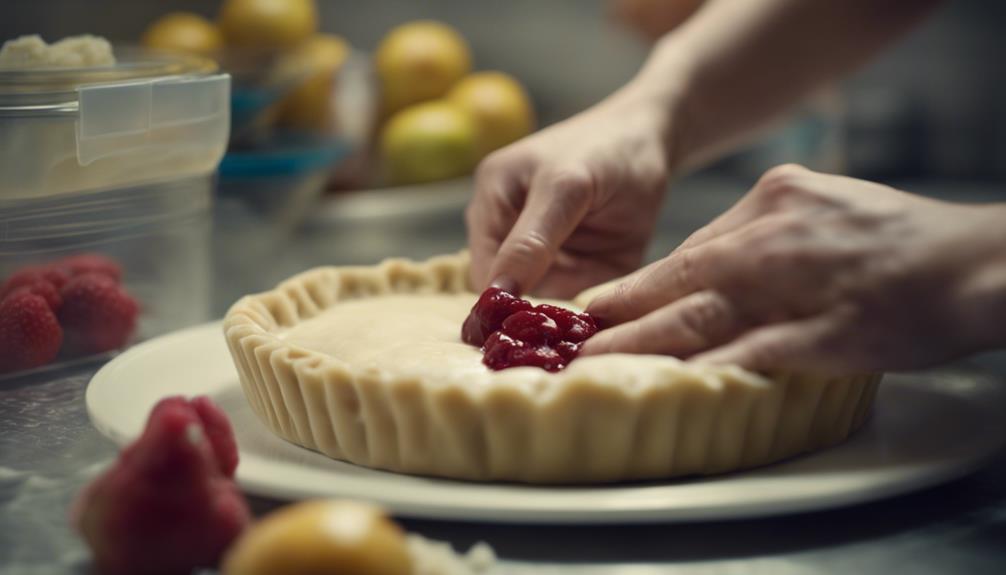
Crimping the Edges
After rolling out the dough to the desired size for your pie dish, the next step is crimping the edges to form the perfect pie crust.
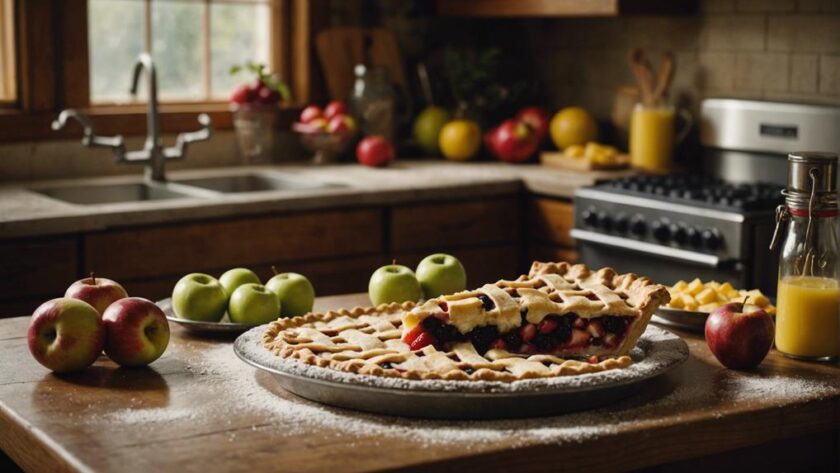
When making an apple pie, crimping the edges not only seals in the delicious filling but also adds a touch of charm to your dessert.
To achieve a beautifully crimped edge, you can use your fingers to create a simple yet elegant design. Alternatively, a fork can be used for a quick and classic finish.
For those looking to get creative, specialized tools offer options for intricate patterns like scalloped, fluted, rope, or pinched edges.
Tips for Chilling Pie Dough
To enhance the flakiness of your pie crust, consider chilling the dough for at least 1-2 hours to relax the gluten and solidify the fats. Here are some tips for chilling pie dough:
- Use Ice Water: When making your dough, incorporate ice water gradually. The cold temperature helps keep the fats solid, which is important for a flaky crust.
- Divide into Discs: Before chilling the dough, divide it into discs. This not only speeds up the chilling process but also makes it easier to roll out later.
- Proper Wrapping: Make sure your dough is properly wrapped before chilling. This prevents it from drying out in the fridge and maintains its moisture content.
- Prevent Stickiness: Chilling the dough helps prevent it from becoming too sticky when rolling out, making the process smoother and more manageable.
Storing Pie Dough for Later Use
For best preservation, store pie dough by dividing it into discs, tightly wrapping each in plastic wrap, and refrigerating for up to 5 days. This method guarantees that your dough stays fresh and ready for when you want to bake your pie recipe.
If you plan to store the dough for longer periods, freezing is a great option. Wrap the dough well in plastic wrap and then place it in an airtight container or freezer bag. Frozen pie dough can be stored for up to 3 months without compromising its quality.
To prevent discoloration in wheat flour pie dough, minimize its exposure to air and light during storage. When you're ready to use the frozen pie dough, allow it to thaw in the refrigerator overnight.
Properly sealing and wrapping the pie dough before freezing is essential to maintaining its freshness and ensuring it's ready to be rolled out for your delicious pie recipe.
Experimenting With Pie Fillings
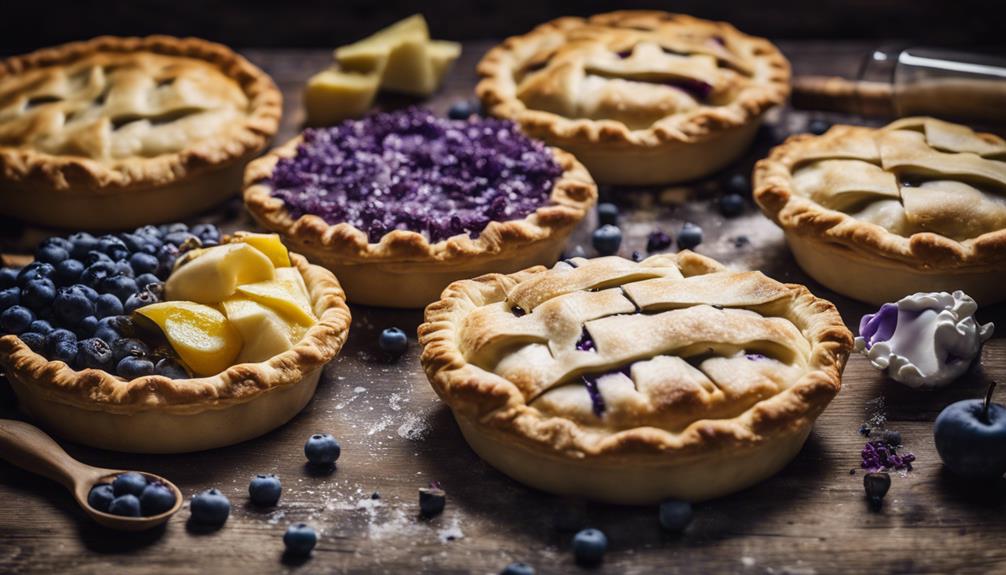
Explore the domain of creativity by investigating a variety of unique fruit combinations and savory ingredients to craft innovative and delectable pie fillings. When experimenting with pie fillings, consider the following:
- Mix and Match Fruits: Combine unexpected fruits like apple and cranberry or peach and raspberry to create exciting flavor profiles in your pies.
- Spice it Up: Enhance traditional fruit fillings with a dash of cinnamon, nutmeg, or ginger for a warm and aromatic twist.
- Savor the Savory: Step outside the sweet world and try savory pie fillings such as chicken and vegetable, beef and mushroom, or spinach and feta for a savory delight.
- Texture and Richness: Add a crunchy element by incorporating nuts like pecans, almonds, or walnuts into your pie fillings for a delightful texture and richness.
Experimenting with different fillings allows you to personalize your pies to suit your taste preferences and create unique culinary experiences. So, don't be afraid to get creative in the kitchen and push the boundaries of traditional pie fillings!
Perfecting Fruit Pie Fillings
When aiming to perfect fruit pie fillings, focus on selecting ripe and flavorful fruits to achieve a harmonious balance of sweetness and tartness in every slice. Choose fruits that are at their peak ripeness to guarantee the best flavor in your pies.
To create a cohesive filling, toss the fruit with sugar, spices, and thickening agents like cornstarch or flour. This will help bind the ingredients together and prevent a watery filling. For fruits with high water content like apples, consider pre-cooking them to avoid a soggy bottom crust and ensure even baking.
Experiment with different fruit combinations and flavor enhancers such as citrus zest, vanilla extract, or liqueurs to enhance the taste of your fruit pie fillings. Remember to adjust the levels of sugar and acidity based on the natural sweetness of the fruits used, aiming for a well-balanced blend of flavors in your final pie.
Enhancing Pie Crust Flavor Profiles
Experimenting with different fats and flavor additives can elevate the taste of your pie crust to new levels of deliciousness. When you make a pie, consider these tips to enhance your pie crust flavor profiles:
- Choose the Right Fat: Opt for butter if you desire a rich and flavorful crust, shortening for a flakier texture, or lard for a more traditional taste.
- Get Creative with Herbs and Spices: Infuse your pie crust with depth by adding herbs like thyme or rosemary, or spices like cinnamon or nutmeg.
- Add a Citrus Zest: For a fresh and zesty flavor, incorporate lemon or orange zest into your pie crust.
- Experiment with Flavored Extracts: Enhance your crust with a hint of sweetness or nuttiness by using extracts like vanilla or almond.
Conclusion
So there you have it, a beginner's guide to homemade pies that will surely impress your friends and family.
Remember, the key to a perfect flaky crust is to keep your butter cold and your flour blend just right.
And don't forget to experiment with different fillings to keep things interesting.
Who knew that mastering the art of pie-making could be so easy? Happy baking!