Making homemade cherry liqueur is both simple and rewarding! Start by preparing 4 cups of cherries and a large bottle of vodka. Combine these in two jars with sugar and any optional flavors you fancy, then shake well. Let your mixture infuse in a dark place for 1-2 months, shaking it a couple of times a week. Once it's ready, strain the liqueur and bottle it for storage. You'll love serving it chilled, mixing it in cocktails, or drizzling it over desserts. There's plenty more to discover about enhancing this sweet and boozy treat!
Overview and Uses
Homemade cherry liqueur is a delightful treat that you can prepare in just 10 minutes, making it perfect for holiday gifting or personal enjoyment. This sweet concoction showcases the vibrant cherry flavor, allowing you to indulge in a taste of summer all year round.
Once you've infused the liqueur, let it sit for 1-2 months to develop a rich flavor profile that enhances its versatility. You can even pair it with festive baked goods like authentic Julekake for a unique holiday experience.
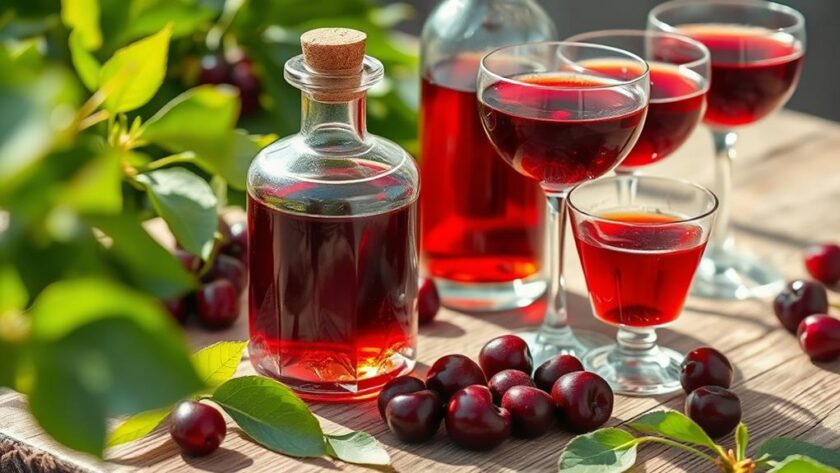
You can enjoy your homemade liqueurs in various ways. Serve it chilled as an after-dinner drink, or mix it into cocktails for a delightful twist. Imagine using it to create a cherry-flavored martini or adding it to your favorite fizzy drink.
It also works wonderfully as an ingredient in desserts, drizzling over ice cream or cake for a special treat. Plus, you can get creative! Experiment with alternative fruits or spices to develop your unique versions.
Just remember, while properly stored homemade cherry liqueur has an indefinite shelf life, it's best consumed within 1-2 years for peak flavor. So, whether you're treating yourself or giving it as a gift, this liqueur is sure to impress!
Ingredients Required
To whip up your own cherry liqueur, you'll need a few key ingredients. Start with 4 cups of frozen dark pitted cherries or about 2 pounds of fresh cherries. These cherries are the star of your liqueur, providing that rich, fruity flavor you're after.
If you're looking for a guilt-free dessert option later on, consider pairing your liqueur with sugar-free vegan cookie recipes that can complement the sweet notes.
Next, grab a large bottle of vodka—1.75 liters or approximately 4 cups will do. The vodka you choose is vital; brands like Smirnoff or New Amsterdam are great for achieving a smooth liqueur.
Now, let's talk sugar. You'll need 2 cups of granulated sugar if you're using frozen cherries, but if you're opting for fresh ones, 1 cup might suffice depending on your taste preference. Adjusting the sugar can greatly influence the sweetness and overall flavor of your liqueur, so feel free to experiment!
If you're feeling adventurous, consider adding optional ingredients like raspberries, peaches, cinnamon, vanilla, or even lemon zest to elevate the flavor.
Plus, if you want to preserve leftover cherries after straining, you can soak them in rum, bourbon, or brandy for an extra kick. Happy mixing!
Equipment Needed
To make your homemade cherry liqueur, you'll need a few essential tools.
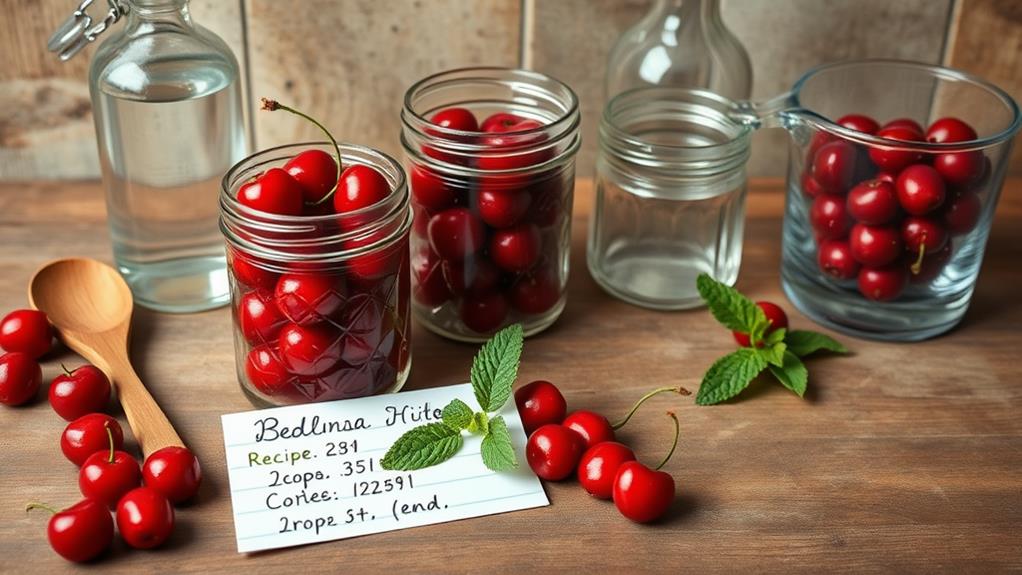
Start with two quart-sized canning jars for the infusion and a large glass measuring cup to measure your liquids accurately.
For a delightful finish, consider infusing your liqueur with flavors inspired by traditional desserts like the rich and chewy Kransekake or the vibrant Cassata Siciliana.
Optional items like a fine mesh strainer can help you achieve a smoother final product.
Essential Tools Required
Making cherry liqueur requires some essential tools that'll streamline the process and enhance your experience.
First, you'll need two quart-sized canning jars (32 oz. each) for infusing the cherries and vodka. These jars should come with tight-fitting lids to guarantee a proper seal, preventing any air from spoiling your infusion.
Next, a large glass measuring cup with a pour spout is invaluable for accurately measuring and pouring the vodka. This will help you get the right proportions, assuring your liqueur turns out just right.
After the infusion period, you'll need a fine mesh strainer or cheesecloth to strain the liqueur, effectively removing the solids before bottling.
While not strictly necessary, decorative liqueur labels can add a personal touch if you're planning to gift your homemade creation. They're perfect for identifying flavors or making your bottles look more appealing. A ribbon tied around the neck of the bottle can further enhance the presentation.
With these essential tools in hand, you're all set to create a delicious cherry liqueur that you can enjoy or share with friends!
Optional Equipment Enhancements
If you want to elevate your homemade cherry liqueur experience, consider incorporating some optional equipment enhancements. While the essential tools are necessary for the infusion process, these enhancements can add a special touch to your final product.
Using small jars can be a fun way to present your liqueur after it's ready. You might also want to invest in decorative liqueur bottles for gifting. These 8.5 oz. bottles not only look great but can also make your homemade treat feel more professional.
Once your liqueur is strained, pour it into these bottles for an elegant finish.
To make your gifts even more personal, consider adding printable labels and a ribbon to the decorative bottles. This adds a thoughtful touch that recipients will appreciate.
Just remember to screw the lids on tightly to maintain the freshness of your liqueur.
Preparation and Infusion Process
The art of crafting homemade cherry liqueur begins with careful preparation and a thoughtful infusion process. Start by washing and pitting either 4 cups of thawed frozen dark pitted cherries or about 2 lbs of fresh cherries. As with the evolution of desserts like cheesecake's journey, the choice of ingredients can greatly enhance the final product.
Once your cherries are ready, divide 1 large bottle of vodka (1.75 liters) evenly between two quart-sized canning jars. Add 2 cups of cherries and 1 cup of sugar to each jar, ensuring the cherries are completely covered by the vodka. Seal the jars tightly.
Now it's time for the infusion process. For added depth of flavor, consider mixing in lemon zest from one lemon or optional spices like cinnamon or vanilla.
After sealing the jars, shake the jars to mix the ingredients thoroughly. Store them in a dark place for a minimum of 1 month. During this time, you'll want to shake the jars twice a week to enhance the infusion process. This regular agitation helps the flavors meld beautifully, resulting in a delightful homemade cherry liqueur that's worth the wait.
After the infusion period, you'll be ready for the next steps!
Bottling and Storage
After waiting patiently for the infusion period to complete, you'll want to carefully strain the liqueur through a fine mesh or cheesecloth to eliminate any solids. This step guarantees a smooth final product before bottling.
The process of creating homemade liqueurs shares a rich tradition with desserts like crème brûlée, which also emphasize careful preparation and the use of high-quality ingredients, showcasing the beauty of culinary craftsmanship.
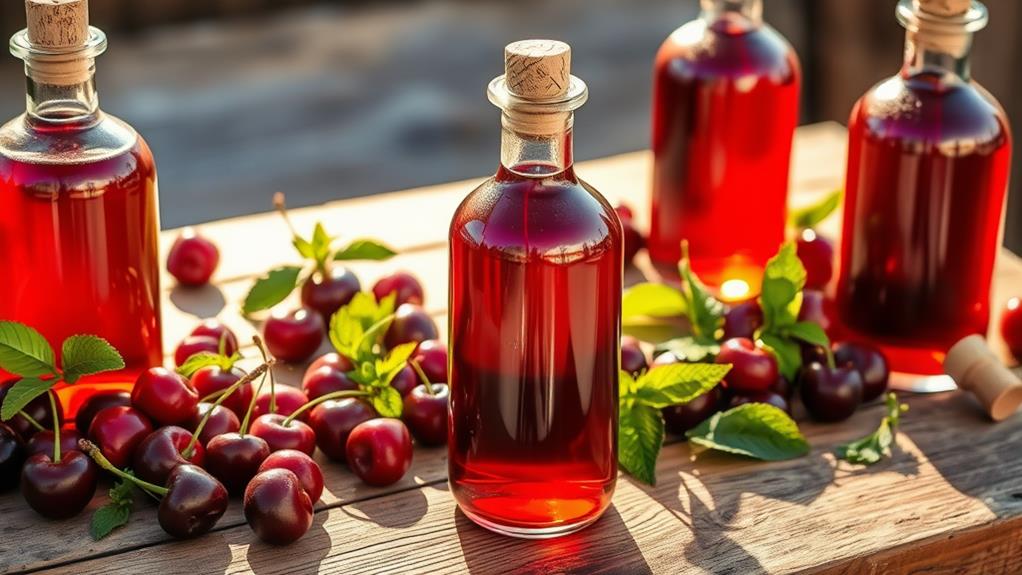
Next, use a funnel when transferring the liqueur into clean, sterilized bottles. This minimizes spills and makes pouring a breeze.
Here's how to properly bottle and store your cherry liqueur:
- Seal Tightly: Once filled, seal the bottles tightly to preserve the freshness and flavor of your cherry liqueur.
- Choose Storage Wisely: Store your bottled liqueur in a cool, dark place, as this helps maintain its quality.
- Enjoy Timing: While it can last indefinitely when stored properly, the best flavor is typically experienced within 1-2 years.
If you've got leftover infused cherries, consider preserving them in rum, bourbon, or brandy for an added treat. With these steps, you'll guarantee your cherry liqueur remains delicious and ready to enjoy for years to come!
Serving Suggestions
When you're ready to enjoy your homemade cherry liqueur, consider serving it chilled or over ice to really bring out its flavors.
You could also create a delightful pairing with a revitalizing dessert like a Refreshing Summer Treat Watermelon Cake that complements the sweetness of the liqueur.
Additionally, you can elevate your desserts by drizzling it over ice cream or cakes, or mix it into cocktails for a refreshing twist.
Each option offers a unique way to savor this delightful treat!
Chilled or On Ice
Chilled cherry liqueur makes for a revitalizing treat that's perfect after dinner, showcasing its delightful sweetness. You can serve your homemade cherry liqueur in a few different ways to enhance the experience. Here are some suggestions:
- Chilled: Pour the liqueur directly from the refrigerator into a glass. The cool temperature accentuates its rich flavor, making it a rejuvenating option to savor after a meal.
- On Ice: Pour the cherry liqueur over ice. This method allows for a gradual dilution, which enhances the taste without overpowering the sweet notes. You'll appreciate the balance as you sip.
- Cocktail Mix: Mix your cherry liqueur with sparkling wine for a celebratory drink. This cocktail brings out the fruity essence of the liqueur, making it a delightful option for special occasions.
Whichever way you choose to serve your cherry liqueur, you'll enjoy its sweet, boozy flavor.
Whether chilled or on ice, it promises to be a memorable addition to your after-dinner routine.
Dessert Pairings
Homemade cherry liqueur pairs beautifully with various desserts, enhancing their flavors with a sweet and fruity kick. Drizzling cherry liqueur over vanilla ice cream creates a luscious treat that's hard to resist. The combination of creamy ice cream and vibrant liqueur is simply divine.
Likewise, if you're enjoying a slice of rich chocolate cake, adding a splash of cherry liqueur elevates it to another level, making each bite more indulgent.
If you're feeling adventurous, consider incorporating cherry liqueur into your baking. It's something that adds depth to cherry crisp or clafoutis, enriching these classic desserts. You can also use it in cherry-infused brownies or tarts, giving them a delightful twist.
For a more sophisticated pairing, don't forget about cheese platters. Cherry liqueur complements creamy cheeses like brie and tangy blue cheese, creating a tantalizing contrast that surprises the palate.
Cocktail Enhancements
Cocktails come alive with the addition of cherry liqueur, bringing a burst of sweet cherry flavor to your favorite drinks. Its rich taste, reminiscent of sour cherries, makes it an excellent enhancer for various cocktails.
Whether you're mixing up a classic or trying something new, cherry brandy can elevate your drinking experience.
Here are three cocktail enhancements you can try:
- Cherry Coke Twist: Add a splash of cherry liqueur to your Cherry Coke for an extra layer of flavor. The liqueur infuses the drink with delightful sweetness, making it a perfect party favorite.
- Sangria Upgrade: Incorporate cherry liqueur into your sangria recipe. It'll add depth to the fruitiness, complementing the wine and other ingredients beautifully.
- Bubbly Delight: Mix cherry liqueur with sparkling wine for a rejuvenating cocktail. This bubbly combination is fantastic for celebrations or as a summer sipper.
With these suggestions, you'll enhance your cocktails while impressing your guests. Enjoy the sweet and boozy treat that cherry liqueur brings to your mixology adventures!
Conclusion
Making homemade cherry liqueur isn't just a fun project; it's a way to create lasting memories. Did you know that nearly 70% of people say sharing homemade treats strengthens their relationships? As you pour your liqueur and share it with friends or family, you're not just serving a drink; you're pouring a little love into every glass. So, gather your ingredients, and start infusing your own sweet and boozy treat today!