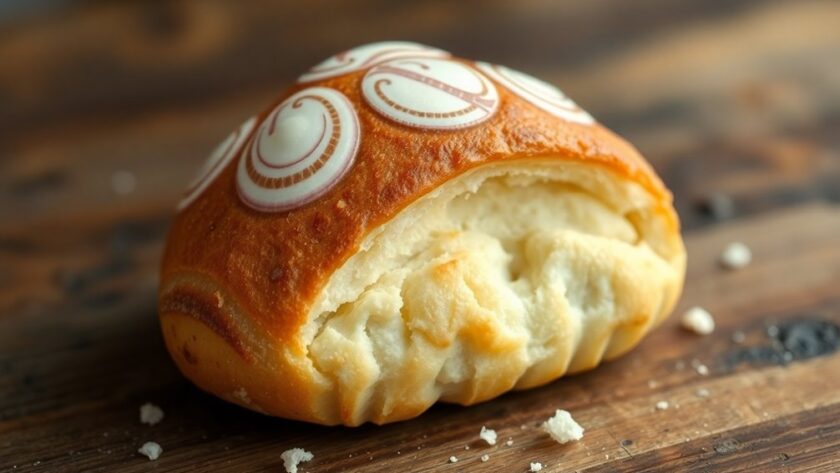
Conchas are a delightful Mexican sweet bread, known for their soft, brioche-like texture and signature scored sugar topping that resembles a shell. You'll love their warm, nostalgic flavors, often paired with hot chocolate or coffee. Fresh ingredients, like evaporated milk and melted butter, create the perfect dough. After a proper rise, you can shape and score them to enhance their visual appeal. Whether you enjoy the classic taste or try unique flavors, conchas bring a sense of community and celebration. There's much more to discover about this delightful treat and how to make it yourself!
Overview of Conchas
Conchas are a beloved staple in Mexican cuisine, enchanting both locals and visitors alike. These traditional Mexican sweet bread rolls are known for their soft, brioche-like center and the signature crunchy, shell-like topping. The name "concha," which translates to "shell" in Spanish, perfectly captures their unique appearance, created by a scored sugar topping that adds both texture and visual appeal. The basic tools used in baking conchas contribute to their delightful texture and flavor. Similar to Julekage bread, conchas carry cultural significance through their historical roots and festive traditions.
Originating from European baking influences, particularly French and Spanish traditions, conchas gained popularity in Mexico during the 19th century. Today, you'll find them in bakeries across the country, often enjoyed during breakfast or as a delightful snack. Pairing them with hot chocolate or coffee enhances the experience, making for a cozy treat any time of day.
These sweet bread rolls are more than just a tasty indulgence; they represent a rich cultural heritage. Conchas are frequently served at family gatherings and celebrations, symbolizing Mexican hospitality and tradition. In addition to being enjoyed plain or with chocolate, they can also be found in various flavored variants that showcase the diverse tastes of Mexican baking.
Whether you're biting into a vanilla or cocoa-flavored variant, each concha offers a taste of history, community, and the warmth of Mexican culture.
Ingredients for Conchas
To create delicious conchas, you'll need a few key ingredients that come together to form a rich and flavorful dough. Start with all-purpose flour, which serves as the foundation for your sweet bread. Using the right type of flour, such as all-purpose flour, is crucial for achieving the ideal texture.
You'll also need active dry yeast to help the dough rise; make certain to use warm water, around 110°F, to activate it effectively. Sugar adds sweetness and balances the flavors, so don't skimp on that.
In addition to these essentials, you'll include evaporated milk, melted butter, eggs, and a pinch of salt for added depth. Freshness matters, especially for your yeast and dairy, so check expiration dates to guarantee the best results.
For the topping, or "streusel," you'll mix more flour, sugar, and softened butter. You can enhance the flavor with vanilla or cocoa powder to give your conchas a delightful twist. These ingredients can also be complemented by naturally gluten-free options that cater to various dietary needs.
Dough Preparation Steps
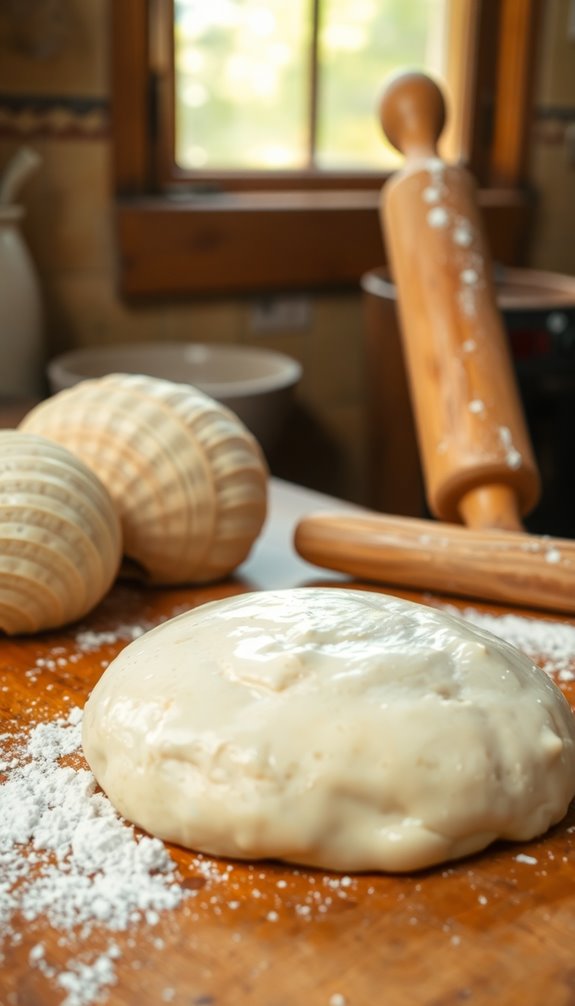
Typically, the dough preparation for conchas involves a few straightforward steps that guarantee your sweet bread turns out perfect. Start by dissolving active dry yeast in warm water, around 110°F. Let it foam for about 5-10 minutes to verify the yeast is active.
In a large mixing bowl, combine all-purpose flour, sugar, melted butter, evaporated milk, an egg, and salt. Create a well in the center and pour in the yeast mixture. To enhance the nutritional value of your conchas, consider using almond flour as a substitute for some of the all-purpose flour. Gluten-free flour can also be utilized in some recipes for those with dietary restrictions.
Next, knead the dough for about 5-9 minutes with a stand mixer or 18 minutes by hand. You want it to become smooth, elastic, and slightly sticky. Once kneaded, place the dough in a greased bowl, cover it with plastic wrap, and let it rise in a warm environment for about 1.5 hours, or until it doubles in size. This rise is vital for achieving that light texture, similar to the rise achieved in gluten-free baking which also relies on proper dough handling.
After the first rise, gently punch down the dough to release air. Divide it into even pieces, shaping them into balls. This sets the stage for the next step in creating those delightful conchas.
Shaping the Conchas
To shape your conchas, start by dividing the dough into equal pieces and rolling them into smooth balls.
After letting them rest, you'll apply the sugar topping to create that perfect layer. Additionally, using vibrant icing can further enhance the visual appeal of your conchas. Creative techniques like using unique cookie cutter designs can add a delightful twist to your shaping process.
Finally, use a concha cutter or knife to score your design, giving each bun its signature look. Additionally, you can experiment with different festive cookie decorations to enhance the visual appeal of your conchas.
Dough Ball Formation Techniques
When shaping the conchas, start by dividing the risen dough into 16 equal pieces. This guarantees uniformity, which is important for even baking and consistent size.
Next, gently shape each piece into a dough ball by tucking the edges underneath. Avoid rolling between your palms, as this helps maintain a smooth surface and proper structure.
Once you've shaped the dough balls, let them rest for about 10 minutes. This brief resting period is necessary to prevent the dough from becoming too elastic, making it difficult to score later on.
When placing the dough balls on the baking sheet, make sure you leave enough space between them. This allows for expansion during the second rise and baking, helping to achieve that classic concha shape.
Finally, after you apply the sugar topping, let the formed conchas rise in a warm place for an additional 40 minutes. This step is essential for developing a light and airy texture, making certain your conchas turn out perfectly.
Applying Sugar Topping
The artistry of applying the sugar topping is vital in creating visually stunning conchas. Once your dough has risen, divide it into even pieces and shape each piece into a ball. Be sure not to roll them between your palms; this helps maintain those precious air pockets that contribute to a light texture.
Next, prepare your sugar topping by combining softened butter, sugar, flour, and optional flavorings like vanilla or cocoa powder to create a smooth paste. Roll out the sugar topping into rounds that are slightly larger than your dough balls. Gently place these rounds on top of each ball, pressing down lightly to guarantee they adhere well.
Before you bake, allow your assembled conchas to rise for another 30-40 minutes. This final rise is vital for achieving that airy, melt-in-your-mouth quality.
The sugar topping not only adds sweetness but also serves as a beautiful canvas for the distinctive patterns you'll create later. With this careful application, you're well on your way to making delicious, eye-catching conchas that are sure to impress!
Scoring Patterns for Aesthetics
As you shape your conchas, scoring patterns not only elevate their visual appeal but also showcase your creativity in baking. Using a concha cutter or a sharp knife, you can create various designs that make your treats truly unique. Common techniques include straight ridges, crosshatch patterns, and spirals, each adding a distinct character to your conchas.
Before scoring, consider applying water dots to the sugar topping; this helps the designs adhere better during baking, ensuring they stay intact.
The beauty of scoring lies not just in decoration; it also plays a functional role. As your conchas bake, the scoring allows the topping to expand and crack, resulting in that delightful crunchy texture we all love.
Don't be afraid to experiment with different scoring patterns. Personalizing your conchas can make them visually striking and perfect for any occasion.
Whether you're making them for a festive gathering or a cozy family meal, the right scoring patterns will enhance their allure, making them irresistible to anyone who sees (or tastes) them.
Enjoy the process, and let your creativity shine through!
Scoring Techniques
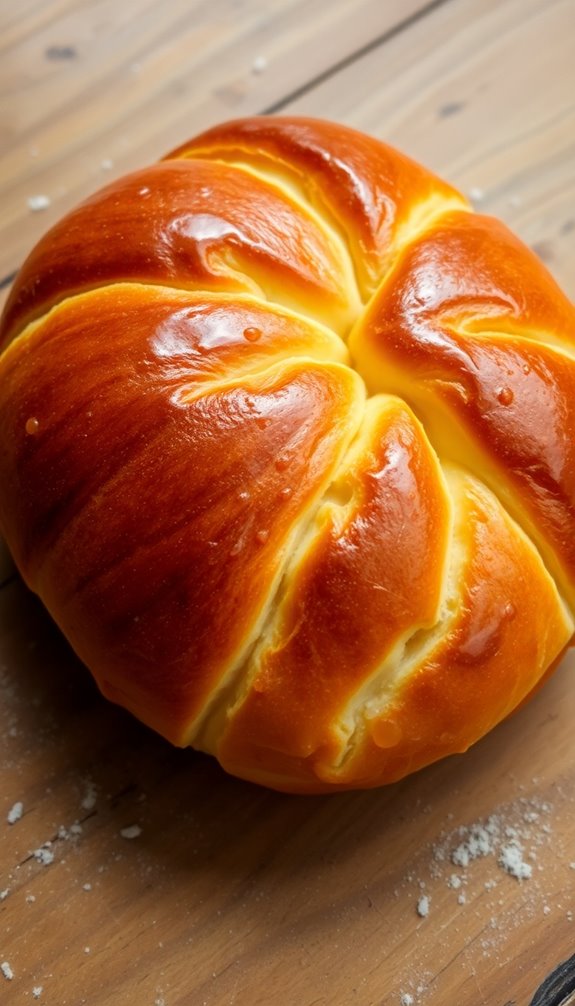
To create the iconic shell-like appearance of conchas, mastering scoring techniques is essential. The way you cut into the sugar topping not only decorates your buns but also enhances their texture.
Here are three scoring techniques to contemplate:
- Straight Ridges: Simple yet effective, these cuts create a classic look that's visually appealing. This technique, much like the evolution of cheesecake, emphasizes the importance of maintaining tradition while adapting to modern tastes. The chocolate chip cookie evolution shows how traditional recipes can inspire new variations.
- Crosshatch Designs: A bit more intricate, this technique adds depth and sophistication, making your conchas stand out.
- Custom Patterns: Let your creativity shine! Use a concha cutter or a sharp knife to create unique designs that reflect your personality. Additionally, the scoring technique can influence the puffiness of pastries, as it allows steam to escape during baking, resulting in a better texture.
Baking Process
To get your concha buns just right, start by preheating your oven to 375°F (190°C).
Shape your dough into balls and let them rise for about 40 minutes before applying the sugar paste topping.
Once they're ready, bake them for 18-20 minutes, keeping an eye on that perfect golden color.
Adding a touch of flavorful spices can elevate the overall taste of your concha buns.
Dough Preparation Techniques
Creating the dough for concha bun is an essential step that sets the foundation for its delightful texture and flavor.
You'll want to start by activating the yeast in warm water, letting it foam for about 5-10 minutes. This process is vital for allowing your conchas to rise beautifully.
After that, combine all-purpose flour, sugar, salt, melted butter, milk, and eggs in a mixing bowl, and gradually add the yeast mixture to create a cohesive dough.
Here are three important dough preparation techniques to remember:
- Knead the dough for approximately 5-9 minutes until it's smooth and elastic, ensuring the perfect texture.
- Place the kneaded dough in a greased bowl, cover it with plastic wrap, and let it rise in a warm area for about 1.5 hours, or until it doubles in size.
- Keep the dough slightly tacky; this quality will enhance the final product's texture.
Topping Application Methods
Applying the topping to your concha buns is an essential step that enhances both their flavor and appearance. The topping, typically made from a sugar paste of softened butter, sugar, flour, and flavorings, needs to be rolled out and cut into rounds before you place it on the dough.
To guarantee it sticks well, lightly moisten the dough with water before applying the sugar paste rounds.
Once you've placed the sugar paste on the dough, you'll want to score it to create those signature patterns. You can use a knife or a concha cutter for this, making straight lines or crosshatches that add a decorative touch. Remember to gently press the sugar paste onto the dough without flattening it too much; this allows for the desired texture during baking.
After applying the topping, let your conchas rise on the baking sheet for about 40 minutes. This rise not only helps set the patterns but also assures a good rise during the baking process, resulting in beautifully topped concha buns that are ready to impress!
Baking Temperature and Time
Once your concha buns have risen and the toppings are beautifully scored, it's time to focus on baking them to perfection. Preheat your oven to 375°F (190°C) for peak results. This guarantees the dough rises properly and develops that coveted golden-brown crust.
Follow these steps for a delightful baking experience:
- Watch closely: The typical baking time for conchas is 18 to 20 minutes, but keep an eye on them. They should be lightly golden brown on top and slightly darker on the bottoms when done.
- Adjust as needed: If you're baking larger conchas, you may need to extend the baking time by a few minutes. Just be careful not to burn those beautiful tops!
- Cooling is key: After baking, let your conchas cool on a wire rack for a few minutes. This enhances their texture and flavor, making each bite even more enjoyable.
With these tips, you'll be well on your way to baking conchas that aren't only visually stunning but also deliciously satisfying! Enjoy your baking adventure!
Preparation Tips
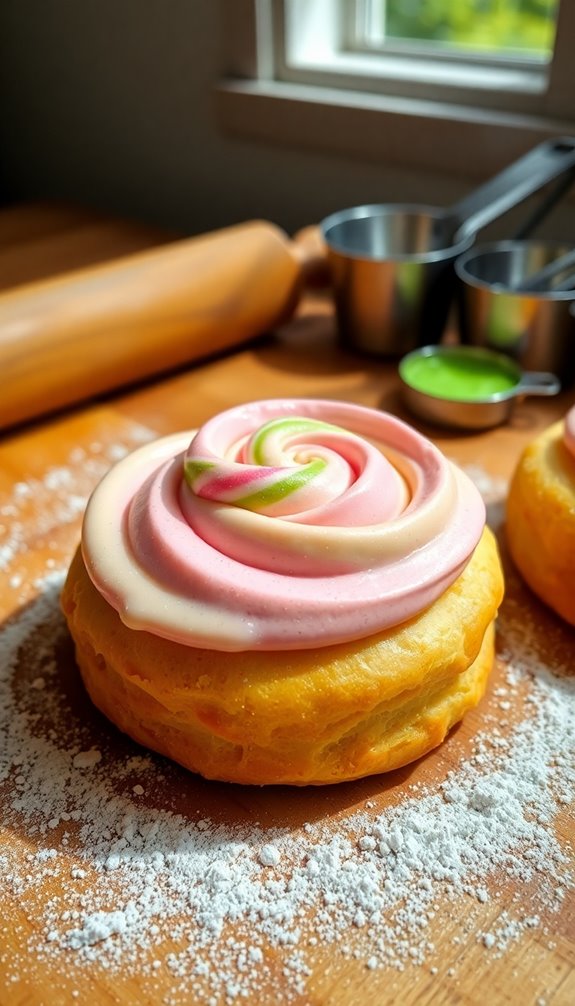
When you're preparing to make concha buns, it's important to get the details right to guarantee a delicious result. Start by ensuring your yeast is fresh; check the expiration date and activate it in warm water before mixing it with the other ingredients. This step is essential for ideal dough rise.
Next, knead the dough until it becomes smooth and elastic, which usually takes about 5-9 minutes. This process helps develop the gluten structure necessary for that fluffy texture we all love.
Once you've made the dough, allow it to rise in a warm, draft-free environment for about 1.5 hours, or until it doubles in size. This step is crucial for achieving light and airy conchas.
When it's time to prepare the sugar paste topping, combine equal parts of sugar, flour, and butter, and feel free to add extracts or food coloring for extra flavor and visual appeal.
After shaping your conchas and applying the topping, let them rise for an additional 40 minutes on the baking sheet before baking. These preparation tips will help you create the perfect concha buns!
Storage and Freezing
To keep your conchas fresh, store them in an airtight container at room temperature for up to five days.
If you want to save them for later, freeze them using proper techniques to maintain their texture.
When you're ready to enjoy, thaw and reheat them to bring back that delightful softness.
Proper Airtight Container Usage
Maintaining the freshness of conchas requires a thoughtful approach to storage, particularly with the use of airtight containers. To keep your beloved sweet breads from drying out, it's important to store conchas properly.
Here are three key tips to take into account:
- Use airtight containers: This is vital! An airtight container prevents air exposure that can lead to dryness or spoilage, helping your conchas stay soft and delicious for up to five days at room temperature.
- Check for moisture: Regularly inspect the container for any signs of moisture. Humidity can compromise the quality of your conchas, leading to undesirable spoilage.
- Choose the right size: Don't crowd your conchas. Use a container that fits them snugly to minimize air circulation, ensuring they remain as fresh as possible.
Freezing Techniques and Tips
For those looking to extend the life of their conchas, freezing is an excellent option. Start by allowing your conchas to cool completely at room temperature. This step is vital; it prevents condensation from forming in your storage container.
Once cooled, place the conchas on a baking sheet in a single layer, making sure they don't touch. Freeze them until they're solid. After that, transfer the frozen conchas to an airtight container or a freezer bag. This way, they'll maintain their flavor and texture, lasting up to three months!
When you're ready to enjoy your sweet treats, simply thaw frozen conchas at room temperature for a few hours or overnight. This gradual process helps retain their delightful taste and softness.
If you want to restore warmth and that fresh-baked feel, you can reheat them in a preheated oven at 350°F for about 5-10 minutes. By using these freezing techniques, you guarantee that your conchas are always on hand for any occasion, making them a convenient and delicious treat to enjoy whenever you like!
Thawing and Reheating Methods
When you're ready to enjoy your frozen conchas, proper thawing and reheating methods are key to restoring their delightful texture and flavor. Follow these steps to guarantee a delicious experience:
- Thawing: Place your frozen conchas at room temperature for about 1-2 hours. You'll know they're ready when they're soft and fully defrosted.
- Reheating: Preheat your oven to 350°F. Once it's hot, pop in your thawed conchas for 5-10 minutes. This will help bring back their softness and crispiness that you love.
- Avoid Microwaving: While it might seem convenient, don't microwave your conchas. It can make them chewy and ruin that perfect texture.
For best results, check your conchas frequently while reheating to prevent overbaking.
Storing conchas in an airtight container at room temperature will keep them fresh for up to five days, and freezing extends their shelf life to about three months.
Cultural Significance
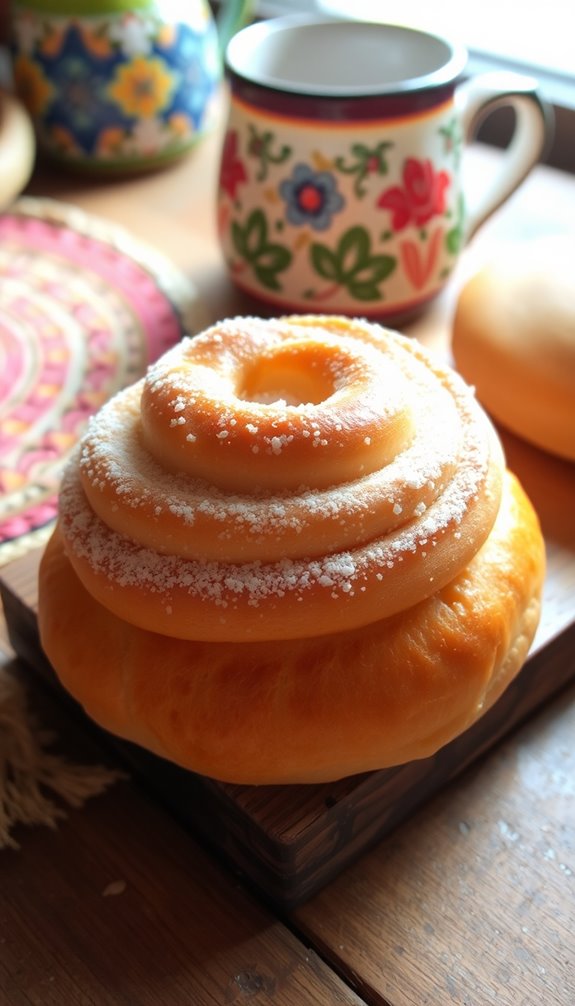
Embodying warmth and hospitality, conchas hold a special place in Mexican culture. These sweet bread rolls aren't just a treat; they symbolize family gatherings and celebrations that bring people together. When you bite into a concha, you're often transported back to your childhood, evoking nostalgia for those joyful moments spent in local bakeries.
The unique seashell shape of conchas reflects a rich fusion of European baking traditions and Mexican culinary practices, showcasing a cultural blend that's deeply rooted in identity. You'll find conchas in various cultural expressions, from art to literature, representing more than just food; they embody the essence of tradition and community.
As their popularity has spread beyond Mexico, conchas have made their way into panaderías across the U.S., adapting to various culinary trends. This has made them a beloved treat for diverse audiences, allowing everyone to experience the hospitality and warmth they represent.
Whether enjoyed during a festive occasion or a quiet afternoon, conchas serve as a sweet reminder of the connections that food can foster, making them an integral part of Mexican culture.
Community Experiences
When you share your baking success stories with others, you'll find a community that celebrates every concha you create.
Experimenting with flavors and colors not only sparks creativity but also connects you with fellow bakers who are enthusiastic to try new twists on this beloved treat.
Together, you can turn a simple recipe into a delightful experience that brings everyone together.
Shared Baking Success Stories
Over the past few months, bakers have been sharing their triumphs in recreating conchas that not only taste delicious but also bring back fond memories of childhood visits to Mexican markets.
The excitement is palpable as many have successfully made these conchas, often resulting in beautiful, crunchy toppings and soft, fluffy interiors that wow family and friends.
Here are three shared baking successes that stand out:
- Nostalgic Flavors: Bakers have reported that their conchas evoke feelings of warmth and comfort, reminiscent of their favorite Mexican bakery treats.
- Community Support: Online baking groups have fostered an encouraging environment, where members cheer each other's achievements and share tips on using the perfect baking sheet.
- Versatile Recipes: Many have adapted the recipe to cater to various dietary needs, including vegan and gluten-free versions, proving that anyone can make these conchas.
With the simplicity of the recipe, it's no wonder that these delightful breads have become favorites for gatherings and celebrations.
Flavor Experimentation Highlights
Many home bakers have enthusiastically embraced the art of flavor experimentation with conchas, transforming this beloved treat into a canvas for creativity. You might find that incorporating unique additions like chocolate, cinnamon, or fruit purees not only enhances the dough but also creates diverse taste profiles that excite your palate.
With the help of gel food coloring, you can also elevate your conchas' visual appeal, giving them vibrant hues that make them stand out on any dessert table.
The community feedback shows a strong interest in vegan adaptations, where using plant-based butter and alternative milks allows everyone to enjoy this sweet bread without sacrificing flavor.
You might also consider experimenting with fillings like cream cheese or fruit preserves. These additions can add an exciting twist to the classic concha, elevating your overall taste experience.
Social media platforms have become a treasure trove of creative concha recipes, where bakers like you share innovative variations that reflect personal tastes and regional influences.
Nutritional Information
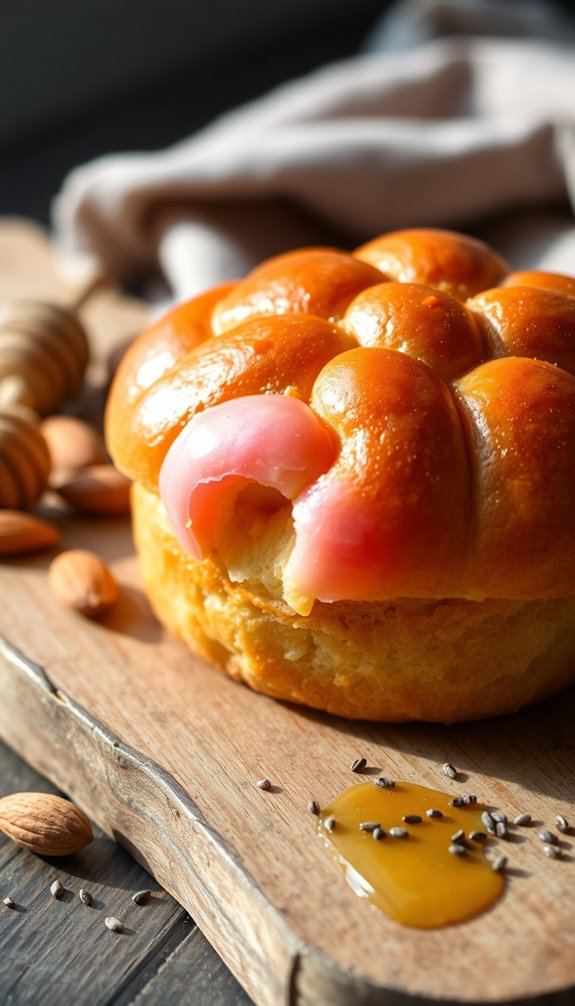
Understanding the nutritional information of conchas helps you make informed choices about this popular Mexican sweet bread. A typical serving size of about 100 grams contains around 300-400 calories, which can quickly add up if you're indulging frequently.
Here's what you should know about conchas:
- Carbohydrates: With approximately 39.7 grams of carbohydrates per serving, conchas provide a quick energy boost, but they can also spike your blood sugar levels.
- Fat Content: Generally, conchas have around 11.2 grams of fat, mainly from butter or margarine. This can contribute to your daily fat intake, so be mindful if you're watching your diet.
- Protein: Each concha offers about 6.8 grams of protein, sourced from ingredients like milk and eggs, but this isn't enough to rely on for your protein needs.
While these delightful treats are a joy to eat, they're low in vitamins and minerals.
Enjoy conchas in moderation to maintain a balanced diet and savor every bite without guilt!
Common Baking Challenges
Baking conchas can be a delightful experience, but it comes with its share of challenges that can trip up even seasoned bakers. One major hurdle is ensuring your yeast is fresh and properly activated. Expired yeast can prevent your dough from rising, leaving you with dense conchas that aren't enjoyable to eat.
Dough consistency is another common issue. Measure your ingredients accurately; too much flour leads to dry conchas, while too little creates a sticky mess. Also, make sure your dough rises adequately in a warm environment. If the room is too cold, it might take longer to double in size, affecting the final texture.
You also need to be careful when kneading your dough. Over-kneading can lead to tough conchas, so knead just until the dough is smooth and elastic, usually around 5 to 9 minutes.
Finally, scoring the sugar topping can be tricky. Whether you're using a concha stamp or a knife, applying the right pressure is essential. You want to create distinct patterns without tearing the dough underneath.
Success Stories
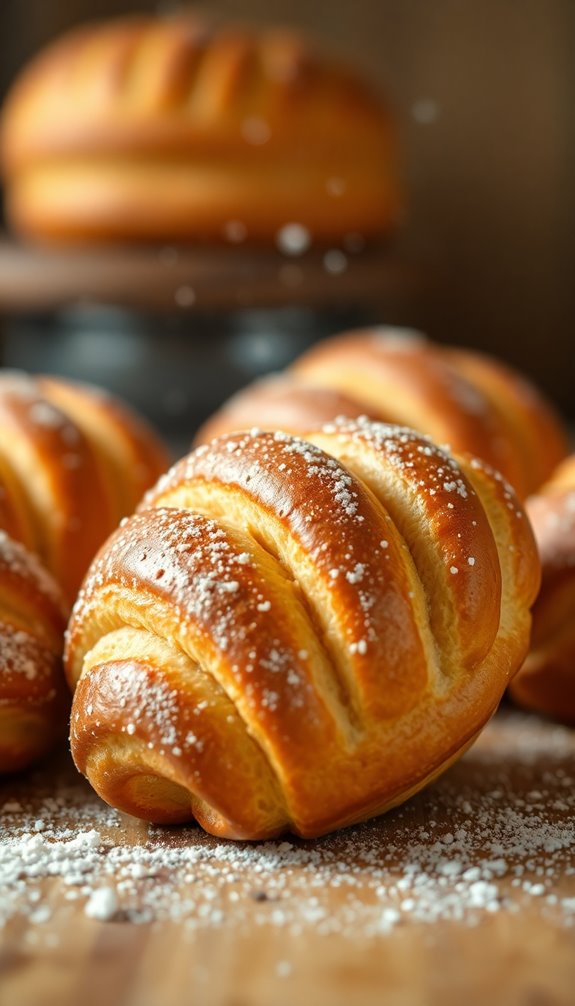
Countless bakers have found joy and success in making conchas, often achieving fluffy interiors and crunchy toppings on their very first try.
The journey of baking these popular Mexican sweet breads is filled with heartwarming success stories that many cherish. You might find yourself reminiscing as you recreate family recipes that evoke nostalgia, reminding you of childhood visits to vibrant Mexican markets.
Here are three inspiring reasons to try your hand at making conchas:
- Easy to Follow: Many home bakers report that concha recipes are straightforward, making it simple for even novice cooks to produce delightful results.
- Share the Love: Conchas are especially popular during autumn and the holiday season, perfect for sharing with friends and family at gatherings.
- Creative Freedom: Experimenting with different flavors and colors leads to innovative twists on traditional conchas, allowing you to add your personal touch.
These success stories show that baking conchas isn't just about the end product; it's about the memories and connections you create along the way.
Flavor Variations
When it comes to conchas, the flavor possibilities are nearly endless, inviting you to explore a variety of delicious options. You might start with classic flavors like chocolate or vanilla extract, both of which create a delightful base for this sweet bread.
But don't stop there! Bakers often infuse their conchas with cinnamon, adding a warm spice that enhances the overall taste.
If you're feeling adventurous, consider trying unique variations. Some bakers incorporate fillings like cream, fruit preserves, or even dulce de leche, giving each bite an exciting twist. Seasonal flavors have also become popular, with options like pumpkin spice or peppermint making their debut during the holidays.
To make your conchas visually appealing, you can use colorful gel food coloring in the topping. This not only adds aesthetic charm but also allows you to match conchas to special occasions, making them festive treats.
Plus, experimenting with different extracts such as almond or orange can elevate the aroma and flavor profile, ensuring each concha is a unique experience.
Whether you prefer traditional or innovative flavors, there's a concha waiting for you to discover!
Recommended Pairings
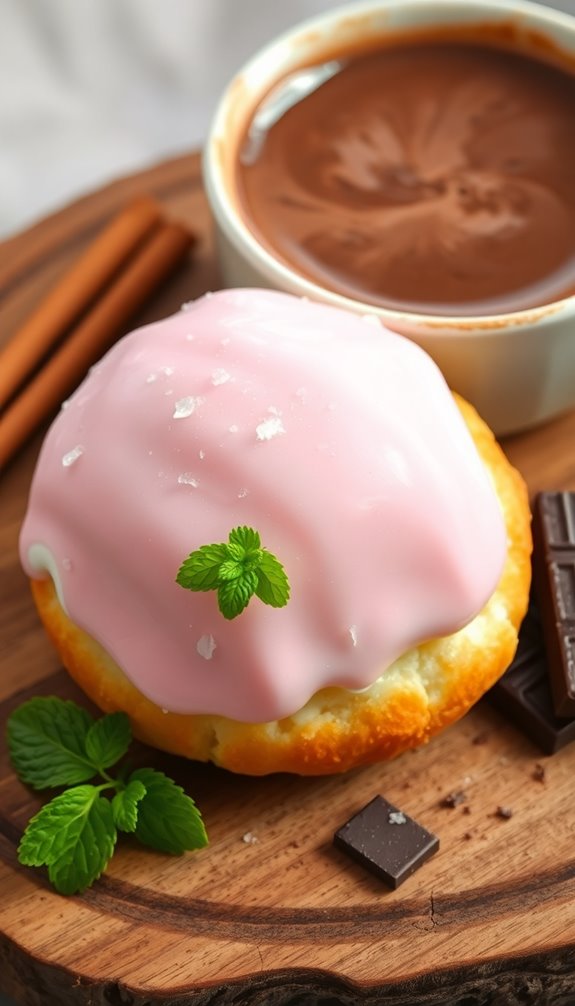
The joy of enjoying conchas is greatly enhanced by thoughtful pairings that elevate your experience. These delightful bread rolls deserve companions that complement their sweetness and texture.
- Coffee or Hot Chocolate: Pair your conchas with a warm cup of rich coffee or traditional Mexican hot chocolate. The smooth flavors blend perfectly with the sweet, crunchy topping of the conchas, making for a comforting breakfast.
- Fresh Fruit: Add a side of vibrant strawberries or zesty oranges. The invigorating taste of fruit balances the sweetness of the bread while adding a burst of flavor that keeps your palate engaged.
- Ice Cream Sandwiches: For an indulgent twist, use conchas to craft ice cream sandwiches. The soft, pillowy bread pairs beautifully with the creamy coldness of ice cream, offering a delightful contrast that will satisfy your sweet tooth.
With these recommended pairings, you'll transform your concha experience into an extraordinary treat.
Whether it's a cozy morning or a festive gathering, these combinations will surely make your conchas shine even brighter!
Conclusion
In the end, making conchas is like crafting little pieces of happiness that fill your kitchen with warmth and love. With each bite, you'll savor the sweet memories of family gatherings and celebrations. Don't let the baking challenges discourage you; every attempt brings you closer to perfection. So roll up your sleeves, embrace the process, and let the delightful aroma of freshly baked conchas whisk you away to a cozy Mexican café. Enjoy every crumb!

