
Using half-and-half in your classic crème brûlée recipe creates a delightful balance of creaminess and lightness. Start by mixing 2 cups of heated half-and-half with 5 egg yolks and ½ cup of sugar. Whisk until lightened and then pour into ramekins. Bake them in a water bath at 325°F for about 30-40 minutes until set. Once cooled, sprinkle a thin layer of sugar on top and caramelize it using a kitchen torch or under a broiler for a crispy finish. This method guarantees silky perfection in every bite, and there's much more to master if you stick around for the details.
Overview of Crème Brûlée
Crème brûlée is a timeless French dessert that delights with its rich custard base made from cream, egg yolks, and sugar. This classic crème brûlée features a smooth, silky texture that melts in your mouth, and you can achieve this using heavy cream or half-and-half for a slightly lighter version. The combination of sugar and yolks creates a creamy custard base, and the addition of vanilla elevates the flavor, making each bite a luxurious experience.
Traditionally, you'll bake crème brûlée in individual ramekins, which guarantees even cooking and allows you to create that perfect custard without curdling the eggs. The magic happens when you add a layer of sugar on top, which you then caramelize using a kitchen torch or broiler. This creates a delightful contrast between the crunchy, caramelized exterior and the creamy custard underneath.
Often served chilled, crème brûlée is a showstopper that's perfect for special occasions, offering a satisfying conclusion to any meal. With its elegant presentation and decadent taste, it's no wonder this dessert has remained a favorite for generations.
Essential Ingredients
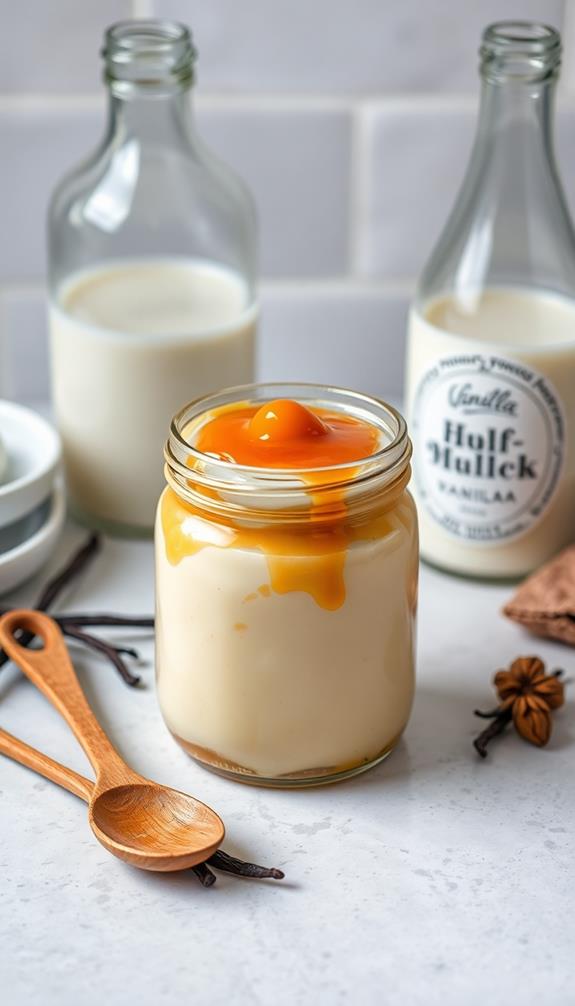
When preparing classic crè me brulée, you'll need a few essential ingredients that come together to create the perfect custard.
First, grab 2 cups of half and half; it provides a creamy texture while being lighter than heavy cream. This balance is key for that silky perfection you're aiming for, as it allows the custard to remain rich without being overly heavy. For a truly indulgent flavor, consider incorporating bittersweet chocolate into your custard mixture for a luxurious twist.
Next, you'll want to use 5 large egg yolks. They're vital for achieving the rich, smooth consistency that defines a great crè me brulée.
To sweeten the custard, measure out 1/2 cup of granulated sugar. This sugar not only sweetens but also caramelizes beautifully for the signature crispy topping.
Don't forget about flavor; one teaspoon of vanilla extract will infuse the custard with a classic taste that elevates the dessert.
Preparation Steps

Now that you've gathered all the ingredients, it's time to get started on the preparation steps for your classic crè me brûlée. First, preheat your oven to 325 degrees Fahrenheit (160 degrees Celsius) to guarantee even cooking.
In a saucepan, gently heat 2 cups of half and half until it's hot but not boiling. This helps maintain a smooth texture, similar to the rich, creamy filling found in modern cheesecake innovations.
While the half and half is heating, whisk together 5 egg yolks and 1/2 cup of sugar in a mixing bowl until the egg yolk mixture lightens in color. This step is essential for achieving that silky custard consistency.
Once the half and half is ready, slowly pour it into the egg mixture while whisking continuously to temper the eggs and prevent scrambling.
Next, pour the custard mixture into ramekins. Place these ramekins in a baking dish filled with boiling water, creating a water bath, or bain-marie, which allows for even cooking.
Bake for 30-40 minutes until the edges are set and the centers still jiggle slightly. Now you've prepared your crè me brûlée perfectly, and it's ready for the next steps!
Baking Instructions
When you're ready to bake your crè me brulée, preheat the oven to 325°F (160°C) for consistent results.
The tradition of using a water bath, or *bain-marie*, is essential; it helps distribute heat evenly and prevents the custard from cooking too quickly, a technique refined through centuries of culinary evolution, as seen in the origins of crè me brulée.
Keep an eye on the baking time, and look for set edges with a gently jiggling center to know when it's done.
Oven Temperature Importance
The right oven temperature is vital for achieving that perfect crème brûlée texture. Start by preheating your oven to 325°F (160°C). This temperature guarantees even cooking and helps maintain the creamy consistency you're after. If the oven's too hot, you risk curdling the egg yolks, which leads to that undesirable grainy texture.
Using a water bath is essential here, as it promotes gentle, even heating throughout the custard. Place your ramekins on the oven rack and fill the baking dish with hot water until it reaches halfway up the sides of the ramekins. This method prevents sudden temperature changes that can compromise the custard's silky finish.
When it comes to doneness, keep an eye on the edges of the custard. They should be set, while the center remains slightly jiggly, indicating it'll firm up as it cools.
Typically, your crème brûlée will need around 30 to 40 minutes in the oven, depending on the depth of your ramekins and the oven's accuracy. By mastering the oven temperature importance, you'll be well on your way to a delightful dessert!
Water Bath Technique
To achieve a perfectly smooth and creamy crè me brùlée, mastering the water bath technique is vital. This method, also known as a bain-marie, involves placing your ramekins filled with custard into a baking dish filled with hot water. By doing this, you guarantee even cooking and prevent the custard from curdling.
Start by preheating your oven to 325°F (160°C). While it's heating, fill your baking dish with boiling water, making sure it reaches halfway up the sides of the ramekins. This creates a gentle cooking environment, allowing the custard to bake evenly and delicately.
Place the ramekins in the baking dish and slide them into the oven. Bake the custard for 30-40 minutes. You'll know they're done when the edges are set, but the centers still have a slight jiggle.
After baking, let the custards cool in the water bath until they're warm, then move them to the refrigerator for at least 2 hours. This chilling period is vital for them to fully set before you caramelize the sugar topping. Enjoy your silky, smooth crè me brùlée!
Caramelization Techniques
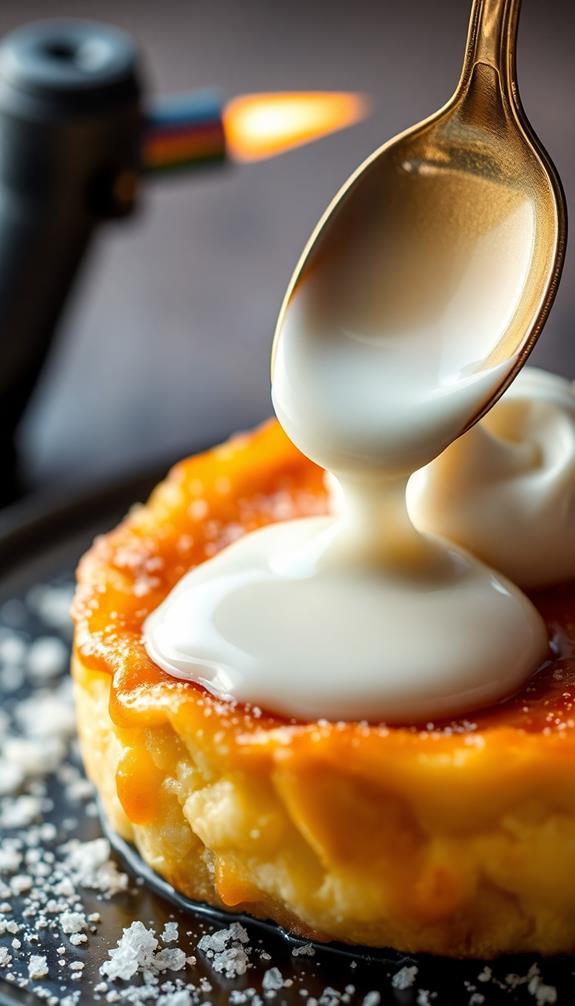
When it comes to caramelizing the sugar on your crè me brûlée, you've got a couple of great techniques to choose from. For ideal results, make certain that the sugar layer is finely ground for a smoother melting process, allowing for an even caramelization.
You can use a kitchen torch for precise control or opt for the broiler method if you prefer a quicker approach. Whichever you choose, make sure your sugar layer is even to achieve that perfect golden crust.
Mastering royal icing consistency is essential for clean designs.
Kitchen Torch Usage
Using a kitchen torch is vital for achieving that perfect caramelized sugar layer on your crè me brûlée. This tool allows you to control the heat precisely while you caramelize the sugar, creating a delightful contrast to the creamy custard beneath.
To get the best results, follow these tips:
- Use a thin, even layer of granulated sugar for caramelizing to guarantee uniform melting.
- Hold the torch about 2-3 inches above the sugar, moving it in a circular motion for an even golden crust.
- Practice on a small area first to gauge how quickly the sugar melts and browns.
Once you've achieved that beautiful golden color, let the crunchy caramelized sugar cool and harden before serving. This step is critical, as it forms the desirable crackling crust you crave.
Broiler Caramelization Method
If you don't have a kitchen torch handy, the broiler method offers a fantastic alternative for caramelizing sugar on your crè me brûlée. Start by setting your broiler to high and place your ramekins on a baking sheet. This guarantees even heat distribution while you caramelize the sugar on top.
For best results, sprinkle about a teaspoon of granulated sugar evenly over each ramekin. The key to successful caramelization is an even layer of sugar; too much can lead to burning.
Once you've added the sugar, slide the baking sheet under the broiler, and keep a close eye on it. Broiling typically takes 1-3 minutes, so don't walk away!
To achieve uniform browning, rotate the ramekins occasionally, especially if you're using multiple at once.
Caramelize the sugar just before serving to guarantee it maintains that delightful crisp texture. If left too long on the custard, it can soften and lose its charm.
With a bit of practice, you'll master the broiler method for perfect caramelization every time!
Sugar Layer Consistency
Achieving the perfect sugar layer consistency is essential for a delightful crème brûlée.
To create an irresistible sugar topping, follow these tips to guarantee a consistently golden sugar crust that beautifully contrasts with the creamy custard beneath.
- Sprinkle a thin, even layer of granulated sugar over the chilled custard. A thicker layer can lead to uneven caramelization.
- Use a kitchen torch for precise control when caramelizing. If you opt for a broiler, monitor closely to avoid burning.
- Dry the custard surface before caramelizing. This prevents moisture from ruining the crispness of your sugar layer.
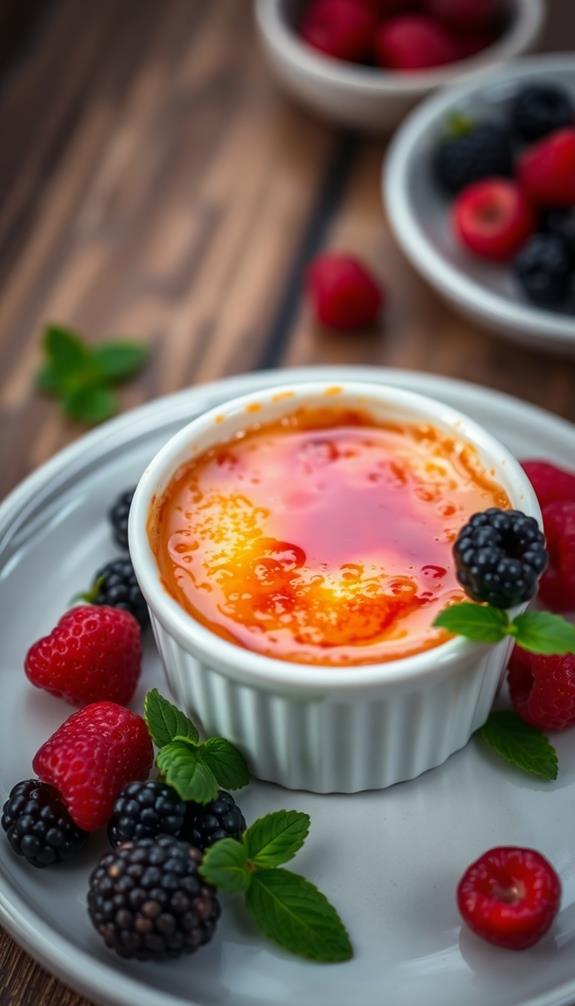
Serving Suggestions
When serving crè me brulée, consider using individual ramekins to enhance both the presentation and portion control, making each guest feel special. This approach not only looks elegant but also guarantees everyone gets the same delightful experience.
To add a festive touch, you might even consider incorporating playful decorations inspired by festive sugar cookie recipes and techniques that can elevate the overall dessert presentation.
To elevate your dessert, pair the crè me brulée with fresh berries like raspberries or strawberries. Their vibrant colors and invigorating flavors create a beautiful contrast to the rich custard.
A sprinkle of citrus zest, such as lemon or orange, can add an exciting twist, enhancing the overall flavor profile.
For an extra touch of indulgence, offer a dollop of whipped cream on the side. This creamy addition balances the crunch of the caramelized sugar perfectly, making each bite even more enjoyable.
Storage Tips
When it comes to storing your crè me brûlée, you can keep it in the refrigerator for up to two days, but it's best enjoyed fresh.
For ideal texture, consider using gluten-free flour alternatives if you're looking to modify the recipe.
To maintain that perfect texture, make sure to blot any condensation before caramelizing the sugar.
Refrigeration Duration Guidelines
Storing your crème brûlée properly can enhance its flavor and texture. After baking, it's essential to let your crème brûlée chill in the refrigerator for at least 4 hours. This chilling time allows the custard to set properly, achieving that desirable silky texture.
While you can refrigerate it for up to 2 days, it's best enjoyed fresh for maximum taste.
Here are some tips for refrigeration:
- Keep it covered: Use plastic wrap or a lid to prevent odors from seeping in.
- Serve in ramekins: Individual servings make storage easier and allow for quick access.
- Blot before caramelizing: If you've stored it in the fridge, dry the surface to avoid condensation affecting the sugar topping.
Avoid letting your crème brûlée sit at room temperature for too long, as prolonged refrigeration can cause texture changes.
Always monitor for any alterations in flavor or creaminess. By following these refrigeration duration guidelines, you'll guarantee your dessert remains as delightful as the day it was made!
Preventing Texture Changes
To keep your crème brulée's texture intact, focus on proper storage techniques. After preparing your crème brulée recipe, let them cool completely before placing them in the refrigerator. Storing them in individual servings in ramekins is ideal, as it minimizes their exposure to air and helps in preventing texture changes. Remember, it's best to consume your brulée within two days for maximum creaminess.
When you do store them, make certain to blot the surface dry before caramelizing the sugar if they've been in the fridge. This prevents condensation and moisture from affecting the custard's silky texture. Monitor the custard for any signs of degradation; if it starts to change in texture or flavor, it's time to toss it out.
For that delightful contrast of textures, always caramelize the sugar layer right before serving. This guarantees that you achieve a perfectly crisp topping that complements the creamy custard beneath.
Optimal Serving Freshness
Serving crème brûlée fresh is key to enjoying its rich flavor and creamy texture. While you can store it in the refrigerator for up to 2 days, for peak freshness, aim to serve it within 24 hours of making it.
To guarantee the best experience, follow these simple storage tips:
- Chill thoroughly: Allow your custard to cool for at least 4 hours after baking. This helps prevent a soupy texture.
- Use individual ramekins: These make for convenient storage and easy serving, keeping each portion fresh until you're ready to serve.
- Check for changes: Monitor the custard for any changes in texture or flavor during storage, particularly after the first day.
Before caramelizing the sugar on top, make sure the surface of the custard is dry. Condensation can occur during storage, affecting the final presentation and taste.
Cooking Equipment Needed
Creating the perfect classic crème brûlée requires some essential cooking equipment to confirm your dish turns out just right.
First, you'll need ovenproof ramekins, ideally shallow ones, as they guarantee even cooking and easy caramelization of the sugar topping. A baking dish is also necessary; it will hold the ramekins and create a water bath, which provides gentle, even heat during the baking process. This method is similar to the gentle cooking technique used in desserts like Norwegian Kransekake, confirming a delicate texture.
Next, grab a saucepan to heat the half and half mixture before combining it with the egg yolks and sugar. This step is vital for infusing flavors without boiling.
To achieve a silky texture in your custard, a fine-mesh sieve is essential. It helps strain the mixture, eliminating any larger bits of vanilla bean or egg, guaranteeing a smooth result.
User Feedback and Experiences
Home cooks often rave about their experiences with the classic crèeme brûlée recipe, sharing both successes and tips along the way. Many users appreciate how the combination of half and half creates a creamy texture that's rich yet not overwhelming. Feedback typically hovers around an impressive 4.70 stars, with enthusiastic cooks excited to master the art of this dessert.
Here are a few common insights from the community:
- Tempering the eggs: Users recommend taking your time to temper the eggs properly, ensuring a smooth custard.
- Caramelization tips: The kitchen torch gets high praise; practice makes perfect when caramelizing sugar to achieve that beautiful golden crust.
- Water bath method: Many insist on using a water bath for even cooking, preventing the custard from curdling.
From special occasions like Valentine's Day to family gatherings, this classic vanilla treat stands out. Cooks often discuss their techniques, asking questions on how to achieve that silky perfection.
With shared knowledge, you'll feel empowered to create your own stunning crèeme brûlée masterpiece!
Related Dessert Recipes
Dessert lovers often seek variety, and if you enjoy classic crè me brûlée, you'll find plenty of delightful options to explore.
One exquisite choice is Chocolate Pot de Crème, a rich French dessert that combines heavy cream and egg yolks for a silky custard with a deep chocolate flavor. If you're in the mood for something lighter, try Panna Cotta, an Italian favorite made with cream, sugar, and gelatin, often infused with vanilla or fruit purees, providing a smooth texture reminiscent of crè me brûlée.
Another fantastic alternative is flan, a custard dessert made with eggs, milk, and sugar, baked in a caramel-lined mold. Its sweet and creamy texture offers a delightful variation to the classic crè me brûlée experience.
For a comforting option, consider rice pudding, which blends rice, milk, and sugar into a creamy dish that can be enjoyed warm or chilled.
Lastly, baked custard, made with eggs, milk, and sugar, presents a simple yet elegant dessert that can be flavored with vanilla or nutmeg, giving you that familiar custardy goodness.
Explore these variations and satisfy your sweet cravings!
Conclusion
In the world of desserts, crème brûlée stands as a golden crown, and with half and half, you've got the key to silky perfection. As you savor that first crack of caramel, let the creamy custard envelop your senses like a warm embrace. Remember, each spoonful is a celebration of simplicity and indulgence. So go ahead, share your creation or keep it all to yourself—either way, you've crafted a little piece of heaven worth savoring.