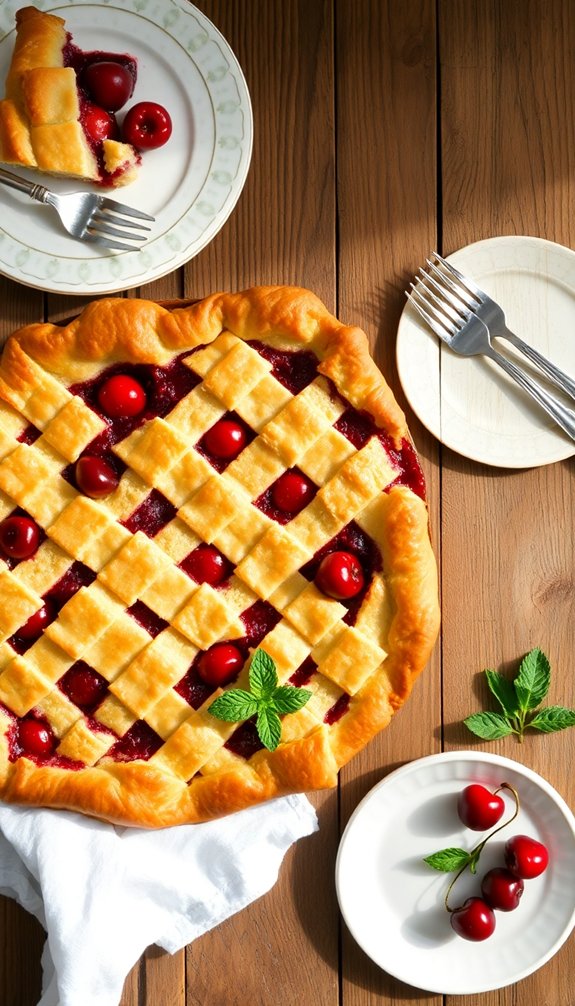
Cherry slab pie is the perfect dessert for your next party! Its flaky double crust wraps around a deliciously fruity cherry filling, making it a crowd-pleaser. The rectangular shape allows for easy portioning, so you can serve large groups without any fuss. Plus, there are endless ways to get creative with the filling and crust design. With just a few tips and tricks, you can impress your guests with this delightful treat. Discover how to make it shine even more!
What Is a Slab Pie?
A slab pie is a delicious, rectangular dessert typically baked in a 9 x 13-inch sheet pan.
This versatile treat features a higher crust-to-filling ratio than standard round pies, making each slice a delightful combination of flaky crust and flavorful fruit filling. Creative decorating techniques can elevate the appearance of your slab pie, turning it into a stunning centerpiece. The use of ideal apple varieties can also inspire new flavor combinations for your filling.
Slab pies are perfect for gatherings, as they’re designed to serve larger groups easily. You can cut them into smaller portions, ensuring everyone gets a taste.
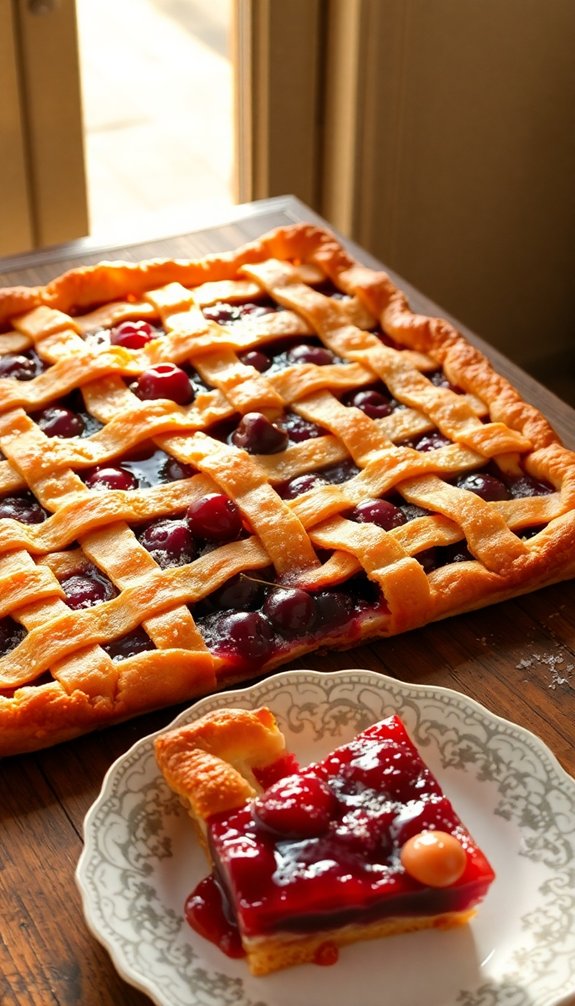
Plus, they’re easy to assemble, saving you time in the kitchen. The flat shape also allows for creative designs, such as lattice tops or decorative cutouts, enhancing their visual appeal.
Whether it’s for a picnic or a party, a slab pie is sure to impress your guests. Additionally, the higher crust-to-filling ratio ensures that every bite is just as satisfying as the last.
How to Make Cherry Slab Pie
To create a delicious Cherry Slab Pie, you’ll need to start with two rolled-out pie dough rounds that form an 11×14-inch rectangle, perfectly sized for a 13x9x1-inch pan.
Follow these steps for a delightful treat:
- Mix 2 (20 oz.) cans of cherry pie filling with a splash of lemon juice and cornstarch to prevent a runny texture. Using gluten-free ingredients can also enhance the overall quality of your dessert. Incorporating nutritious flours can provide additional health benefits to your crust.
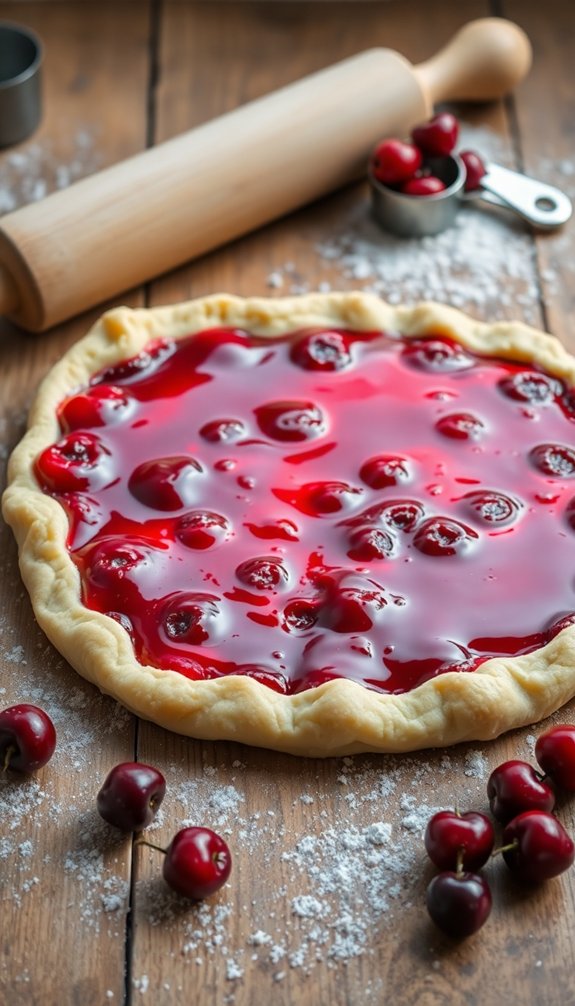
- Spread the cherry filling evenly in the bottom crust.
- Cover with the second layer of dough, sealing the edges well.
- Brush the top crust with an egg wash and sprinkle with coarse sugar before baking at 400°F for 30-35 minutes until golden brown and bubbly.
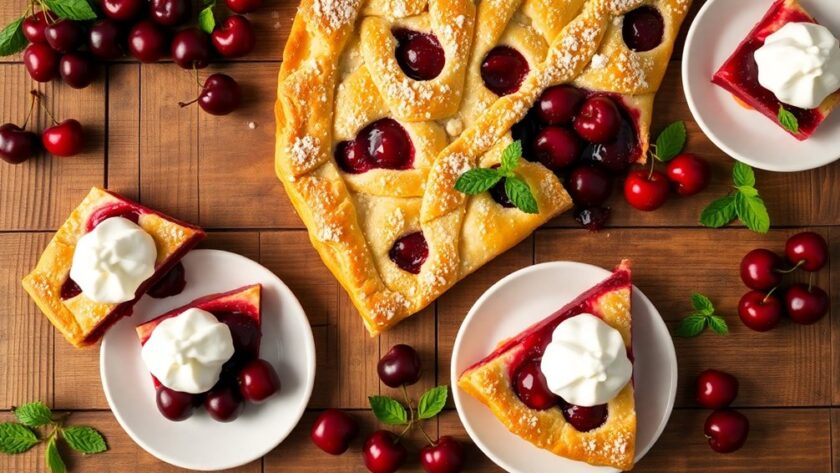
Once cooled, slice and serve with vanilla ice cream for a perfect finish to your easy recipes! Additionally, using gluten-free flour in your pie crust can make this dessert suitable for those with dietary restrictions.
Unique Features of This Cherry Slab Pie
This Cherry Slab Pie stands out with its high crust-to-filling ratio, making it perfect for serving at any large gathering. You can easily switch up the filling too, using apples, blueberries, or peaches, depending on your mood or the season. This versatility not only adds excitement but also caters to different tastes and occasions. Additionally, the use of whole wheat flour can enhance the flavor and nutritional value of the crust, making it even more appealing. For a delightful twist, consider incorporating almond extract to elevate the overall flavor profile of your pie. A classic dessert like this is often enjoyed alongside traditional baked goods such as Julekake during festive celebrations.
High Crust-to-Filling Ratio
While enjoying a slice of cherry slab pie, you’ll quickly appreciate its impressive high crust-to-filling ratio. This unique feature sets it apart, ensuring every bite is a delightful balance of flaky crust and sweet-tart pitted cherries.
Here’s why the crust-to-filling ratio matters:
- Rectangular Shape: The slab pie’s design allows for more crust compared to traditional round pies.
- Ample Servings: With an 11×14-inch size, it serves 8 to 10 people, making it perfect for gatherings.
- Double Crust Layers: The use of two pie crust rounds enhances texture and flavor.
- Top Crust Variety: A lattice or decorative top crust increases the crispy surface area, elevating your experience.
You’ll love how this cherry slab pie serves larger groups while satisfying crust lovers!
Versatile Filling Options
Exploring versatile filling options makes cherry slab pie a standout dessert that caters to a variety of tastes. The cherry filling is firm, preventing a runny texture without pre-cooking, making it easy to slice and serve.
You can enhance its flavor by incorporating a grated Granny Smith apple, which acts as a natural thickener due to its pectin content. For a flavor boost, consider adding balsamic vinegar or lemon juice to intensify the cherry taste.
This adaptable recipe allows you to experiment with other fruits like apple, blueberry, or peach, ensuring there’s something for everyone. Plus, fresh lemon zest or ginger can add an extra layer of flavor, making your cherry slab pie even more delicious and unique.
Tips, Tricks, and Storage
To keep your cherry slab pie delicious and fresh, it’s essential to follow a few key tips and tricks. Here’s how to guarantee your pie stays perfect:
- Use cold ingredients and refrigerate the assembled pie for 20-30 minutes to achieve a flaky crust.
- Store leftovers at room temperature for up to 2 days or in the fridge for up to 4 days. Incorporating low-sugar alternatives can make your pie healthier while retaining its delicious flavor. For an added touch, consider using gluten-free options to accommodate guests with dietary restrictions.
- For longer storage, wrap the pie or slices in airtight containers and freeze after it’s cooled completely.
- If you’re using frozen cherries, adjust the cornstarch to 5 tablespoons to manage added moisture.
Adding a nutrient-rich flour like almond flour to your crust can enhance the overall health benefits of your cherry slab pie.
Serve your pie at room temperature and don’t forget to add a scoop of vanilla ice cream for an extra treat!
Baking Process
To start baking your Cherry Slab Pie, you’ll want to preheat your oven to 400 degrees Fahrenheit for an even bake.
Next, prepare the crust by rolling it out and fitting it into your sheet pan, making sure to leave some overhang. Consider using healthier ingredients like almond flour for a more nutritious base. For an added touch of flavor, you might also incorporate vanilla extract into the pie filling for a delightful enhancement.
Keep an eye on the baking time, as you’ll want that golden brown crust and bubbling filling for the perfect pie. Additionally, consider using quality lard or butter for a crispy pie crust, which can elevate the overall texture of your dessert.
Preheat Oven Correctly
Before you start assembling your Cherry Slab Pie, it’s essential to preheat your oven to 400 degrees Fahrenheit. This step guarantees you achieve a golden crust and bubbly filling. Here’s how to get it right:
- Preheat your oven for 15-20 minutes to reach the desired temperature.
- Chill the pie in the refrigerator for 20-30 minutes while the oven preheats to maintain a flakier texture.
- If using a glass Pyrex pan, watch the baking time closely, as it may differ from a metal sheet pan.
- Finally, bake the pie for 30-35 minutes, checking for that perfect golden brown crust and bubbling filling to guarantee it’s done.
Prepare the Crust
Preparing the crust for your Cherry Slab Pie is an essential step that sets the stage for a delicious dessert.
Start by rolling out two rounds of pie dough into a rectangle that fits your 13×9-inch sheet pan, approximately 11×14 inches to allow for some overhang. Gently press the rolled dough into the ungreased pan, letting the excess hang over the edges for easy crimping.
To achieve a flaky crust, make sure to use cold ingredients and avoid overworking the dough. Brush the bottom crust lightly with an egg wash to seal it and prevent sogginess from the cherry filling.
After pouring in the filling, cover it with the remaining dough, crimp the edges to seal, and cut slits for venting.
Monitor Baking Time
Once you’ve sealed the crust and added the cherry filling, it’s time to focus on baking. Keep a close eye on your baking time, aiming for 30-35 minutes at 400 degrees Fahrenheit to achieve that golden brown crust and bubbly filling.
Follow these steps for best results:
- Use a metal sheet pan for more consistent baking; if using a glass Pyrex pan, check a few minutes earlier.
- Look for the crust to be golden brown and the filling bubbling through steam vents.
- Allow the pie to cool completely before slicing to guarantee the filling sets properly.
- For peak flavor, serve at room temperature after cooling for at least one hour post-baking.
Enjoy your delicious cherry slab pie!
Serving Information
Cherry slab pie serves 20 large or 40 small portions, making it perfect for your next gathering or celebration.
This dessert is ideal for parties, as it can easily feed a crowd. You can keep the pie covered at room temperature for a day or two to maintain its freshness, but refrigerating it extends that freshness for a few extra days.
For the best flavor, serve the pie at room temperature to fully enjoy the sweet-tart cherry filling. To elevate your dessert experience, pair the cherry slab pie with a scoop of vanilla ice cream.
The contrast of warm pie and cold ice cream creates a delightful treat that guests will love, ensuring your gathering is a hit!
Nutritional Information
When you’re indulging in a slice of cherry slab pie, it’s good to know what you’re treating yourself to nutritionally. This dessert can fit into your gathering with a moderate calorie count and some beneficial nutrients.
Here’s a quick breakdown of what one serving offers:
- Calories: Approximately 273
- Carbohydrates: About 35 grams, perfect for satisfying sugar cravings
- Protein: Around 5 grams, balancing your treat
- Fat: About 13 grams, including 4 grams of saturated fat
Additionally, you’ll get 3 grams of fiber and essential vitamins like Vitamin A and Calcium, enhancing the overall value of this cherry slab pie.
Conclusion
Indulging in a slice of cherry slab pie is like taking a bite of summer, with its vibrant red cherries bursting with flavor nestled in a flaky, golden crust. As you gather with friends, the sweet aroma wafts through the air, inviting everyone to savor each delicious piece. With every forkful, you’ll create joyful memories and smiles all around. So, whip up this delightful dessert for your next party, and watch it disappear in a sweet, cherry-filled frenzy!