Butter Braids are a sweet, flaky pastry made from rich brioche dough that’s buttery and soft, perfect for breakfast. You’ll love the customizable fillings like apple, cherry, and Nutella that make these treats irresistible. The braiding technique not only enhances the texture but adds a beautiful visual appeal. Bake at 375°F for 15-20 minutes to achieve that golden perfection. Stick around for more tips on fillings, serving ideas, and how to store your delicious creations!
What Are Butter Braids
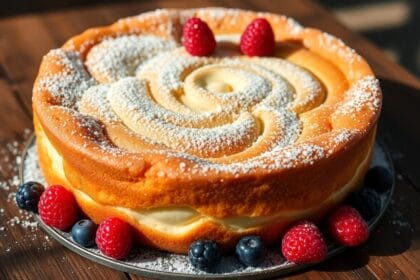
Butter Braids are delightful sweet pastries that elevate any breakfast or gathering. Made from rich brioche dough, these pastries feature a soft, buttery texture that makes them perfect for breakfast pastry lovers.
Once you roll out the dough, you can choose from an array of fillings like apple, peach, cherry, Nutella, or cream cheese, allowing you to customize your treat. The braiding technique not only enhances the visual appeal but also creates a unique texture during baking.
Choose from delightful fillings like apple, peach, or Nutella to customize your Butter Braids for a visually appealing and delicious treat.
Served warm, Butter Braids become a crowd favorite at brunch events and holiday celebrations. With their ease of preparation, you’ll find it simple to create these delicious pastries that look as good as they taste. They are reminiscent of the traditional Norwegian Kransekake, which also features festive presentations that can elevate any celebration.
Enjoy the delightful experience of Butter Braids!
Butter Braids Ingredients
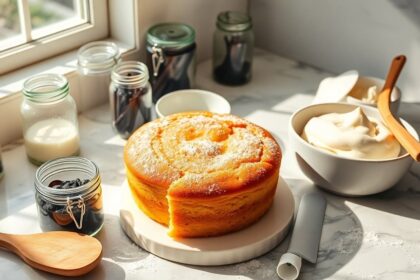
To create delicious Butter Braids, you’ll need a selection of quality ingredients that come together to form the perfect pastry.
The key components guarantee your buttery dough has that irresistible texture and flavor. Here’s what you’ll need:
- All-purpose flour
- Active dry yeast (0.25 oz) for the dough’s rise before baking
- Salted butter and sour cream for a tender, brioche-like consistency
- Your choice of filling mixture, like cream cheese for a rich, sweet flavor
Don’t forget the finishing touch! A glaze made from powdered sugar and milk adds the perfect sweetness to your butter braid. Using gluten-free flour can also make a delightful alternative for those with dietary restrictions.
With these ingredients, you’re on your way to creating a delightful treat everyone will love!
How to Make Butter Braids
To make delicious Butter Braids, you’ll want to start with a rich brioche dough that’s easy to work with. Once you’ve mastered the dough preparation, you can get creative with your filling choices to make each braid uniquely yours. Additionally, the process of achieving a lightweight and airy texture similar to choux pastry can enhance the overall experience of your Butter Braids. Let’s explore the techniques for both the dough and customizable fillings that will elevate your baking experience.
Dough Preparation Techniques
When you’re ready to make delicious butter braids, start by preparing the dough with a few key techniques.
- Microwave a mixture of sour cream, sugar, butter, and salt until smooth to create a base.
- Activate 0.25 oz of active dry yeast in warm water for 5 minutes, then combine it with the sour cream mixture, eggs, and flour.
- Knead until a soft dough forms, then let it chill in the fridge for 8 hours or allow to rise for an hour on the counter.
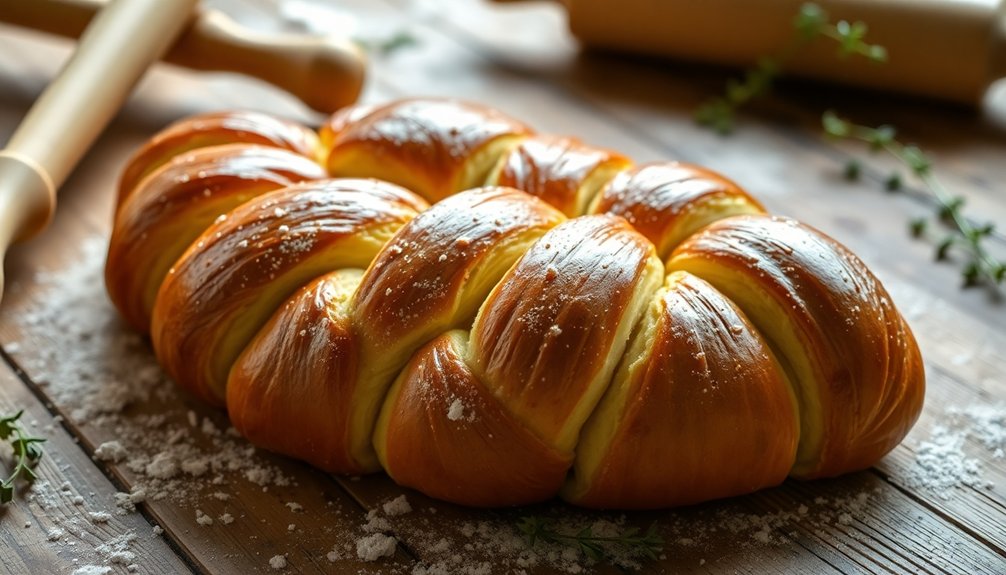
After resting, divide the dough and roll each into a sheet before adding your desired filling.
Once you’ve filled the dough, cut strips along the sides and crisscross them.
Let it rise for an hour, then bake at 375°F for 15-20 minutes. Enjoy!
Filling Customization Ideas
While you can stick to traditional fillings, exploring different flavor combinations for your butter braids can elevate your baking experience.
Try a fruity twist with fruit filling options like apple, cherry, or blueberry. For a creamier texture, use a cream cheese filling adapted from a kolache recipe.
If you’re feeling adventurous, consider savory fillings like garlic and herb mixtures for a unique take on the Butter Braid Recipe. Doubling the filling enhances both flavor and moisture, ensuring rich, satisfying bites.
While canned pie filling offers convenience, homemade fillings can truly elevate your butter braids. You can even mix in a sour cream mixture for added tanginess.
Enjoy customizing your delicious creations!
Filling Variations
Here are some tasty ideas to inspire you:
- Cinnamon Sugar: A classic choice that adds warmth and sweetness.
- Fruit Filling: Try apple, cherry, or blueberry for a burst of flavor.
- Cream Cheese: Mix with sugar for a rich, creamy filling.
- Nutella: Indulge in chocolatey goodness for a dessert twist.
Experimenting with these fillings not only enhances the flavor profile but also keeps your Butter Braids moist and inviting. Additionally, using natural sweeteners like low-sugar alternatives can elevate the nutritional value of your fillings without sacrificing taste.
Whether you’re in the mood for sweet or fruity, there’s a filling for everyone!
Serving Suggestions
When you serve your Butter Braid, consider pairing it with a warm cup of coffee or tea to enhance the experience.
For a beautiful presentation, drizzle a simple glaze over the braid before slicing it.
Whether it’s a holiday celebration or a casual brunch, these pastries are sure to impress your guests. Additionally, you might want to offer healthier ingredient swaps for those looking for guilt-free options.
Ideal Pairings for Braid
Butter Braids shine brightest when served warm, so pairing them with a hot cup of coffee or tea creates a delightful breakfast experience. The buttery layers and fillings, whether it’s pie filling or cinnamon filling, really come alive when freshly baked.
Here are some ideal pairings to enhance your enjoyment:
- A drizzle of glaze made from powdered sugar and milk adds sweetness and visual appeal.
- Fresh fruit or a light fruit salad provides a revitalizing contrast to the richness.
- Serve them during holiday celebrations, making them a festive treat for guests.
- Bake your butter braids on a cookie sheet until they’re golden and ready to bake for maximum enjoyment!
Indulge in these combinations for a truly satisfying meal.
Presentation Tips for Serving
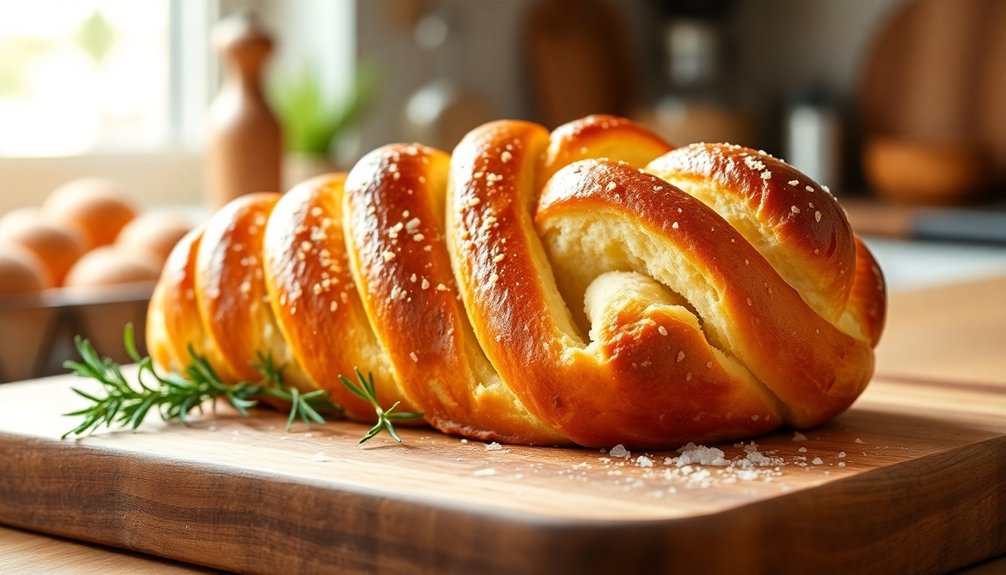
A beautifully presented Butter Braid can elevate any occasion, making it a standout centerpiece at your table.
To enhance its appeal, serve the braid warm straight from the baking sheet, allowing the buttery aroma to fill the room as the butter melts.
For a charming touch, drizzle a homemade glaze of powdered sugar and milk over the cooled braid, adding sweetness and visual allure.
Slice down each side into generous pieces, making sharing easy and inviting.
Pair your Butter Braid with a hot beverage like coffee or tea, and consider offering fresh fruit or a light salad alongside it to balance the richness.
These presentation tips will surely impress your guests and make your gathering memorable.
Occasion-Specific Serving Ideas
Serving a Butter Braid at your next gathering can create a memorable experience, especially when tailored to the occasion. Here are some occasion-specific ideas to make the most of your Butter Braid:
- For cozy breakfasts, serve warm with coffee or tea, allowing the brown sugar filling to shine.
- At holiday celebrations, present your braid as a centerpiece, inviting everyone to share.
- Drizzle a sweet glaze over the baked braid for a delightful finishing touch, perfect for dessert tables.
- Customize fillings to cater to different tastes—just let the dough rise with water and yeast, then lightly greased before you make the cut.
Remember to let sit before baking for the best results!
Enjoy your delicious creation!
Storage Instructions
To keep your Butter Braid pastry fresh and delicious, store it in the freezer until you’re ready to bake. This guarantees it remains frozen and maintains maximum shelf life.
After baking, place the Butter Braid in a covered dish at room temperature for 1-2 days to preserve its quality. Remember, don’t refreeze the pastry post-baking; it’s vital for the best taste and texture.
After baking, store your Butter Braid covered at room temperature for 1-2 days for optimal freshness. Avoid refreezing for the best flavor.
Keep an eye on the Butter Braid during storage, enjoying it within the recommended timeframe for best flavor. If you want to extend the enjoyment, consider freezing unbaked braids before the final rise. This way, you’ll have freshly baked pastry ready whenever the craving strikes! Additionally, storing baked goods in a cool environment can enhance their longevity and maintain flavor integrity.
Reader Interactions
While exploring the Butter Braid recipe, you’ll find that reader interactions bring a wealth of creativity and inspiration.
Many bakers share their unique twists, and it’s a good reason to try something new! Here are some popular reader suggestions:
- Alternative fillings: Don’t hesitate to mix it up with cream cheese, fruit, or even savory options like garlic and herbs.
- Baking tips: Some recommend using a sheet of parchment to prevent sticking and enhance the braid’s appearance.
- Storage advice: Readers often discuss how to freeze and store baked braids to maintain freshness.
- Community feedback: Thanks for sharing your experiences—your adaptations inspire others and foster a sense of culinary exploration!
Additionally, consider incorporating nutrient-rich swaps to elevate your Butter Braid recipe, enhancing both flavor and health benefits.
Conclusion
To sum up, you’re now ready to whip up your own buttery perfection with this butter braid recipe. Picture the golden, flaky layers melting in your mouth, each bite a warm hug of flavor. Whether you stick to the classic filling or get creative with variations, these treats are sure to impress. So roll up your sleeves, gather your ingredients, and let the aroma of freshly baked butter braids fill your home with joy. Happy baking!