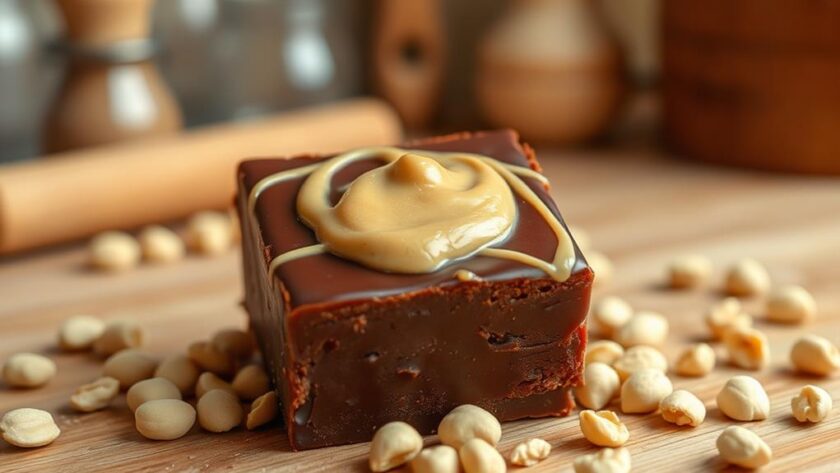
You can whip up delicious Easy Peanut Butter Chocolate Fudge in just 10 minutes, making it a treat that's simple enough for anyone to master. Start by melting semi-sweet chocolate chips in the microwave or on the stovetop. Once melted, pour half into a prepared pan, spread a layer of creamy peanut butter, and add the remaining chocolate. Swirl for a marbled effect. Refrigerate each layer for about 30 minutes, then let the fudge set for at least 2 hours. Enjoy this gluten-free delight for up to three weeks. Want tips on variations and packaging ideas?
Recipe Overview and Highlights
You'll often find that the Easy Peanut Butter Chocolate Fudge recipe is a crowd-pleaser, thanks to its perfect blend of semi-sweet chocolate chips and creamy peanut butter.
This delectable fudge offers a rich, indulgent experience reminiscent of classic peanut butter cups, making it a delightful treat for chocolate lovers. For those with gluten sensitivities, this fudge is a safe indulgence, similar to classic gluten-free cookies that offer amazing flavor without compromising on taste.
One of the highlights of this recipe is its quick preparation time. You can whip it up in just 10 minutes using either a microwave or stovetop method, which is ideal for those busy days when you still want to impress.
With approximately 32 pieces, this fudge is perfect for sharing at parties or gifting during holidays.
The creamy texture of the fudge makes each bite melt in your mouth, and it's best stored in an airtight container to keep it fresh for up to two weeks. Plus, it's gluten-free, so you can enjoy it without worrying about dietary restrictions.
Each piece contains around 100 calories and 5g of protein, making it a satisfying yet indulgent snack. If you're looking for an easy, delicious dessert, this Peanut Butter Chocolate Fudge is a must-try!
Preparation Steps
To get started on your fudge, you'll want to master the melting methods for the chocolate and peanut butter layers, ensuring that both components blend seamlessly together.
Layering is key, so be sure to incorporate the swirling technique for a beautiful finish, reminiscent of the decadent Indulgent Warmth Reeses Peanut Butter Cup Hot Chocolate.
Melting Methods Explained
When preparing your peanut butter chocolate fudge, choosing the right melting method is crucial for achieving that perfect, silky texture. You can opt for the microwave or stovetop preparation, depending on your preference.
If you decide to use the microwave to make your fudge, start by placing the chocolate in a microwave-safe bowl. Heat it in 30-second intervals, stirring in between to guarantee a smooth consistency. It typically takes about 1.5 minutes for the chocolate mixture and 1 minute for the peanut butter mixture. Always keep an eye on the melting process to prevent burning, as chocolate can seize if overheated.
Alternatively, for stovetop preparation, consider using a double boiler. Fill the bottom pot with simmering water—never boiling—to maintain gentle heat. Stir frequently until all ingredients are fully melted and combined, producing that desired silky texture.
If you choose this method, be vigilant and monitor the melting process to avoid any graininess. With either method, patience and careful attention will help you create a luscious fudge that everyone will enjoy!
Layering Technique Tips
Achieving a stunning layering effect in your peanut butter chocolate fudge requires a few strategic steps. Follow these tips to create delicious layers that not only look good but also taste incredible:
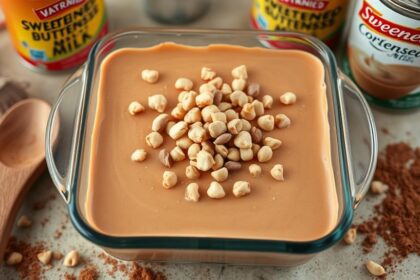
- Pour the Chocolate Mixture: Start by pouring half of the melted chocolate mixture into your prepared pan. Let it set slightly before adding the peanut butter layer.
- Spread the Peanut Butter Layer: Use a spatula to spread the peanut butter mixture evenly over the chocolate layer. This guarantees full coverage and a smooth shift between flavors.
- Create a Marbled Effect: To add visual appeal, gently swirl the remaining chocolate mixture over the peanut butter layer with a knife or skewer before smoothing it out with a spatula.
Don't forget to refrigerate each layer for about 30 minutes. This step helps the layers adhere better and maintains their distinct textures.
For clean cuts, use a sharp chef's knife warmed under hot water, slicing through the layers once the fudge has fully set in the refrigerator for about 2 hours. Enjoy your beautifully layered treat!
Setting Time Importance
Setting the fudge properly is essential for achieving that perfect texture and flavor. The setting time plays an important role in ensuring your chocolate peanut butter fudge firms up just right. After you've prepared the mixture, you need to refrigerate it for at least 2 hours. This chilling time allows the fudge to hold its shape when you slice it, preventing any overly soft or sticky results.
You might notice that the fudge appears soft right after preparation, but don't worry; it will firm up considerably in the fridge, enhancing its creamy consistency. Proper setting is key to achieving that smooth, enjoyable fudge texture reminiscent of classic peanut butter cups.
When it's time to cut the fudge, make sure it's cold. Using a sharp chef's knife warmed under hot water will help you achieve clean slices, making the presentation just as delightful as the taste.
Packaging Ideas

When it comes to packaging your peanut butter chocolate fudge, festive cellophane bags are a fun option that can hold about six pieces each.
To make your fudge gifts even more special, you might consider incorporating delightful treats like unique festive vegan cookies alongside them.
If you want to elevate your gift, consider using decorative tins that add a special touch for any occasion.
Don't forget to keep each piece separated with wax paper to maintain freshness and prevent sticking!
Festive Bag Options
Packaging your homemade peanut butter chocolate fudge can be just as delightful as making it. To make your fudge stand out as a perfect gift for holiday treats, consider these festive bag options:
- Cellophane Bags: These colorful bags can hold about 6 pieces of fudge, allowing you to package fudge into approximately 5 bags per recipe. They create an eye-catching presentation.
- Decorative Tins: For a more classic touch, use decorative tins. They not only look great, but they also keep your fudge fresh and secure.
- Airtight Containers: Clear plastic containers or mason jars work beautifully too. Layer your fudge with vibrant ribbons or twine for added charm, all while ensuring they're airtight to maintain freshness for up to two weeks in the refrigerator.
Don't forget to add personalized tags or labels to your packaging. Whether you include the flavor or a special message, it adds a thoughtful touch that friends and family will appreciate.
With these festive bag options, your fudge can be a delightful gift that everyone will love!
Creative Container Ideas
Creativity shines through in the way you choose to present your peanut butter chocolate fudge. One delightful option is using festive cellophane bags tied with colorful ribbons. These bags can hold around six pieces of fudge, making them perfect individual gifts during the holidays.
If you want to elevate your gift-giving, consider decorative tins with themed designs. They not only enhance the visual appeal but also provide a sturdy option for securely storing your fudge.
For a personal touch, customize mason jars by layering fudge squares and adding a handwritten label or tag. This creates a charming, reusable container that your friends and family will appreciate.
Airtight containers with clear lids are another fantastic choice. They showcase the rich layers of your fudge while keeping it fresh for longer.
Finally, think about incorporating holiday-themed boxes or baskets filled with your fudge and other treats. This creates a delightful gift ensemble that caters to various tastes and preferences.
Whatever container you choose, your peanut butter chocolate fudge will shine and bring joy to those lucky enough to receive it!
Storage Tips
To keep your peanut butter chocolate fudge fresh and delicious, store it in an airtight container at room temperature for up to two weeks. To enhance the nutritional profile of your fudge, consider incorporating nutrient-rich swaps such as using natural sweeteners or healthy fat alternatives.
To guarantee the best quality, follow these storage tips:
- Refrigerator Storage: For longer-lasting fudge, keep it in the refrigerator, where it can last for 2 to 3 weeks without losing its quality.
- Layer Separation: If you're stacking pieces, use wax or parchment paper between layers to prevent them from sticking together.
- Freezing for Later: If you want to store the fudge for several months, you can freeze it. Just remember to thaw it in the refrigerator before serving for the best consistency.
Always keep the fudge away from heat sources, as excess heat can lead to melting.
Make certain you store the fudge in a cool, dry place to maintain its texture and flavor. With these tips, you can enjoy your delicious fudge for weeks to come!
Nutritional Information
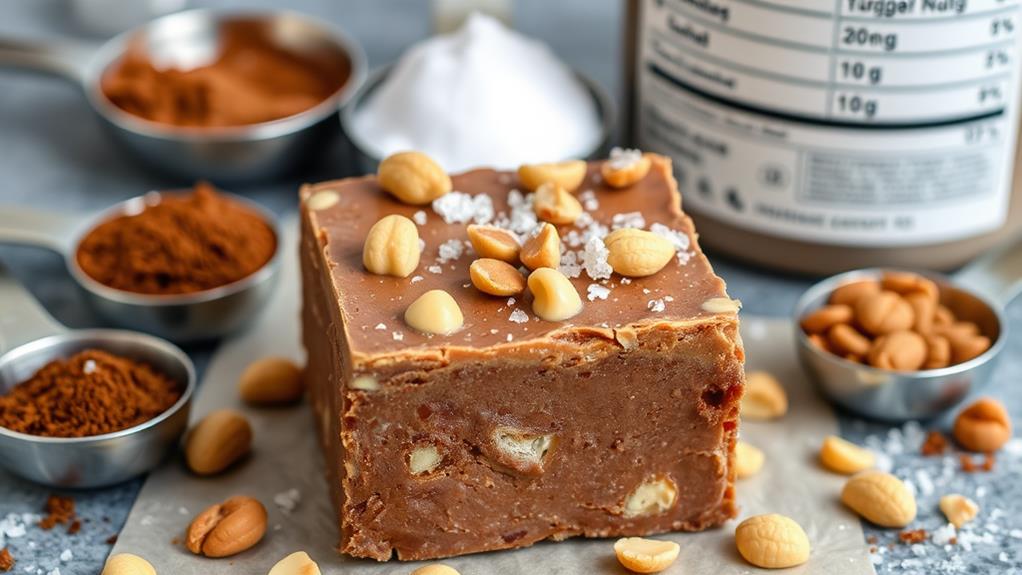
When you indulge in a piece of peanut butter chocolate fudge, you're enjoying a treat that packs around 100 calories. This Easy Peanut Butter Fudge Recipe offers about 5 grams of protein per square, primarily from the creamy peanut butter, adding to that rich flavor and texture you love.
Additionally, using natural sweeteners like maple syrup can enhance the nutritional profile, providing a healthier alternative to refined sugars for your fudge gluten-free cookie options. However, you should be aware that with approximately 14 grams of carbohydrates and 7 grams of sugar per piece, this fudge is high in sugar, so moderation is key.
One of the highlights of this fudge is that it's gluten-free, making it suitable for anyone with gluten intolerance or sensitivity. This means you can enjoy your delicious chocolate and peanut butter treat without worry.
As you explore the nutritional information, keep in mind that the values can change depending on ingredient variations. For example, using dark chocolate or different nut butters can adjust the nutritional profile to better fit your dietary preferences.
Ingredient Variations
Exploring ingredient variations can take your peanut butter chocolate fudge to new heights, allowing you to tailor the flavor and texture to your liking. Here are three easy ways to mix it up:
- Chocolate Choices: Swap out semi-sweet chocolate chips for dark chocolate chips. This will deepen the chocolate flavor, making it richer and more indulgent.
- Peanut Butter Options: Use smooth peanut butter for a creamy texture, or try crunchy peanut butter for a delightful crunch. You can even experiment with peanut butter chips for a different twist.
- Flavor Enhancements: Add crushed nuts like almonds or walnuts for an interesting texture contrast. A sprinkle of sea salt on top before setting can elevate the fudge's overall taste.
If you're feeling adventurous, mix in flavored extracts such as almond or hazelnut to complement the chocolate and peanut butter base.
Conclusion
In just a few simple steps, you've crafted a delicious peanut butter chocolate fudge that's as comforting as a warm hug on a chilly day. Whether you're treating yourself or sharing with friends, this fudge is sure to delight. Remember, you can customize it to suit your taste, making it a versatile treat for any occasion. So go ahead, indulge in your creation and savor every bite—because life's too short for anything less than sweet!