Get ready to savor the delightful blend of chocolate and vanilla cake layers, a classic combo that's a guaranteed crowd pleaser. Alternate the batters, bake the vanilla layers, then whip up a thorough chocolate ganache to layer between. Stack the cakes, frost generously, and decorate with elegant chocolate shavings. Serve slices with warm ganache or a scoop of vanilla ice cream for an extra treat. Need tips for storing or freezing leftovers? Check out the detailed guide to make sure your cake stays fresh and delicious for longer.
Layering the Cake Batter
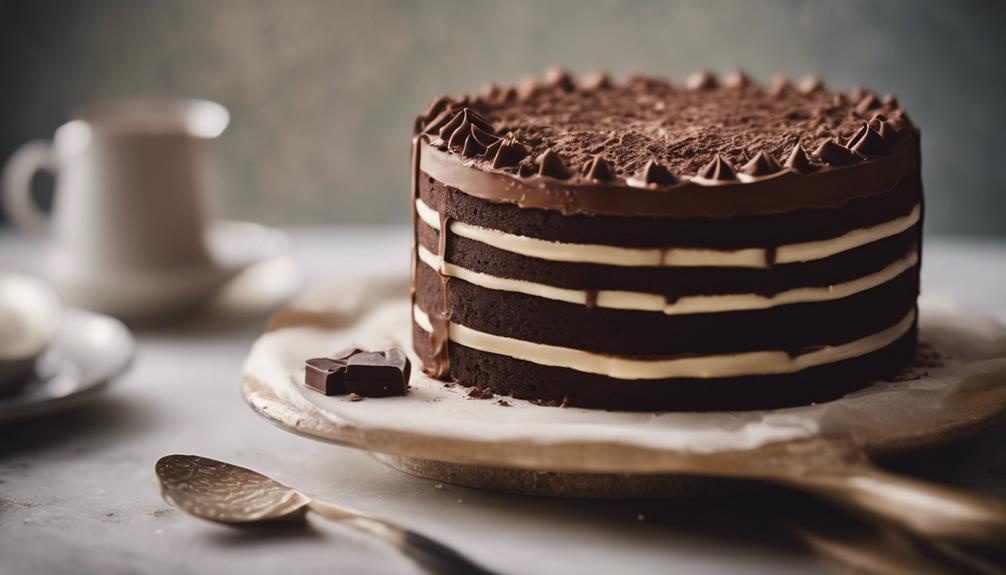
For a visually appealing cake with alternating chocolate and vanilla layers, carefully divide the cake batter as instructed in the recipe. The process of layering the cake batter is essential to achieving the desired outcome. Start by pouring a portion of the soft and fluffy vanilla batter into the cake pan, spreading it evenly to cover the bottom.
Next, add a layer of the cocoa powder and coffee-infused chocolate batter on top of the vanilla layer. Repeat this alternating pattern until all the batter is used up, creating a visually stunning striped effect.
The layering technique not only contributes to the visual appeal of the cake but also results in a delicious combination of flavors. As the cake bakes, the vanilla and chocolate layers meld together, creating a harmonious balance of sweetness and richness in each slice.
Adjust the ratio of chocolate to vanilla layers according to your preference to customize the flavor profile of the cake. Once baked until set, typically for 25-30 minutes, your chocolate and vanilla layered cake will be ready to be enjoyed by all.
Baking the Vanilla Cake Layers
To bake the vanilla cake layers, preheat your oven to 350°F for optimal baking conditions. Begin by mixing the wet ingredients – eggs, sugar, oil, and vanilla extract – until well combined. Gradually add the dry ingredients, including flour and baking powder, to the mixture. Beat everything together on medium speed until a smooth batter forms.
Next, prepare your cake pans by greasing and flouring them to guarantee no sticking. Divide the vanilla cake batter evenly among the pans to ensure consistent layers. Place the pans in the preheated oven and bake the vanilla cake layers for approximately 30-35 minutes. To test if they're fully cooked, insert a toothpick into the center of the cakes; if it comes out clean, they're ready.
Once baked, remove the vanilla cake layers from the oven and cool them on a wire rack. This step helps maintain the texture and moisture of the cakes before you proceed to assemble the final cake.
Preparing the Chocolate Ganache
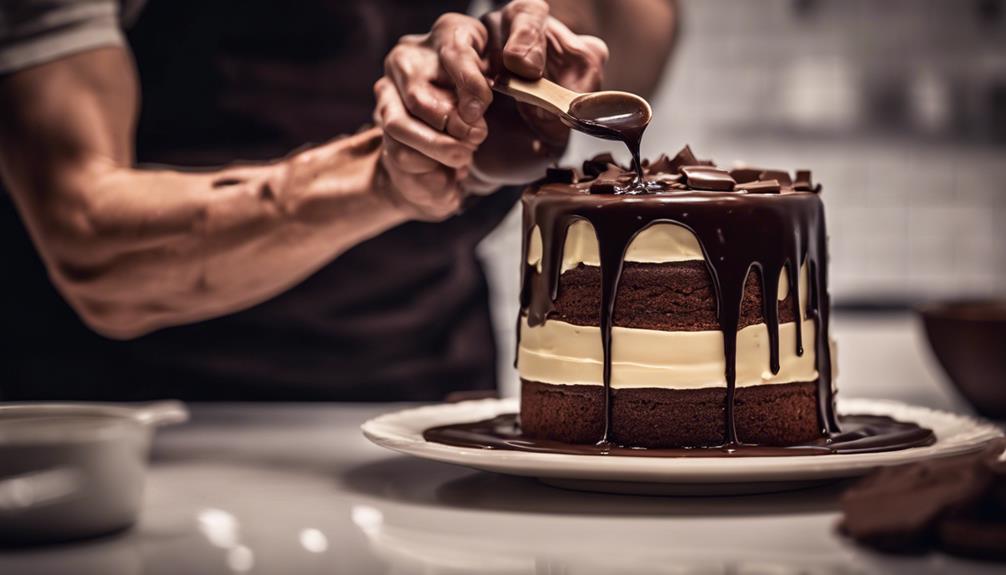
To prepare the chocolate ganache, gather your ingredients, including chocolate, butter, and cream. Microwave the mixture until smooth, then chill in the fridge to set before whipping for a lighter texture.
Once ready, apply the ganache between the cake layers for a delicious addition to your chocolate and vanilla cake creation.
Ganache Ingredients Needed
When preparing the chocolate ganache for your cake layers, gather chocolate, butter, and heavy cream as the key ingredients. Here are some essentials you'll need:
- Chocolate: Choose high-quality chocolate for the best flavor and texture in your ganache.
- Butter: Adding butter helps to enhance the richness and silkiness of the ganache.
- Heavy Cream: Opt for heavy cream with a high fat content to achieve a luxurious and smooth ganache.
- Mixing Bowl: Use a heatproof bowl to melt the chocolate and cream together gradually.
- Whisk or Spatula: You'll need a whisk or spatula to combine the chocolate, butter, and cream into a cohesive mixture.
With these ingredients at hand, you can create a decadent ganache that can be used as a filling, frosting, or glaze for your chocolate and vanilla cake layers. Get ready to elevate the flavor and presentation of your cakes with this versatile and indulgent component.
Making the Ganache
For optimal results, start by combining chocolate, butter, and cream in a microwave-safe bowl to prepare the chocolate ganache. Microwave the mixture in intervals, stirring each time, until it's smooth and well combined.
Once melted, chill the ganache in the fridge to allow it to set to a spreadable consistency.
After the ganache has chilled and set, take it out and whip it until it lightens in texture and becomes creamy. This step is essential to achieve a smooth and luxurious ganache for your cake.
Once the ganache is whipped to perfection, you can start assembling your cake by layering the vanilla cake with the chocolate ganache between each layer. Spread a generous amount of the creamy ganache between the cake layers to create a decadent filling.
Remember to chill the cake before serving to allow the ganache to set completely and enhance the flavors of your chocolate and vanilla cake layers.
Ganache Application Techniques
Start by mastering the technique of preparing the chocolate ganache for your cake by combining chocolate, butter, and cream in a bowl and heating in intervals until smooth. Once the ganache mixture is ready, it should be cooled in the fridge to thicken and set, ensuring the perfect consistency for application.
Here are some key techniques for applying ganache to your cake layers:
- Whip the ganache until lightened in color and texture for a fluffy consistency.
- Spread the ganache evenly between the cake layers to create a rich and decadent filling.
- Use a palette knife to achieve a smooth and professional finish when layering the ganache.
- Chill the cake after applying the ganache to set it properly and enhance the creamy texture.
- Consider adding a thin layer of ganache on the outside for a delicious and decorative touch.
Mastering these ganache application techniques will elevate your cake layers to a new level of indulgence and flavor.
Assembling the Cake Layers
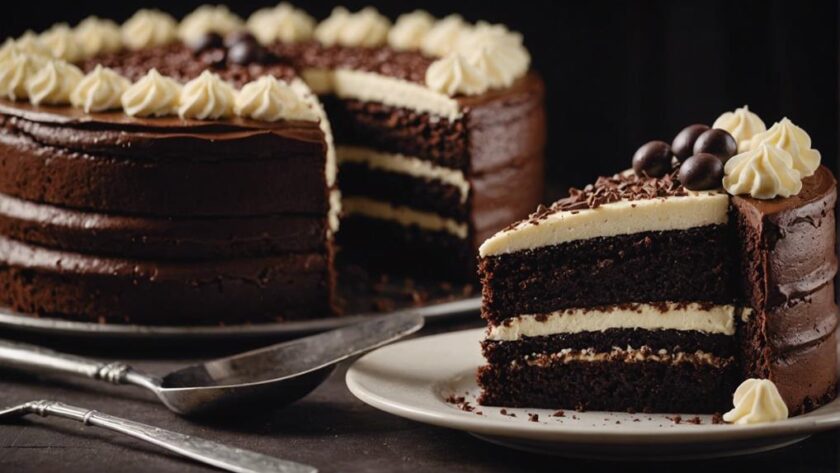
To assemble the cake layers, begin by alternating between stacking the chocolate and vanilla layers to create a striking visual contrast. Place a chocolate layer first, followed by a vanilla layer, and continue this pattern until all the cake layers are stacked.
Before adding each new layer, apply a crumb coat to guarantee a smooth and even final frosting application. Make sure each layer is level by gently pressing down on them to secure in place and prevent shifting during frosting.
Once all layers are stacked, chill the assembled cake briefly. This step will make the final frosting process easier and prevent crumbs from mixing into the icing.
Taking the time to assemble the vanilla layer cake and chocolate layer meticulously will result in a beautifully layered cake that's both visually appealing and delicious.
Now that your layers are stacked and secured, you're ready to move on to the next step of frosting the cake.
Frosting the Cake
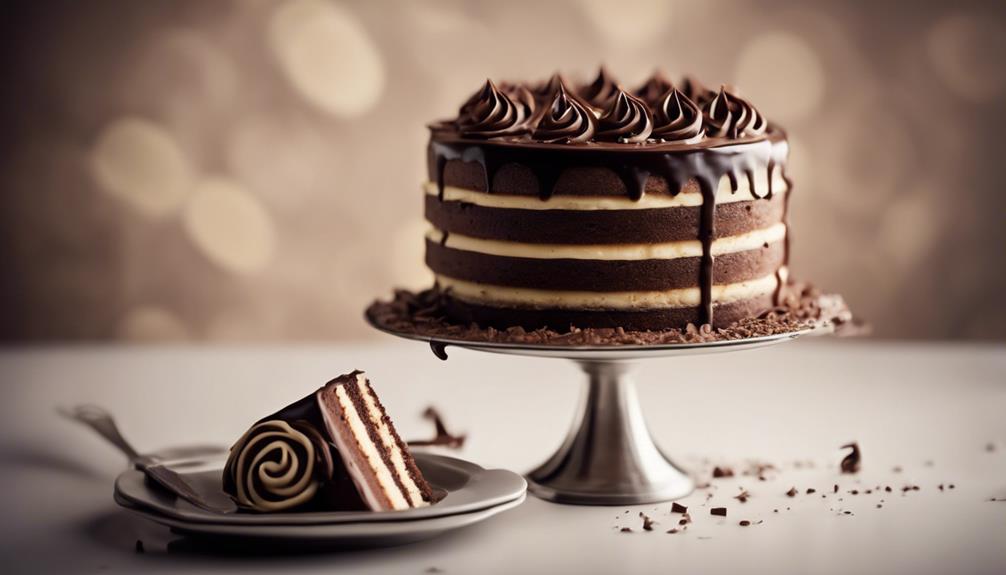
Begin by generously spreading the chocolate and vanilla buttercream frosting between each layer of the cake, guaranteeing even distribution for a decadent taste experience.
The frosting, a delightful mix of butter, sugar, cocoa powder, and cream whipped to a light and fluffy consistency, can be adjusted for sweetness to suit your preference.
Before applying the final layer of frosting, it's advisable to apply a crumb coat to secure a smooth finish on the cake's surface.
Once the layers are coated, express your creativity by using the chocolate and vanilla buttercream to pipe intricate designs, elegant swirls, or any other decorative elements you desire.
Ensure the frosting is at the desired sweetness level by adjusting the sugar or cream content.
Apply a crumb coat before the final frosting layer for a polished finish.
Experiment with different piping techniques to create stunning designs on the cake.
Smooth out the frosting for a professional-looking finish.
Incorporate both chocolate and vanilla buttercream for a harmonious flavor balance.
Decorating With Chocolate Shavings
Enhance the visual appeal of your cake by elegantly sprinkling chocolate shavings over the frosted layers. Using a vegetable peeler, create delicate chocolate shavings from a bar of dark, milk, or white chocolate. These shavings not only look beautiful but also add a lovely texture and a subtle chocolate flavor to your dessert.
To make the chocolate shavings, simply run the vegetable peeler along the edge of the chocolate bar, creating thin curls of chocolate.
Sprinkle the chocolate shavings generously over the top of the cake, allowing them to cascade down the sides for a sophisticated finish. The contrast of the light and dark colors against the frosting creates an eye-catching presentation.
You can prepare the chocolate shavings in advance and store them in the refrigerator until you're ready to use them. This simple yet elegant decoration will impress your guests and elevate the overall look of your chocolate and vanilla cake.
Serving Suggestions
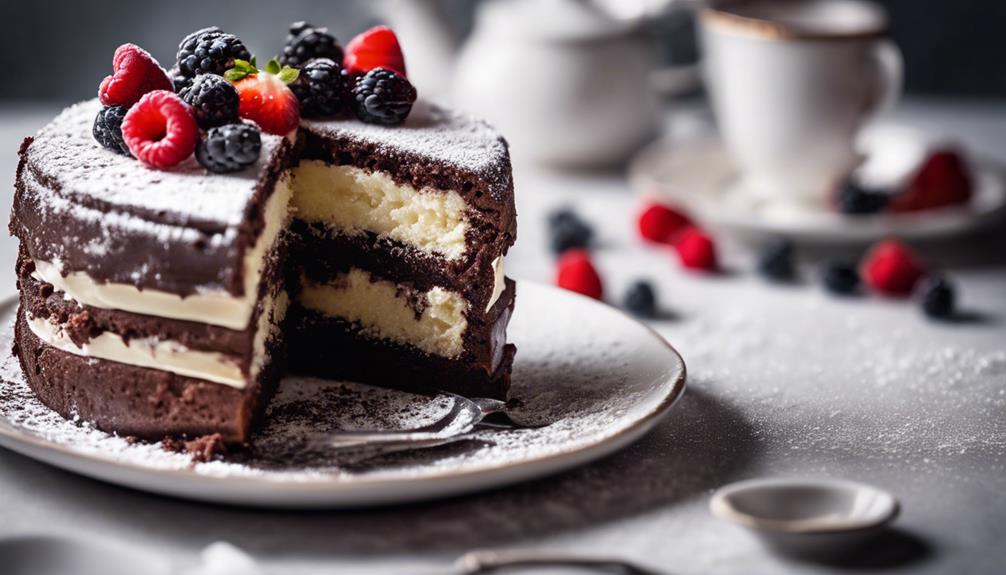
Consider serving the chocolate and vanilla cake layers with a dollop of freshly whipped cream on the side for a delightful pairing. To enhance the experience further, here are some serving suggestions:
- Top each slice with a drizzle of warm chocolate ganache for an indulgent touch.
- Pair the cake with a scoop of vanilla ice cream for a classic combination of flavors.
- Dust the slices with cocoa powder or powdered sugar for a decorative finish.
- Serve the cake with a side of fresh berries like strawberries or raspberries for a fruity contrast.
- For an extra layer of sweetness, add a scoop of vanilla frosting on top of the cake slices.
These serving suggestions can elevate the enjoyment of this delicious layer cake with chocolate and vanilla components, making it a delightful treat for birthdays or any special occasion.
Storing Leftover Cake
When it comes to storing leftover cake, it's important to keep a few key points in mind. Proper cake storage techniques can help maintain freshness and moisture for an extended period.
Additionally, freezing cake slices and knowing how to reheat them can guarantee that no slice goes to waste.
Proper Cake Storage
To maintain the moisture of leftover cake, store it at room temperature.
Here are some tips for proper cake storage:
- Separate components: If you have leftover cake layers, store them separately to maintain freshness for up to 2 days.
- Refrigerate for extended freshness: For an additional 2 days of freshness, refrigerate the leftover cake to keep it moist.
- Freeze for long-term storage: If you have a frosted cake that you won't finish soon, freezing it can preserve it for up to 3 months.
- Freezing buttercream: When freezing a frosted cake, freezing the buttercream separately helps retain its quality and texture for future use.
- Avoid room temperature for extended periods: While room temperature storage is suitable for short-term freshness, avoid leaving the cake out for too long to prevent spoilage.
Freezing Cake Slices
For longer storage of leftover cake slices, freezing them is a convenient method to guarantee their freshness for up to 3 months. To secure the best quality, wrap individual cake slices tightly in plastic wrap to prevent freezer burn. Once wrapped, place the cake slices in a resealable plastic bag or an airtight container for added protection against freezer odors.
When you're ready to enjoy your frozen cake slices, it's best to thaw them in the refrigerator overnight. This gradual thawing process helps maintain the cake's texture and moisture. Alternatively, if you're in a hurry, you can warm up the frozen cake slices in the microwave for a quick treat.
Enjoy them straight from the freezer for a cool snack, or warm them up for a comforting dessert. With proper freezer storage and thawing techniques, your leftover cake slices will taste just as delicious as when they were freshly baked.
Reheating Cake Slices
If you have leftover cake slices and want to enjoy them warm, there are simple methods to reheat them without compromising their texture or flavor. Reheating cake slices can help restore their moisture and freshness, making them just as delightful as when they were first served.
Here are some tips to reheat your cake slices effectively:
- Place individual slices on a microwave-safe plate and heat for 10-15 seconds until warm.
- Avoid overheating to prevent the cake from becoming dry or rubbery.
- For a more moist and evenly heated slice, cover it with a damp paper towel before microwaving.
Another method is to wrap the cake slice in aluminum foil and warm it in a preheated oven at 350°F for 10-15 minutes. Reheating cake slices can help restore the freshness and flavor, making them enjoyable for a second serving.
Tips for Perfect Cake Layers
Guarantee precise measurements by utilizing the spoon and level method to secure accurate ingredient quantities for perfect cake layers.
When baking vanilla cake layers, using cake flour is essential for achieving a light and fluffy texture with a delicate crumb structure.
To make sure of easy removal of the layers, line your cake pans with oven-safe parchment paper instead of wax paper.
Remember to allow the cake layers to cool completely before frosting to prevent the frosting from melting and sliding off.
During mixing, make sure to scrape the sides of the bowl to evenly incorporate all ingredients for uniform cake layers.
By following these tips, you can create flawless cake layers that aren't only visually appealing but also deliciously moist and tender.
Mastering these fundamental techniques will elevate your baking skills and help you achieve professional-quality results every time.
Conclusion
Indulge in the delightful marriage of flavors with this classic chocolate and vanilla cake combo. The rich chocolate ganache and moist vanilla layers create a harmonious blend that will satisfy any sweet tooth.
So go ahead, treat yourself to a slice of this heavenly creation and experience pure dessert bliss.