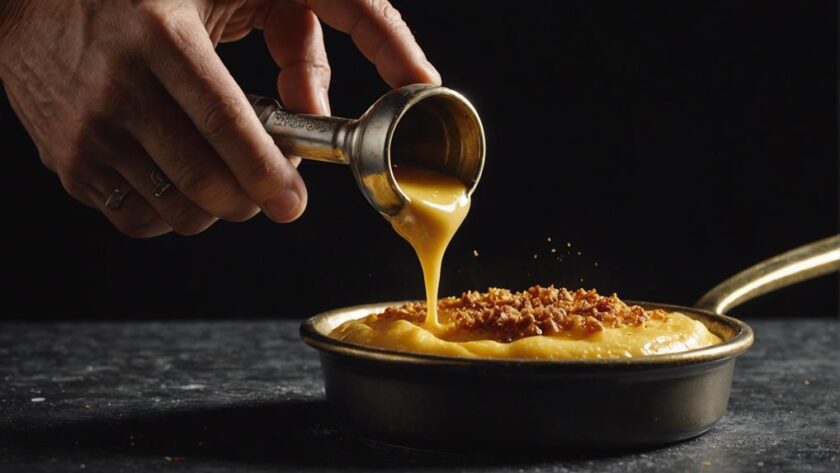
To master the classic Crème Brûlée, start by infusing cream with vanilla for a rich essence. Slowly mix heated cream into yolks, whisking continuously for a smooth custard base. Achieve ribbon stage consistency for a stable custard texture. Avoid overcooking by testing for a slightly jiggly center. Use a water bath for even baking. Chill for at least 4 hours to enhance firmness. Sprinkle white sugar evenly and torch for a golden-brown crust. Enjoy the luxurious vanilla custard with its aromatic flavor and velvety texture. Master these steps to indulge in a perfect Crème Brûlée experience.
Ingredients for Cream Brule Recipe
To make a classic creme brulee, gather heavy cream, sugar, egg yolks, a vanilla bean, and vanilla extract as your essential ingredients.
When it comes to the sugar and egg yolks, using caster sugar is recommended for whisking with the yolks to achieve a smooth and creamy texture in your custard. The vibrant yellow yolks from organic eggs can enhance both the flavor and color of the custard, ensuring a rich and decadent final product.
The combination of sugar and egg yolks forms the base of the custard, providing a creamy texture and luscious taste that's characteristic of a well-made creme brulee.
It's vital to temper the hot cream into this sugar and yolk mixture slowly to create a silky custard base that will set perfectly when baked. These ingredients, when combined with precision and care, will result in a dessert that's sure to impress even the most discerning of palates.
Infusing Cream With Vanilla Beans
When infusing cream with vanilla beans, choosing high-quality beans is essential for excellent flavor extraction.
The process involves gently simmering the cream with the split and scraped vanilla beans, allowing the infusion to enrich the cream with a rich and aromatic essence.
These techniques contribute to the development of a luscious custard base, enhancing the overall taste and complexity of the creme brulee dessert.
Vanilla Bean Selection
For ideal flavor infusion when preparing your cream brulee, select plump and moist vanilla beans with a glossy, dark exterior. Choosing beans that are flexible and not dried out guarantees a rich vanilla flavor in your dessert.
When examining vanilla beans, focus on their appearance; a shiny, dark surface indicates freshness. To extract the maximum flavor from the beans, split them lengthwise and scrape out the tiny seeds inside. These seeds hold the essence of the vanilla flavor and are essential for infusing your cream brulee with a luxurious taste.
Once you have extracted the seeds, allow the split vanilla bean to steep in the cream for at least an hour. This process allows the flavors to meld together, creating a decadent and aromatic base for your cream brulee.
Cream Infusion Process
Select plump and moist vanilla beans with a glossy, dark exterior to infuse your heavy cream with rich flavor for your cream brulee. Begin by splitting the vanilla beans and scraping out the seeds.
In a saucepan, pour the heavy cream over the beans and seeds. Heat the mixture over low heat, ensuring it doesn't reach a boil; a gentle simmer is ideal to prevent scalding. Let the cream infuse for at least an hour to extract the maximum flavor from the vanilla beans.
After the infusion process, strain the cream to remove the vanilla beans and any solid particles.
In a separate bowl, whisk together egg yolks and sugar until pale. Slowly add the tempered cream to the egg yolk mixture, stirring constantly to create a smooth custard base for your cream brulee.
Be cautious during the tempering process to avoid overcooking the egg yolks, ensuring a creamy texture in the final dish. By infusing your heavy cream with vanilla beans correctly, you set the stage for a delectable and aromatic cream brulee.
Flavor Development Techniques
Enhance the flavor profile of your cream brulee by infusing your heavy cream with plump and aromatic vanilla beans. To achieve the perfect infusion, follow these expert tips:
- Steep the vanilla beans in hot cream for about an hour to extract maximum flavor.
- Be cautious not to boil the cream, as this may lead to scorching and impart a bitter taste to the custard.
- Slowly incorporate the tempered vanilla-infused cream into the egg yolk mixture for a smooth and well-balanced flavor profile.
- Utilize a water bath while baking to guarantee the even distribution of the vanilla flavor throughout the custard.
- Strain the cream mixture before baking to remove any remaining vanilla bean pieces and achieve a silky smooth texture in your cream brulee.
Tempering Cream and Egg Yolk Mixture
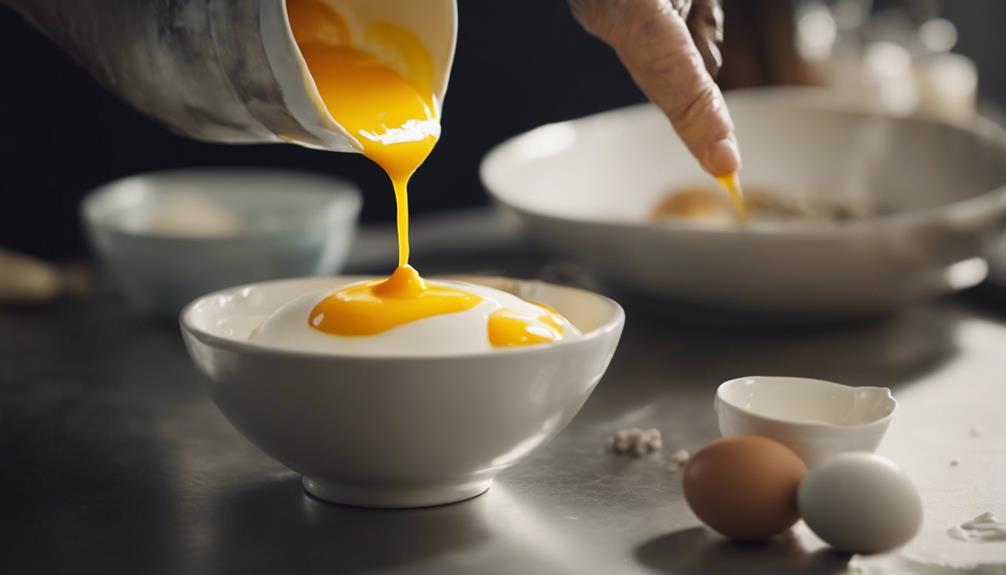
Begin the delicate process of tempering the cream and egg yolk mixture by slowly incorporating the heated cream into the yolks. This vital step guarantees that the eggs are brought up to temperature gradually, preventing any unwanted curdling or scrambling. By tempering the mixture, you're setting the foundation for a creamy custard base that's essential for a perfect creme brulee.
As you slowly add the heated cream to the egg yolks, make sure to whisk continuously. This gradual process allows the ingredients to blend harmoniously, resulting in a smooth and consistent texture for your custard.
Proper tempering is key to achieving the desired creamy and velvety consistency that makes a creme brulee so decadent and delicious. Remember, patience is key during this step, as rushing the tempering process can lead to an uneven custard base.
Take your time and enjoy the art of creating a luscious creamy custard for your classic dessert.
Achieving Ribbon Stage Consistency
To achieve ribbon stage consistency, whisk the egg yolks and sugar until the mixture thickens and lightens in color. This step is essential for ensuring a smooth and creamy custard texture in your creme brulee.
Test for consistency by lifting the whisk; the mixture should fall off in a ribbon-like stream.
Ribbon Stage Importance
Achieving ribbon stage consistency in creme brulee preparation is essential for ensuring that the egg yolks and sugar are fully dissolved and incorporated. This step is vital as it directly impacts the final texture and quality of your dessert.
When the mixture reaches the ribbon stage, it signifies that the yolks have been properly aerated, leading to a smooth and creamy custard.
Here are some key points highlighting the importance of achieving ribbon stage in creme brulee:
- Whisking to the ribbon stage ensures thorough mixing of the yolks and sugar.
- The ribbon-like trail formed by the mixture indicates the proper volume and air incorporation.
- Achieving ribbon stage results in a velvety texture in the final creme brulee.
- Proper incorporation at this stage leads to a more stable custard.
- This step is essential for creating a decadent and luscious dessert that will impress your guests.
Test for Consistency
When testing for consistency to achieve ribbon stage in creme brulee preparation, whisk the egg yolks and sugar until the mixture forms a thick, pale, and ribbony texture. This ribbony significance indicates that the egg yolks and sugar have fully dissolved, guaranteeing a smooth custard.
To test for ribbon stage, lift the whisk from the mixture and let the batter fall back into the bowl; it should leave a trail on the surface before disappearing. Achieving ribbon stage consistency is vital for a creamy custard texture in creme brulee, as it helps create a smooth and luscious dessert.
Properly reaching ribbon stage ensures that the egg yolks are thoroughly incorporated, resulting in a rich and velvety custard in the final dessert. So, pay close attention to the texture of the mixture while whisking to achieve the desired ribbon stage consistency for a delectable creme brulee experience.
Avoiding Overcooking the Custard
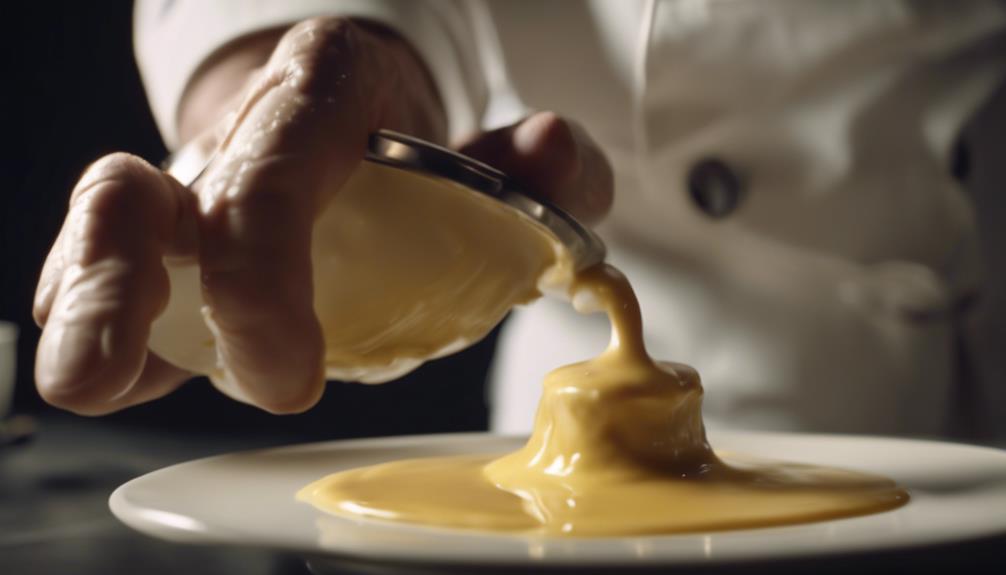
Guarantee the custard reaches the perfect consistency by testing for doneness to avoid overcooking and ruining the texture. Overcooked custard results in a curdled mess that lacks the creamy richness expected in a creme brulee.
To make sure your custard is perfectly cooked without being overdone, follow these tips:
- Jiggly Test: Perform a gentle shake test to check if the custard is set but still slightly jiggly in the center.
- Cooling Process: Keep in mind that the custard will continue to set as it cools, so remove it from the oven at the right time to prevent overcooking.
- Baking Time: Adhere closely to the recommended baking time to avoid the custard becoming overcooked and losing its smooth texture.
- Visual Inspection: Look for a set outer edge with a slightly wobbly center to gauge if the custard is done without overcooking.
- Texture Check: Check for a creamy, silky consistency rather than a grainy or scrambled texture, which indicates overcooking.
Using a Water Bath for Even Cooking
Optimize the cooking process by utilizing a water bath when preparing your creme brulee. A water bath acts as a buffer against direct heat, ensuring the custard cooks evenly without curdling or overcooking.
To employ this method, place your ramekins in a roasting pan and fill it with boiling water before baking. The water's ability to absorb heat helps maintain a steady temperature in the oven, resulting in a slow and gentle cooking process for the custard.
This gentle heat distribution is essential for achieving a smooth and creamy texture in your creme brulee, eliminating any graininess that may occur otherwise. By using a water bath, you minimize the risk of the custard cracking or becoming rubbery, producing a perfectly cooked creme brulee with a silky consistency.
Embrace the water bath technique to master the art of creating a flawless creme brulee every time.
Chilling the Custards
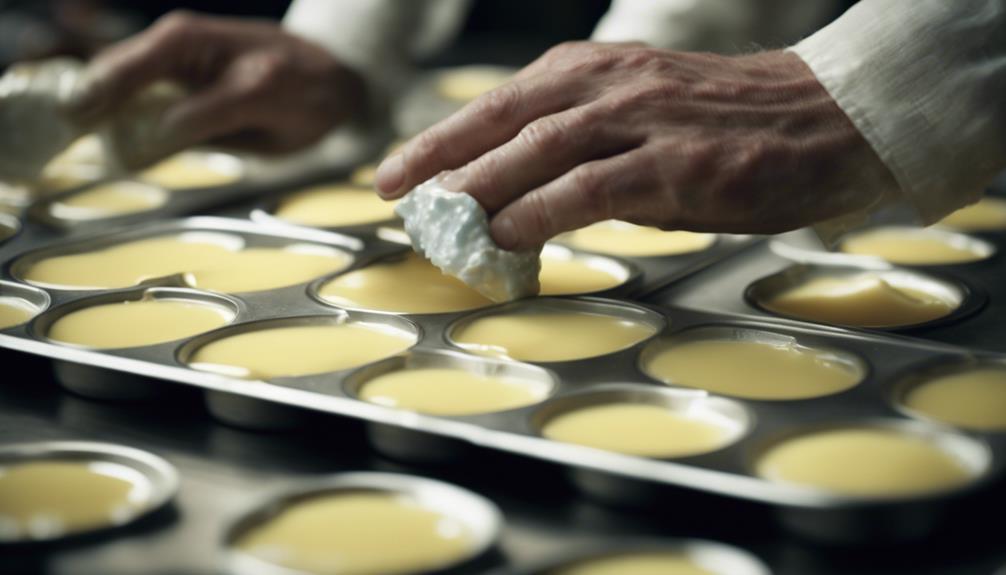
To enhance the smooth texture and flavor of your creme brulee, the next step after the water bath process is chilling the custards for at least 4 hours. Chilling the custards is essential for achieving that perfect creamy texture that makes a creme brulee so delightful.
Here are some essential tips for chilling the custards:
- Refrigerate for Firmness: Make sure to refrigerate the custards for a minimum of 4 hours to guarantee they're firm and set properly.
- Easier Caramelization: Cold custards are more conducive to caramelize, resulting in a crisp and perfect crust on top.
- Flavor Development: Chilling allows the flavors of the custard to develop and meld together, enhancing the overall taste.
- Delightful Contrast: Properly chilled custards provide a lovely contrast to the warm caramelized sugar topping, creating a harmonious balance in every bite.
- Setting the Texture: Chilling is vital for setting the creamy texture of the custards, ensuring a velvety mouthfeel when enjoyed.
Caramelizing Sugar for Crunchy Topping
For achieving that perfect crunchy topping on your creme brulee, evenly sprinkle white granulated sugar over the custard before using a kitchen torch to caramelize it.
The choice of white granulated sugar is essential for ensuring that the sugar caramelizes evenly and provides that signature crunchy texture.
When caramelizing the sugar, make sure to move the torch continuously over the sugar to avoid burning it in one spot.
The heat from the torch will melt and caramelize the sugar, creating a beautiful golden-brown crust.
The caramelized sugar will harden as it cools, forming a delightful contrast to the smooth and creamy vanilla custard underneath.
Using a blowtorch is necessary for achieving the perfect caramelized crust; it allows for precise control over the caramelization process.
Enjoying the Creamy Vanilla Custard
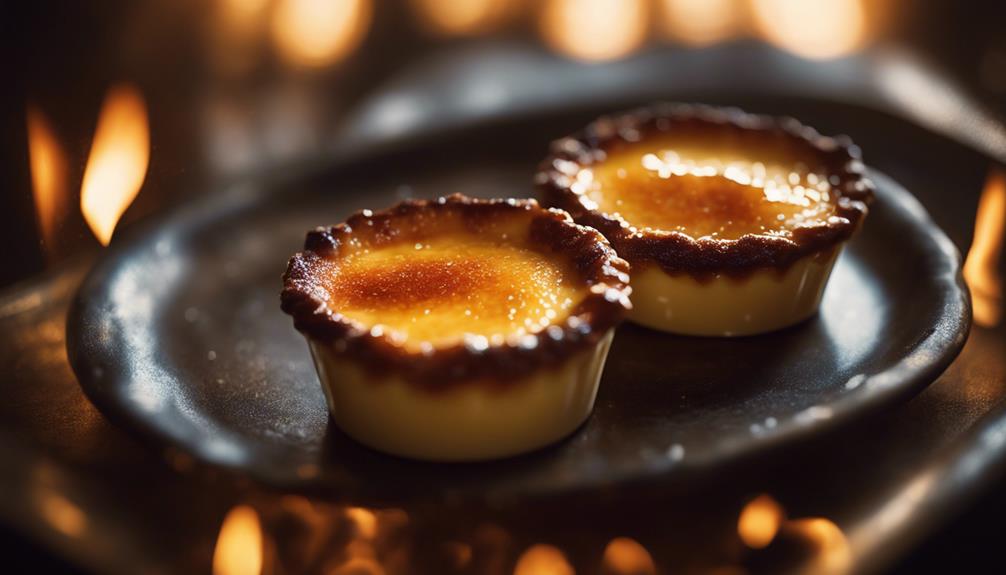
To fully savor the decadence of your creme brulee, indulge in the creamy vanilla custard that serves as the luxurious foundation of this classic dessert. The creamy vanilla custard is a hallmark of a classic creme brulee and offers a rich and velvety texture that delights the taste buds.
Here are some essential points to enhance your experience with the creamy vanilla custard:
- Infuse cream with vanilla beans for an intensified and aromatic flavor.
- Enjoy the visual appeal of tiny vanilla bean specks that elevate the custard's presentation.
- Guarantee a smooth and luscious texture by slowly tempering cream into egg yolks.
- Appreciate the creamy custard base as a perfect canvas for the caramelized sugar topping to shine.
- Let the luxurious vanilla custard take center stage and captivate your senses with each spoonful.
Conclusion
Now that you have mastered the classic cream brule recipe, it's time to savor the creamy vanilla custard with the perfect crunchy topping.
The rich flavors and smooth texture will surely impress your guests and make you feel like a professional pastry chef.
So go ahead, grab your blowtorch, caramelize that sugar, and indulge in the delicious dessert you have created.
Bon appétit!

