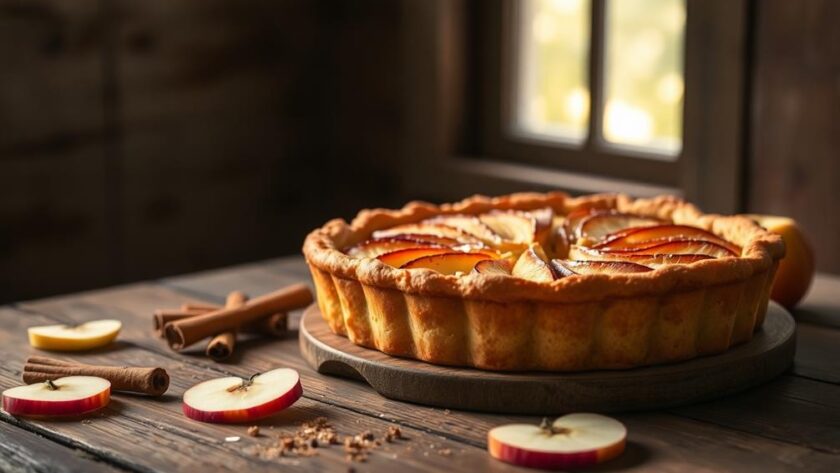
You'll love making a Rustic Apple Tart that's both simple and delicious! Start with fresh Granny Smith apples, slice them thin, and mix with sugar, cinnamon, and nutmeg. Use a store-bought pie crust for convenience or whip up a homemade one if you're feeling adventurous. After arranging the apple filling on the crust, fold the edges for that charming rustic look and brush them with butter for a golden finish. Bake at 400°F for 30-40 minutes, and let it cool a bit before serving. Pair it with ice cream for that perfect touch. There's more to explore about variations and tips!
Recipe Overview
The Rustic Apple Tart is a delightful dessert that brings together the warmth of fall flavors with minimal effort. You'll love how simple it's to create this visually appealing treat, especially when you use store-bought pie crust for convenience.
Choosing the right fat enhances the flavor of your crust, making it even more delicious. The filling features fresh apples, like Granny Smith, combined with sugar, cinnamon, and nutmeg, giving it that perfect sweet and spiced flavor profile that's ideal for autumn gatherings.
When you're ready to bake, preheat your oven to 400 degrees Fahrenheit. Spread the apples evenly over the pie crust, then watch as it transforms in the oven. Bake the tart for 30 to 40 minutes, and you'll be rewarded with a crust that's golden brown and apples that are tender yet firm.
Choosing the right apple is essential; firm varieties like Granny Smith or Golden Delicious hold their shape well and won't turn mushy.
This rustic apple tart isn't just a dessert; it's a centerpiece for events like themed parties or Thanksgiving celebrations. You'll impress your guests with this easy yet delicious addition to your autumn menu.
Ingredients Needed
To create your Rustic Apple Tart, you'll need a few essential ingredients that bring out the flavors beautifully. Fresh apples, particularly varieties like Granny Smith or Northern Spy, provide the perfect balance of tartness and sweetness.
Sugar and spices are key, but there are also alternative options if you're looking to switch things up. Consider using ideal apple varieties for a more flavorful filling.
Let's explore what you'll need and some substitutions that can work just as well.
Essential Ingredients Overview
Gathering the right ingredients is essential for crafting a delicious Rustic Apple Tart. You'll need firm baking apples like Granny Smith or Golden Delicious, as they hold their shape beautifully during baking. Aim for about six tablespoons of sugar to sweeten the filling just right. For that warm, comforting flavor, don't forget to add one teaspoon of cinnamon and half a teaspoon of nutmeg; these spices elevate the taste of your tart.
When it comes to the dough, you can opt for convenience with store-bought pie crust or make your own. If you choose homemade, prepare it with one and a half cups of all-purpose flour and cold unsalted butter.
In the filling, use a half stick of cubed butter to enrich the flavor. To achieve that perfect golden finish, brush the crust with two tablespoons of melted butter before baking.
With these essential ingredients, you'll create a Rustic Apple Tart that's simple yet utterly delicious. So, gather your apples, spices, and butter, and get ready to impress your taste buds!
Alternative Ingredient Suggestions
For those looking to put a unique spin on their Rustic Apple Tart, alternative ingredient suggestions can elevate your creation while catering to different dietary preferences.
Start by using whole wheat flour for the crust; this adds more fiber and nutrients, making it a healthier choice. Instead of granulated sugar, try coconut sugar or honey to give your tart a lower glycemic index without sacrificing sweetness.
When it comes to fats, consider incorporating ghee or coconut oil instead of traditional butter. Both options provide a rich flavor while keeping the tart dairy-free.
For the filling, mix a variety of apples, such as Granny Smith for tartness and Honeycrisp for sweetness, to create a more complex flavor profile.
Don't forget to enhance the taste even further by adding a tablespoon of lemon juice to the apple mixture. This brightens the overall flavor and balances the sweetness.
Finally, assemble your tart in a free-form fashion for a rustic presentation that's as delightful to the eyes as it's to the palate.
With these alternative ingredients, your Rustic Apple Tart will be both delicious and unique!
Crust Preparation
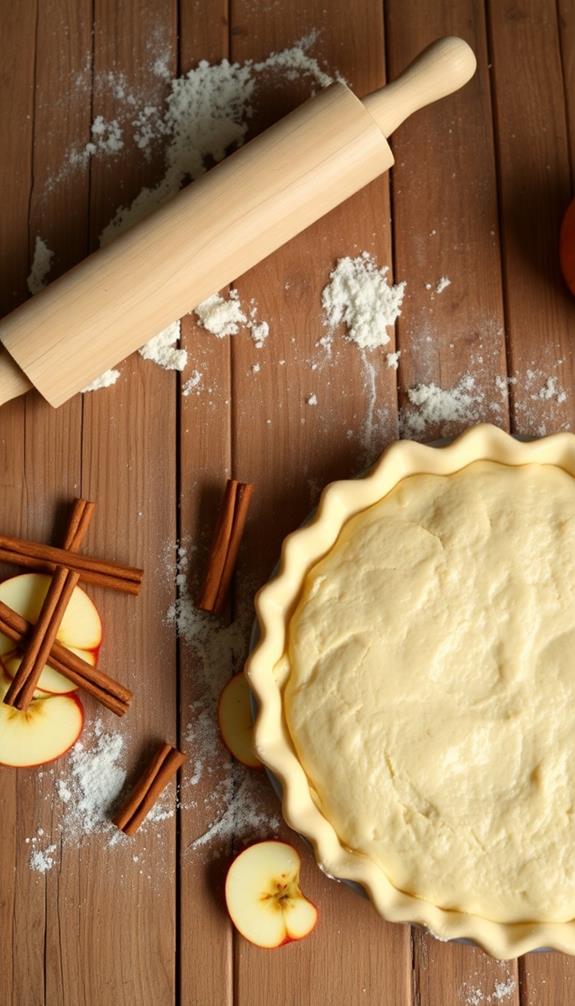
When you're ready to whip up the crust for your rustic apple tart, start by combining 1 ½ cups plus 1 tablespoon of all-purpose flour, a pinch of kosher salt, and 1 tablespoon of sugar in a food processor. This combination of ingredients is essential for achieving a flaky crust, as the importance of keeping butter cold guarantees that steam pockets form during baking.
Next, add 1 ½ sticks (6 oz) of cold unsalted butter. Pulse until the mixture resembles coarse crumbs with pea-sized pieces.
Now, gradually sprinkle in 1/3 cup of ice water while you process just until moistened; be careful not to overmix to maintain flakiness. When the dough comes together, follow these steps:
- Knead the dough briefly into a cohesive ball.
- Flatten it into a disk.
- Transfer the dough to the refrigerator for at least 1 hour to firm up.
- Roll the chilled dough out on a lightly floured surface into a 14-16 inch round, guaranteeing even thickness.
This crust with melted butter will create a perfectly flaky base for your tart. Once you've rolled the dough, fold the dough carefully and get ready for the delicious apple filling that's coming next!
Apple Filling Instructions
Now that you've prepared the flaky crust, it's time to focus on the apple filling that will make your rustic apple tart truly special. Start by selecting about four large apples, ideally a mix of tart Granny Smith and sweet Golden Delicious. This combination will give your apple mixture a balanced flavor.
For an added twist, consider incorporating a hint of almond extract into your apple filling to enhance the overall taste profile, providing a subtle nutty undertone that complements the fruit beautifully.
Peel, core, and slice the apples into 1/8-inch thick pieces. In a bowl, combine 6 tablespoons of sugar, 1 tablespoon of cornstarch, 1 teaspoon of cinnamon, and ½ teaspoon of nutmeg to create a spiced sugar mixture. Toss the apple slices in this mixture until they're evenly coated, then let them sit for a few minutes.
This resting time allows the flavors to meld and releases some moisture from the apples.
When you're ready to fill your freeform apple tart, pile the apple mixture high in the center of the rolled-out crust, arranging the apple slices in concentric circles for an appealing look. Be sure to leave a 3-inch border around the edges.
Next, you'll be folding the edges over the fruit to create a beautiful rustic finish. Enjoy the aroma as it bakes!
Assembling the Tart
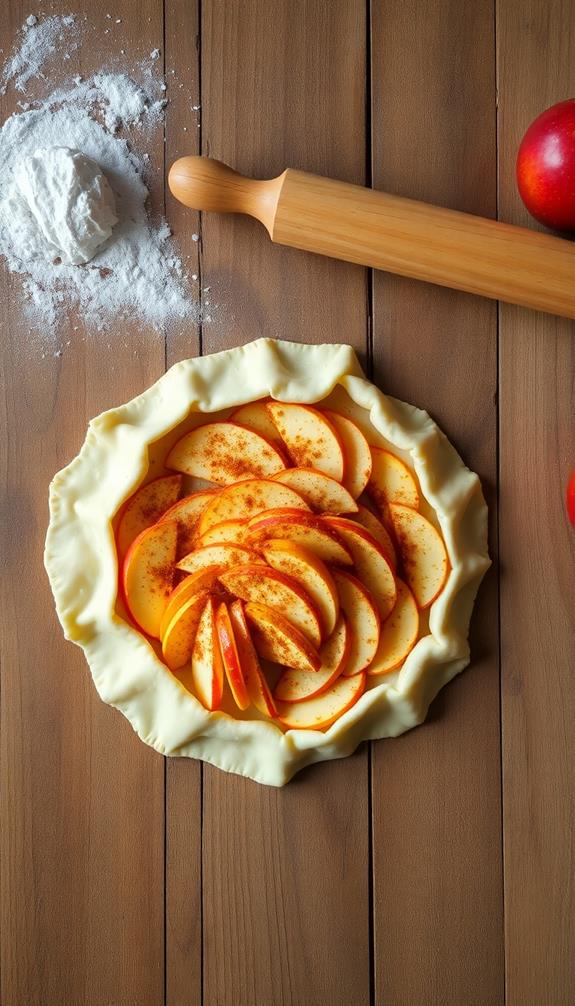
As you prepare to assemble the tart, roll out the chilled dough into a 14-16 inch round on floured parchment paper. This guarantees even thickness and makes transferring it to the baking sheet a breeze.
For a delightful touch, consider enhancing your tart with seasonal flavors inspired by traditional desserts like Norwegian Kransekake, which can add a festive flair to your apple filling.
Next, follow these steps:
- Spoon the apple filling mixture into the center of the dough, leaving a 3-inch border around the edges for folding.
- Carefully fold the crust edges over the apple slices in pleats, creating that charming rustic appearance while partially enclosing the filling.
- Brush the exposed crust with an egg wash or melted butter to enhance the golden color and crispy texture during baking.
- Finally, sprinkle the crust with a bit of sugar for an added touch of sweetness.
Once assembled, chill the tart in the refrigerator for 15-20 minutes. This helps maintain its shape and improves the texture.
With the dough prepared and the apple filling nestled inside, you're one step closer to enjoying a delicious rustic apple tart that's sure to impress!
Baking the Tart
With your tart assembled and chilled, it's time to bake it to perfection. Preheat your oven to 400°F to guarantee a crust that's golden brown and apples that are tender.
The rustic style of this tart echoes traditional Midwestern apple pies, which are known for their hearty fillings and simple yet delicious flavors. Roll out your prepared dough on floured parchment paper into a 14-16 inch round, creating a base for your tart. Once you've got your dough ready, transfer it to a baking sheet with parchment to simplify cleanup.
Now, it's time to arrange the apple slices on top. Lay them out in concentric circles, leaving a 3-inch border of dough to fold over the apples. This rustic style not only looks beautiful but also helps to keep the juices from running out during baking, a characteristic shared with the regional pie styles that highlight the use of local ingredients.
Pop the tart into the oven and bake for 30-40 minutes, keeping an eye on it. You'll know it's done when the crust is golden and the apples are bubbling and tender.
Once finished, let the tart cool slightly on a wire rack. This helps enhance the flavors and makes slicing easier. Now, you're ready to serve warm, enjoying a delightful dessert reminiscent of classic apple pie!
Serving Suggestions
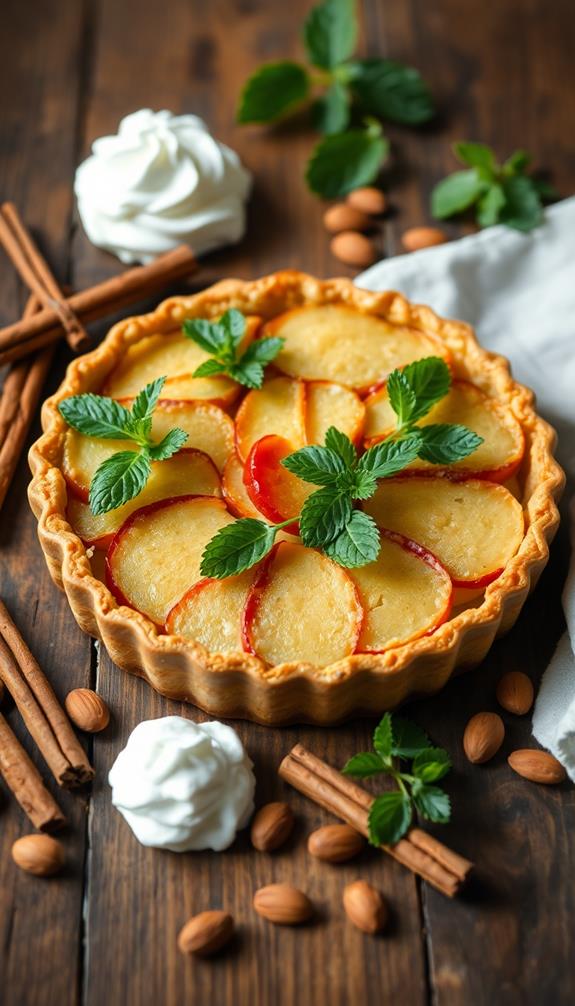
How can you elevate your rustic apple tart experience? Serving it just right can make all the difference in delighting your taste buds. Here are some suggestions to enhance this simple yet delicious dessert:
- Serve the tart warm or at room temperature. The warmth amplifies the spices and sweetness of the golden and cooked apples, making it reminiscent of festive sugar cookie recipes during the holiday season.
- For added shine and sweetness, brush the baked tart with warmed apricot preserves right before serving.
- Pair each slice with a generous scoop of vanilla ice cream or a dollop of freshly whipped cream. This creamy contrast beautifully complements the flaky crust.
- Finish with a sprinkle of powdered sugar or a dusting of cinnamon for a visually appealing touch.
Don't worry about leftovers! You can store them at room temperature for a few days and enjoy multiple servings of this delightful treat.
Whether it's a cozy family gathering or a special occasion, these serving suggestions will surely impress your guests and elevate your rustic apple tart to new heights. Enjoy every bite!
Variations and Tips
You can easily switch things up by using a mix of sweet and tart apples or even adding other fruits like pears and peaches.
To enhance the flavor, consider incorporating spices like cinnamon, which not only adds warmth but also offers anti-inflammatory properties.
If you're feeling adventurous, try different crusts to match your taste, like a graham cracker or Einkorn crust.
Don't forget to adjust the sweetness level to suit your preference, ensuring every bite is just right.
Alternative Fruit Options
Exploring alternative fruit options for your rustic apple tart can lead to delicious and creative variations. You can easily switch up the filling using different fruits while maintaining that delightful rustic charm. Here are some ideas to inspire your mixture:
- Firm Fruits: Use pears, peaches, or plums for a delightful twist on the classic recipe. Their texture holds up well during baking.
- Mixed-Fruit Tart: Combine sweet and tart varieties. For example, pair Granny Smith apples with ripe pears to enhance the flavor profile.
- Juicy Fruits: If you opt for berries, make sure to add extra flour or nuts to absorb excess moisture. This helps prevent a soggy crust.
- Seasonal Fruits: Incorporate fresh apricots or cherries for a vibrant and colorful dessert option. These fruits shine during their peak seasons.
Don't forget to experiment with spices, like cardamom or ginger, to elevate the taste of your alternative fruit fillings.
This way, you can create a rustic tart that's not just simple but also uniquely delicious!
Crust Variations and Tips
Creating the perfect crust for your rustic apple tart sets the foundation for a delicious dessert. You can choose to go the homemade route or opt for the convenience of store-bought pie crust.
If you decide to make your own, start by using 1 ½ sticks of cold unsalted butter. Combine the flour, salt, and ice water to create a flaky texture. Roll out the dough on a lightly floured work surface with a rolling pin, shaping it into a 14-16 inch round. This size allows for a generous border to fold over your apple filling, enhancing the rustic look.
Once you've shaped the dough into a disk, you can further elevate the flavor and texture. Brush the crust with melted butter or an egg wash before baking, and consider sprinkling some turbinado sugar for added crunch.
Don't hesitate to experiment with different crust recipes, such as Einkorn or gluten-free options, to accommodate various dietary preferences while keeping that delicious tart flavor intact. With these tips and variations, you'll achieve a delightful crust that perfectly complements your apple filling.
Sweetness Level Adjustments
Finding the right sweetness level for your rustic apple tart can make all the difference in its flavor profile. You can easily adjust the sweetness by varying the sugar in your apple filling, typically between 4 to 6 tablespoons based on the sweetness of the apples.
Here are some tips to help you perfect your tart:
- Choose Your Apples Wisely: Combine sweet varieties like Honeycrisp with tart options like Granny Smith to achieve balanced flavor.
- Reduce Sugar: For a less sweet option, cut down on sugar and brush the crust with diluted preserves instead of melted butter for a lighter touch.
- Experiment with Sugar Types: Use turbinado or large crystal sugar on the crust for added crunch while keeping the sweetness subtle.
- Incorporate Spices: Adding spices like allspice or ginger can enhance the flavor of the apples, allowing you to reduce added sugar while still enjoying a complex taste.
Community Feedback
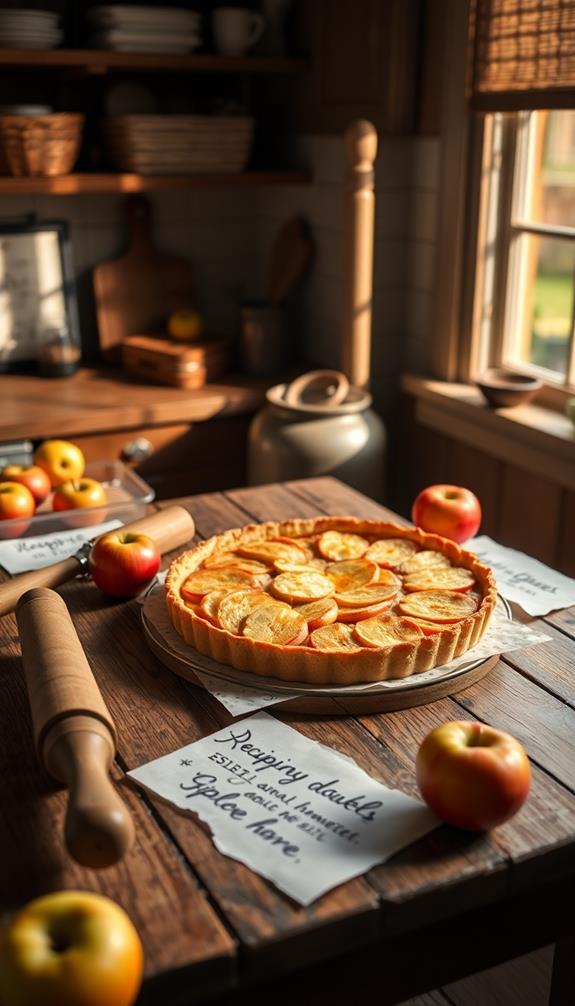
The overwhelming response to the Rustic Apple Tart shows just how much bakers love this recipe. With over 3,900 reviews and a perfect score of 5.0, it's no surprise that you're drawn to its simplicity and deliciousness.
Many bakers rave about the tart's appealing rustic style, achieved with minimal effort. Users often share how the use of cast iron skillets guarantees even cooking, while also enhancing presentation.
Additionally, incorporating healthier ingredient swaps can make this tart even more delightful while maintaining its classic charm. You'll find plenty of suggestions in the community for prepping the tart a day ahead. Many recommend refrigerating the dough to a lightly chilled state before rolling it out. Plus, placing the tart on parchment paper makes for easy handling.
Once baked, the tart's apples are tender and bursting with flavor, and it's just as delightful served warm or cool slightly.
Moreover, the interactive nature of this recipe fosters a collaborative cooking community. You can share your personal experiences, modifications, and even request updates. Just be sure to check the privacy policy when posting.
Conclusion
So, why wait? With this rustic apple tart recipe, you've got a simple yet scrumptious dessert that'll impress everyone at your table. Imagine the warm aroma filling your kitchen as it bakes! Whether you serve it warm with a scoop of ice cream or dust it with powdered sugar, each bite is a taste of fall. Now it's your turn—roll up your sleeves and let the magic happen. Your apple tart masterpiece is just a few steps away!

